- Thread starter
- #1
Great guide posted by @andrewleader at Tacoma4g for the Tacoma, but applies to the 6th 4Runner as well.
Quick Reference
Schedule
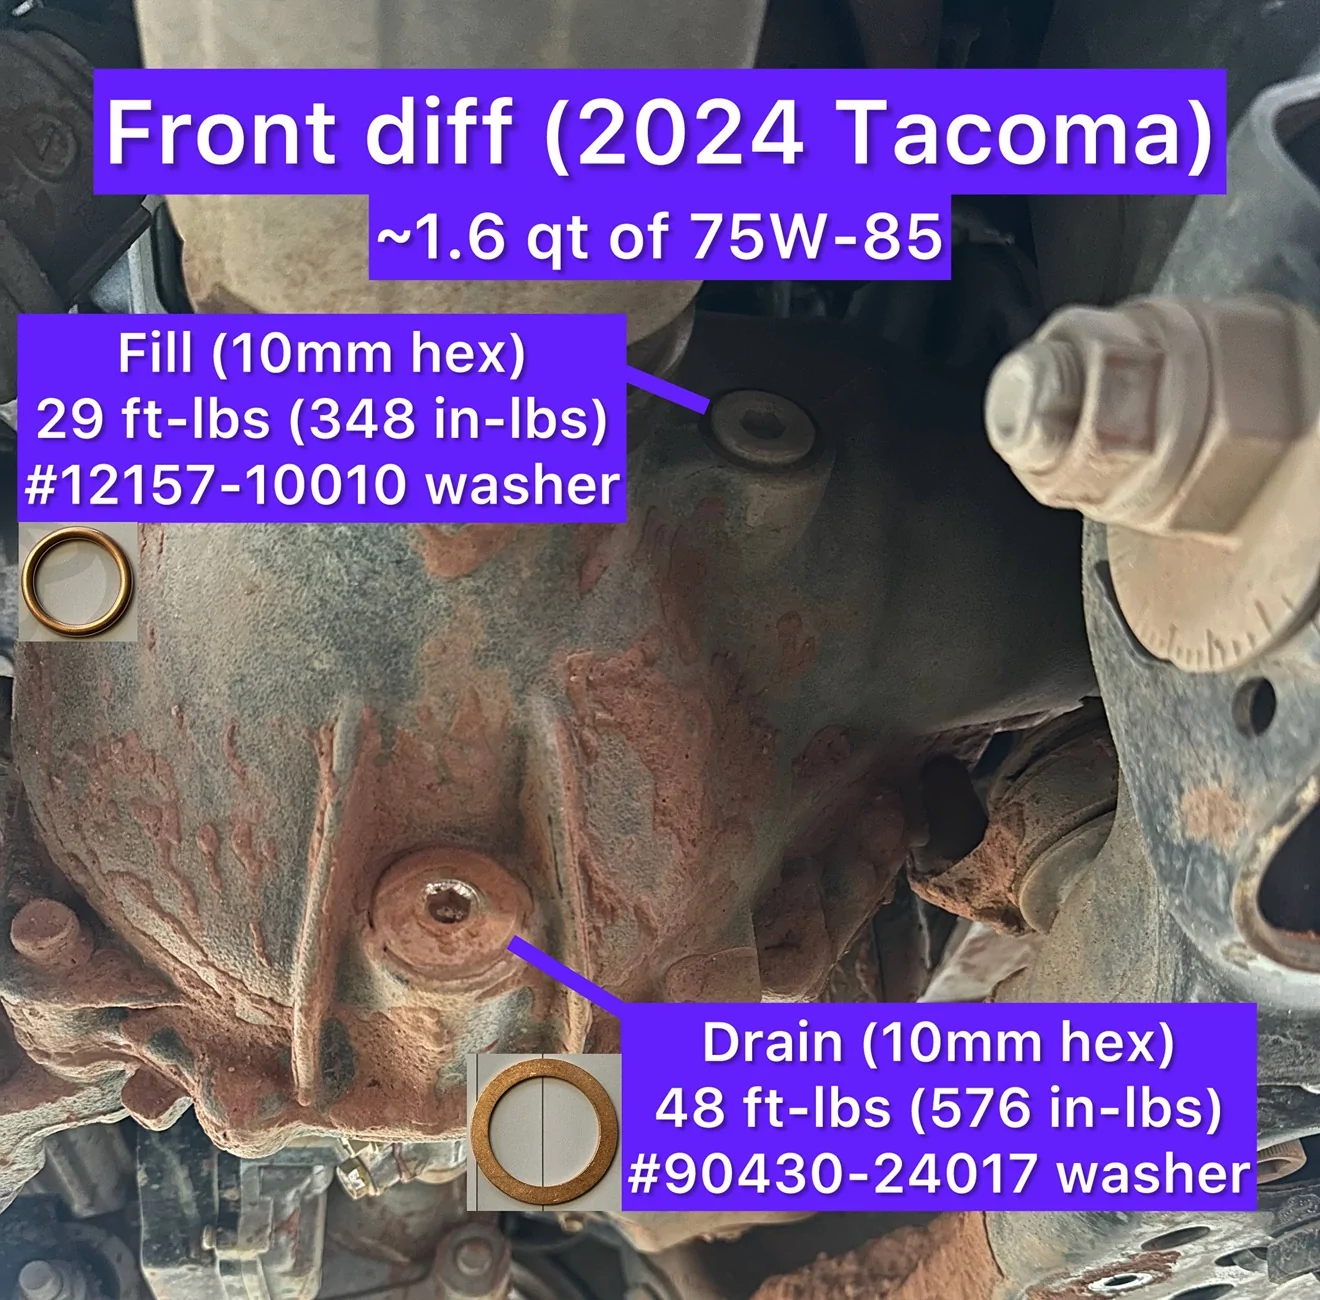
Front Differential
Approx 1.6 quarts of 75W-85 oil
Rear Differential
Approx 4.2 quarts of 75W-85 oil
Crush Washer Orientation: Smooth side toward the differential housing; rounded/seamed side toward the bolt head.
Required Parts
FRONT DIFFERENTIAL
Video of front differential change:

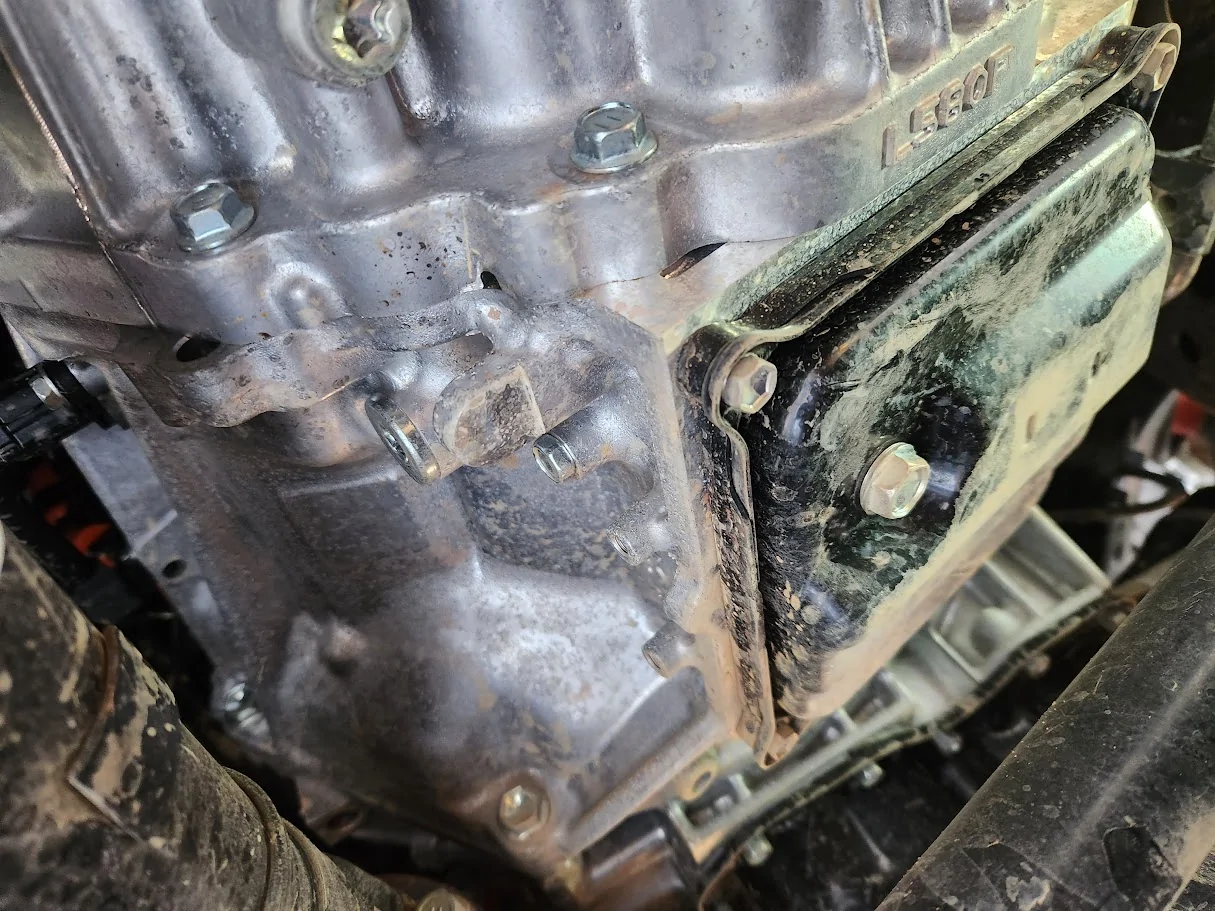
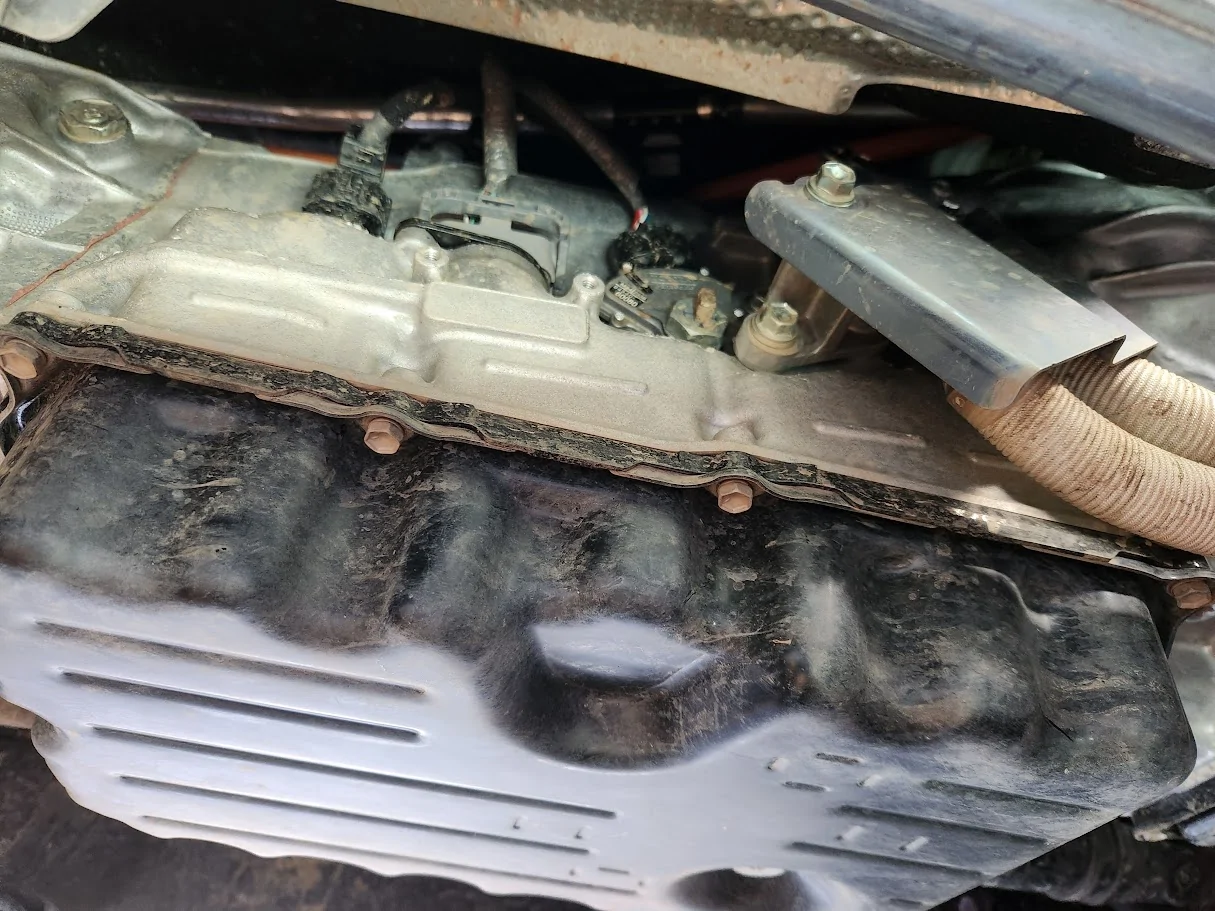
1. Remove Skid Plates
REAR DIFFERENTIAL
Video of rear differential change:
1. Lower Spare Tire
Quick Reference
Schedule
- 15,000 miles or 18 months if "driving while towing, using a car-top carrier, or heavy vehicle loading"
- Otherwise, says to just inspect every 15,000 / 18 months
Front Differential
Approx 1.6 quarts of 75W-85 oil
| Bolt | Tool | Torque Specs | Crush Washer Part # |
|---|---|---|---|
| Fill Bolt | 10mm hex bit | 29 ft‑lbs (348 in‑lbs) | 12157‑10010 |
| Drain Bolt | 10mm hex bit | 48 ft‑lbs (576 in‑lbs) | 90430‑24017 |
Rear Differential
Approx 4.2 quarts of 75W-85 oil
| Bolt | Tool | Torque Specs | Crush Washer Part # |
|---|---|---|---|
| Fill Bolt | 24mm socket | 36 ft‑lbs (432 in‑lbs) | 12157‑10010 |
| Drain Bolt | 24mm socket | 36 ft‑lbs (432 in‑lbs) | 12157‑10010 |
Crush Washer Orientation: Smooth side toward the differential housing; rounded/seamed side toward the bolt head.
Required Parts
- Gear Oil: 75W‑85 full synthetic gear oil, 6 quarts total for front + rear (with 6 qts, I still had extra left over)
- Preferred product: Amsoil Severe Gear 75W‑85
- Crush Washers:(Toyota part #'s)
- 3x: 12157‑10010 (2x for rear diff, and 1x for front fill bolt)
- 1x: 90430‑24017 (front drain bolt)
- Torque wrench that works with the 10mm hex and 24mm socket below
- Socket wrench + extensions
- Breaker wrench that works with the 10mm hex and 24mm socket below
- 10mm hex bit(front diff)
- These are uncommon, your standard toolset probably doesn't have this
- 24mm socket(rear diff)
- These are uncommon, your standard toolset probably doesn't have this
- 12mm socket (skid plates)
- Oil drain pan (capacity 6 qt+)
- Rags, gloves, shop towels
- Pump optional — squeeze‑pack oils worked for me
- Tools to lower spare tire (behind rear passenger seat)
- Perform this on level ground.
- Warm the drivetrain with a short drive for easier draining.
- Do not remove a drain bolt until you confirm the fill bolt can be loosened.
FRONT DIFFERENTIAL
Video of front differential change:
1. Remove Skid Plates
- Using a 12mm socket, remove the 8 bolts securing the two skid plates.
- Support the plates as you remove the final bolts—they can be awkward
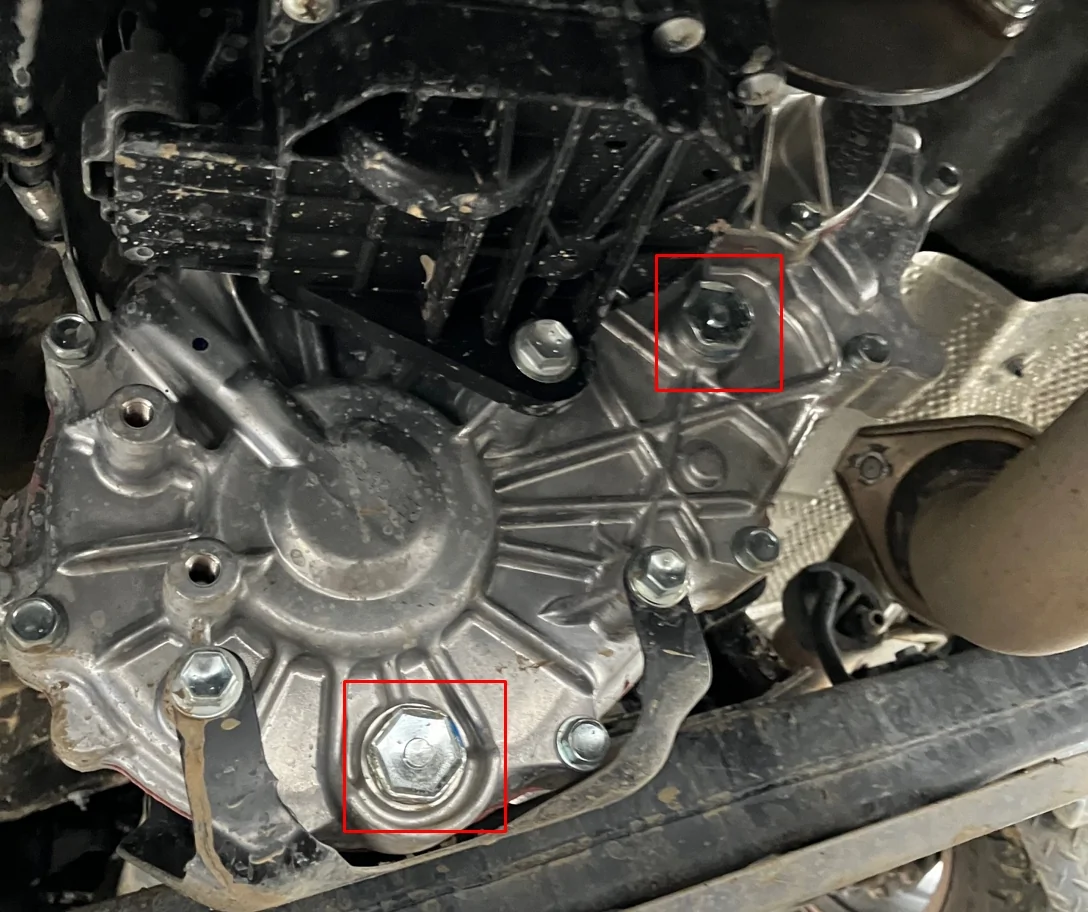
- Using a 10mm hex bit, break loose the fill bolt first
- Always loosen the fill bolt before draining... If it’s stuck, you’d be unable to refill the diff
- Do not fully remove it yet
- Place your oil pan under the differential
- Remove the 10mm hex drain bolt and drain into pan
- Dark oil with metallic shimmer is normal for diff fluid.
- Remove the fill bolt to help it drain completely
- Clean the metal sludge off of the magnetic end of the drain bolt
- Replace the old crush washer with #90430‑24017
- Verify no old washer is stuck on the housing
- Tighten the bolt to 48 ft‑lbs (576 in‑lbs)
- Add 1.4 qt (part-time 4WD) or 1.3 qt (fulltime 4WD) of 75W‑85 oil in fill hole until the oil slightly weeps out
- It can be difficult to reach the fill plug, but it's possible to use the 1 qt squeeze pouches (I used those and it worked okay) or you can use a pump
- Replace the old crush washer with #12157‑10010
- Verify no old washer is stuck on the housing
- Place smooth side toward the differential housing; rounded/seamed side toward the bolt head
- Tighten the bolt to 29 ft‑lbs (348 in‑lbs)
- Using a 12mm socket, reinstall the 8 bolts holding on the two skid plates
- You'll start by installing the rear skid plate first
- Torque specs are not necessary, snug them well
REAR DIFFERENTIAL
Video of rear differential change:
1. Lower Spare Tire
- Remove the tool kit from behind the rear passenger seat
- Insert and rotate the tool through the rear bumper port to lower the tire fully, then slide it out
- Using a 24mmsocket, break loose the fill bolt first
- The fill bolt is located high on the rear diff cover
- Loosen it first to ensure that refill won't be a problem
- Do not fully remove it yet
- Place your drain pan under the differential
- Remove the 24mm drain bolt and drain into pan
- Expect a larger volume than the front (4+ qts)
- Remove the fill bolt to help it drain completely
- Clean the metal sludge off of the magnetic end of the drain bolt
- Replace the old crush washer with #12157‑10010
- Verify no old washer is stuck on the housing
- Place smooth side toward the differential housing; rounded/seamed side toward the bolt head
- Tighten the bolt to 36 ft‑lbs (432 in‑lbs)
- Add 5.9 qt (except Trailhunter) or 6.9 qt (Trailhunter only) of 75W‑85 oil in fill hole until the oil slightly weeps out
- Fill through the upper port using squeeze packets or a pump
- The rear diff is very easy to refill using squeeze packets
- The correct level is reached when fluid begins to overflow the fill hole
- Fill through the upper port using squeeze packets or a pump
- Replace the old crush washer with #12157‑10010
- Verify no old washer is stuck on the housing
- Place smooth side toward the differential housing; rounded/seamed side toward the bolt head
- Tighten the bolt to 36 ft‑lbs (432 in‑lbs)
- Slide the tire back under, align the cable, and crank it up until fully seated
- Verify it is centered and snug
- Wipe down all components and confirm no leaks.
- Dispose of old gear oil properly (O'Reilly Auto / AutoZone / etc accepts it for free)
- Test drive for several minutes, then recheck for seepage.
- If a washer seems missing, it's often stuck to the housing. Remove it gently.
- You can do the entire job without lifting the truck, but lifting improves access.
- Slight metallic fuzz on magnets is normal; chunks are not.
Sponsored