- Thread starter
- #1
Whew,
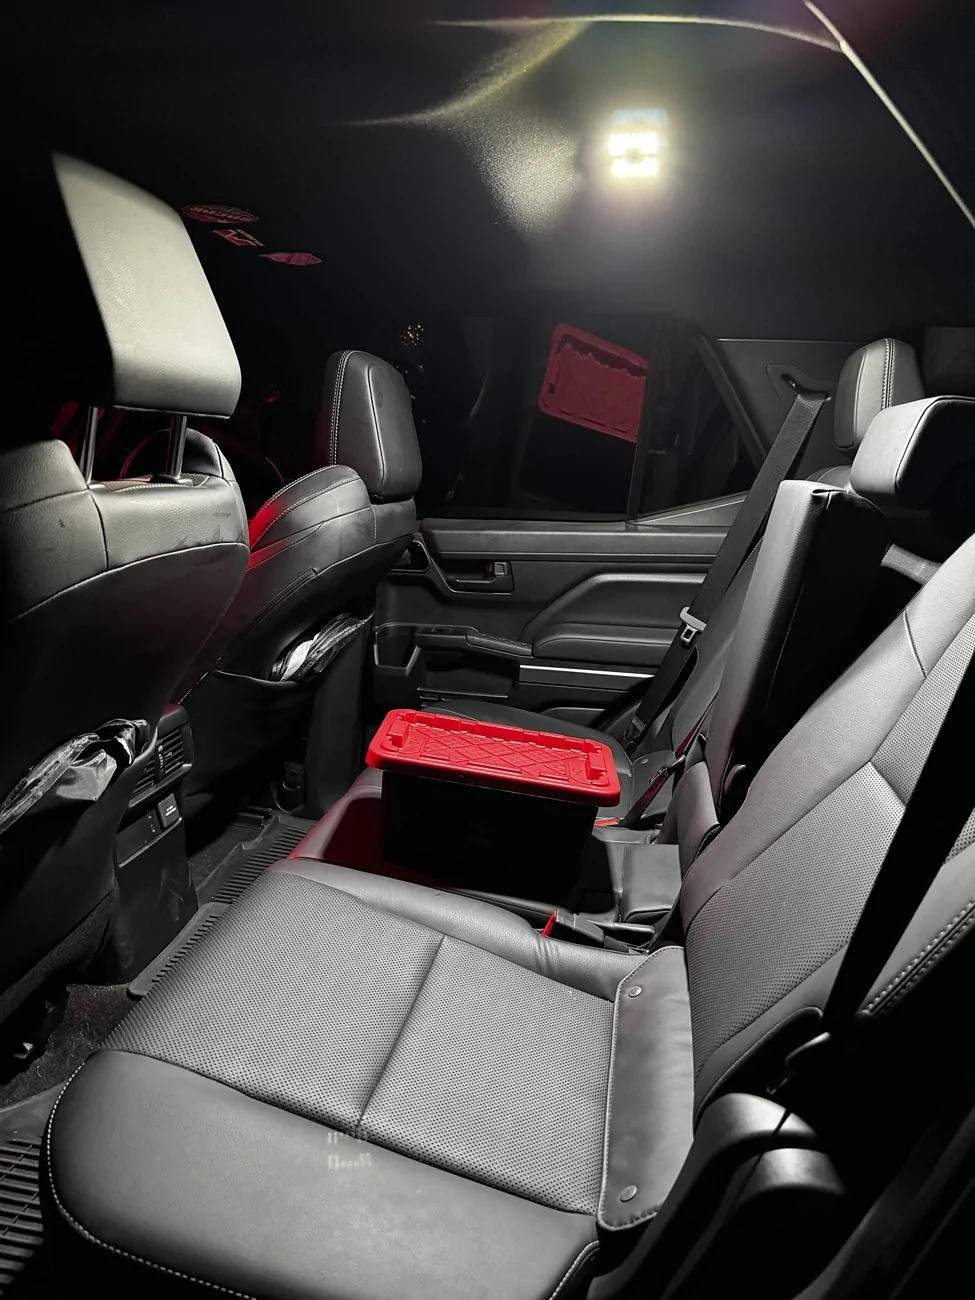
I just wrapped up installing the MESO custom dome lights for the front and rear of the 4Runner. Installation was pretty easy on the rear, just have to pop the light out, take out the original lighting, put the plug through the hole, plug it back in and pop the unit back into place.
Now.....the front two dome lights gave me the most trouble and it took a near 3 hours to install cause clips weren't moving, and I got hungry, so I had a dinner break. The first headache is getting the actual unit off itself. There's two clips that hold in the top unit, and they're held in by god himself. I used a pry tool just to give me a little more rooms with my fingers, but they still ended up getting destroyed after. A lot of the install videos I watched, it just pops out with a little bit of force, but I don't know if this was just me, I had to really pull down on it like if I was trying to break it. After that, I took it back inside to get the bezel off and that took me the longest simply because the clips weren't complying with me. I watched 3 different install videos on how to do it, and all I can say is, have patience when working with the 6 clips you have to remove to get the bezzle off. In the process of trying to get the clips out, I broke like 3 of them cause they're plastic, but when it came to putting the bezel back on, they all snapped into place no problem. When getting the 6 clips off for the bezel, the clips have to go TOWARDS the housing. It might take a little time and finesse to get them out. I use a flat head screwdriver to push them towards the housing, and then came in with my pry tool to pop it out of there.
**I disconnected the battery before install, you don't have to, but MESO does recommend it
After you get the bezel off, it's a cake walk from there. The top piece pops out super easy, light's pop out easy and then all you have left is to drill the 4 holes. I used Tacoma Lifestyle video to get the exact points to drill. Once you drill, run the wires through the holes and then snap everything into place, you're pretty much done. The only thing left is to plug it back in, and then put the entire unit back in.
*They recommend a file to run the wire through the hole for the rear side, but you don't need it.
Also, this happened to me, so just going to write it down here incase it happens to someone else. Once I installed all the lights and turned them on, the passenger side light would stay on even with the switch selected to OFF. I'm guessing I pressed the button before the install, therefore turning it on before it got plugged in, but I am not sure. However, to fix this, all I did was disconnect the negative terminal off the battery, waited a few minutes, pressed the button the light itself once, and it started working properly with the door features.
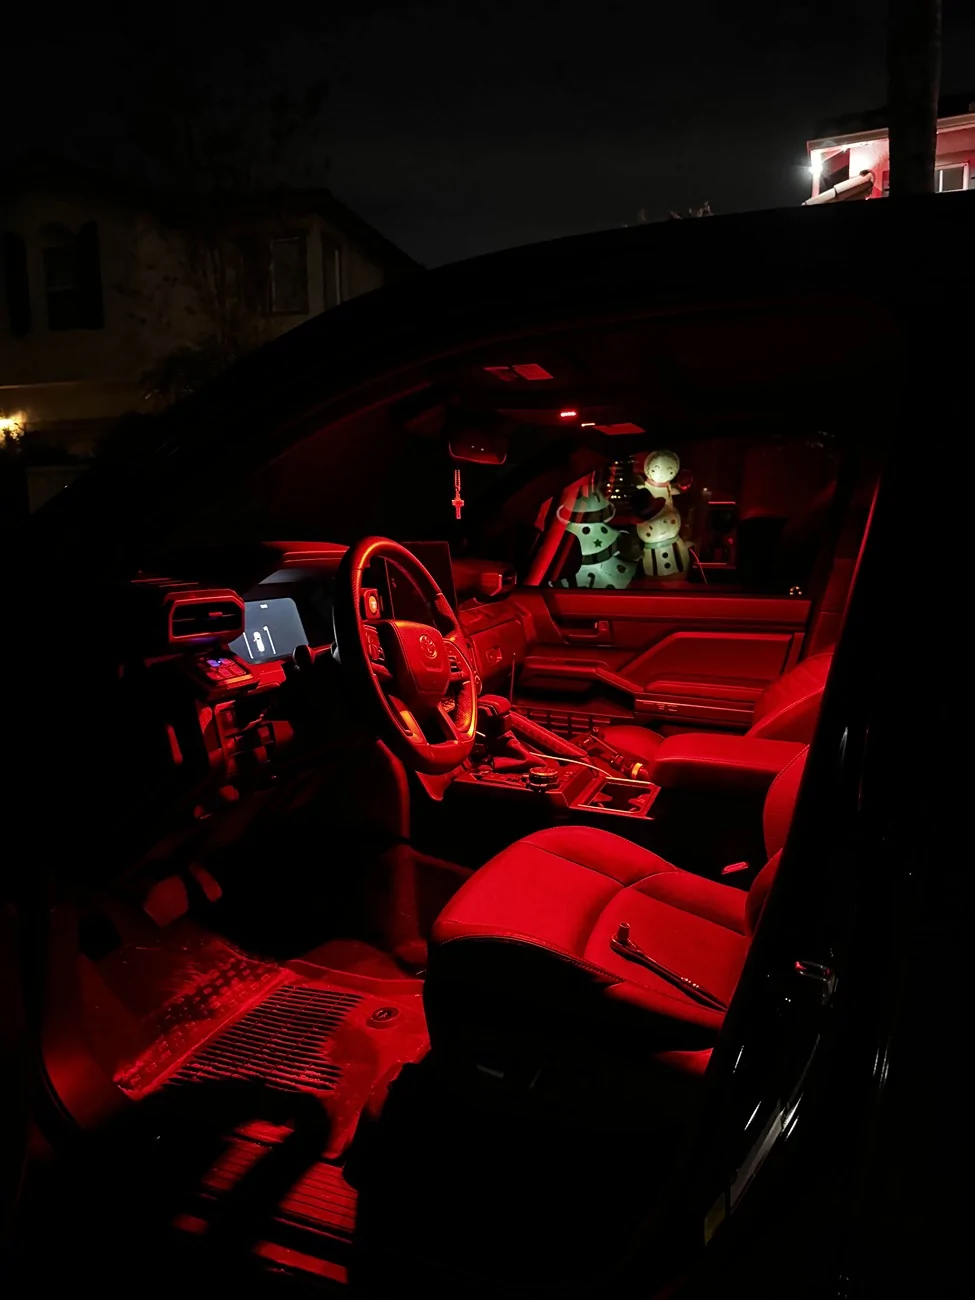
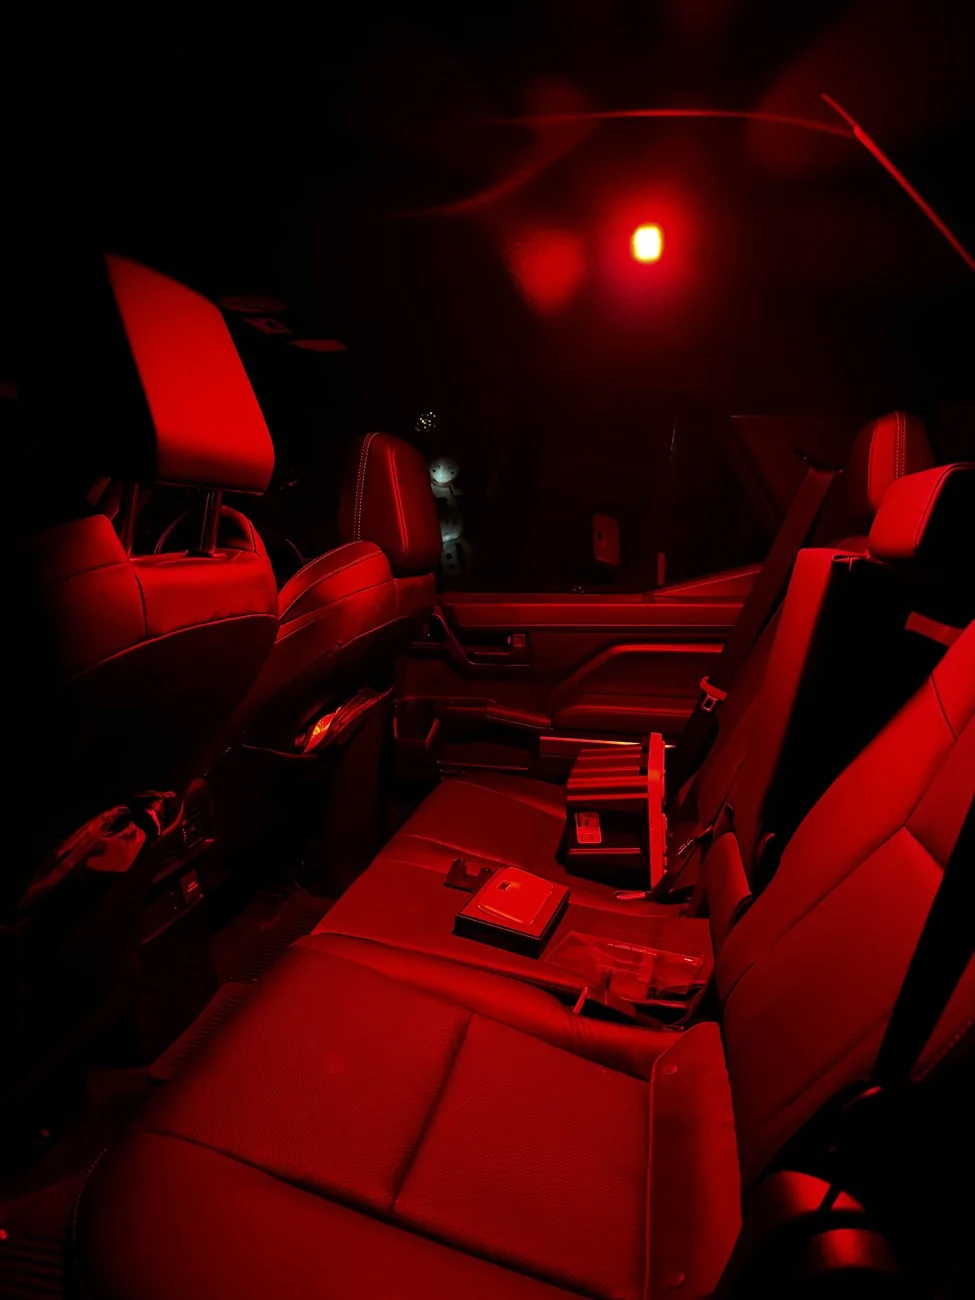
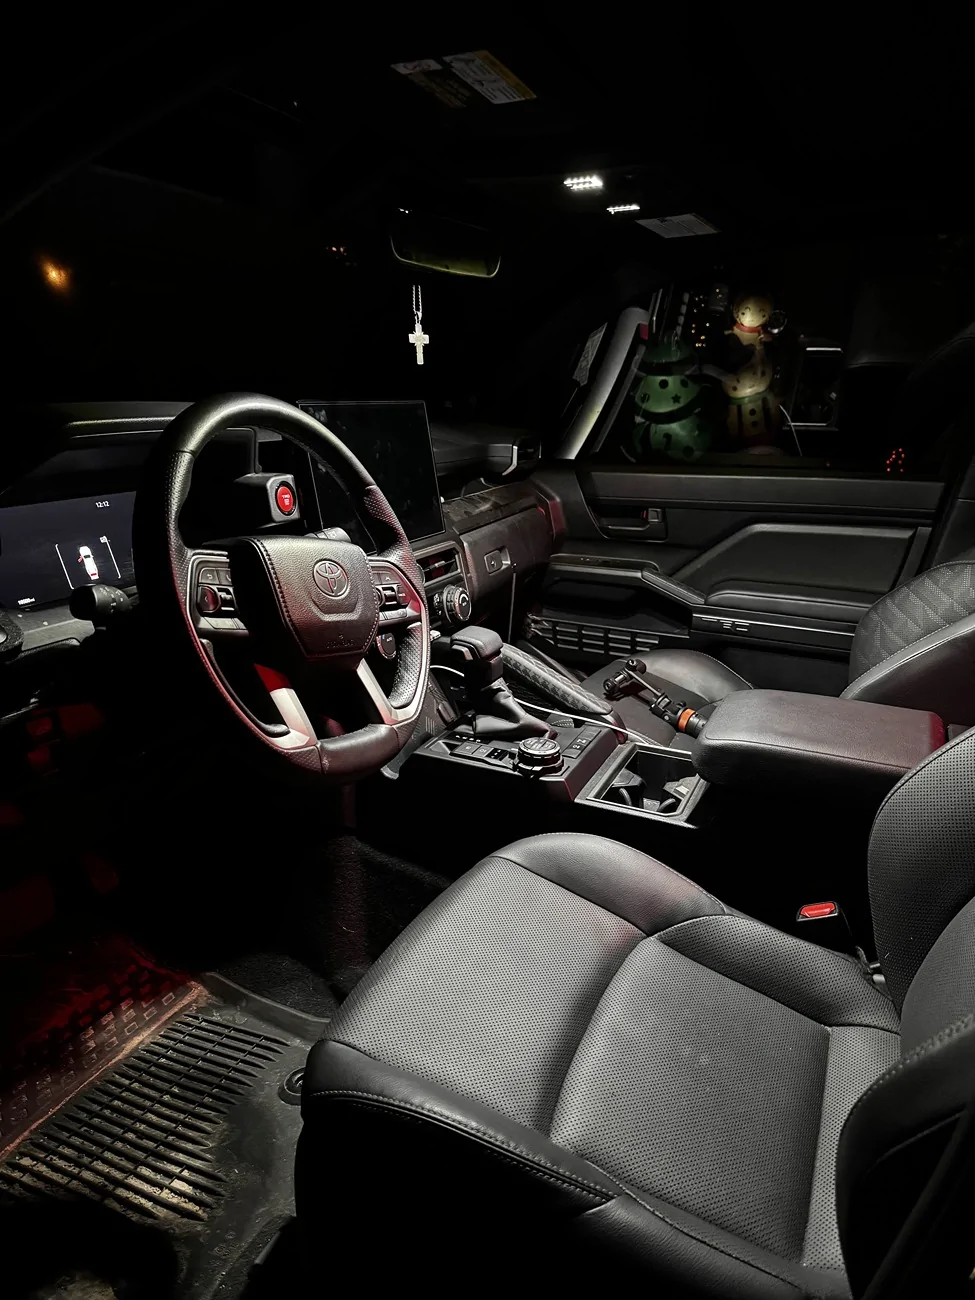
Overall, I am super happy with how it turned out, the LED's are almost too bright for me, but the red lighting is perfect. I think that will be my to go lighting for now on. Just waiting for the cargo lights now!

Here's all the videos I used to help with installation.
I just wrapped up installing the MESO custom dome lights for the front and rear of the 4Runner. Installation was pretty easy on the rear, just have to pop the light out, take out the original lighting, put the plug through the hole, plug it back in and pop the unit back into place.
Now.....the front two dome lights gave me the most trouble and it took a near 3 hours to install cause clips weren't moving, and I got hungry, so I had a dinner break. The first headache is getting the actual unit off itself. There's two clips that hold in the top unit, and they're held in by god himself. I used a pry tool just to give me a little more rooms with my fingers, but they still ended up getting destroyed after. A lot of the install videos I watched, it just pops out with a little bit of force, but I don't know if this was just me, I had to really pull down on it like if I was trying to break it. After that, I took it back inside to get the bezel off and that took me the longest simply because the clips weren't complying with me. I watched 3 different install videos on how to do it, and all I can say is, have patience when working with the 6 clips you have to remove to get the bezzle off. In the process of trying to get the clips out, I broke like 3 of them cause they're plastic, but when it came to putting the bezel back on, they all snapped into place no problem. When getting the 6 clips off for the bezel, the clips have to go TOWARDS the housing. It might take a little time and finesse to get them out. I use a flat head screwdriver to push them towards the housing, and then came in with my pry tool to pop it out of there.
**I disconnected the battery before install, you don't have to, but MESO does recommend it
After you get the bezel off, it's a cake walk from there. The top piece pops out super easy, light's pop out easy and then all you have left is to drill the 4 holes. I used Tacoma Lifestyle video to get the exact points to drill. Once you drill, run the wires through the holes and then snap everything into place, you're pretty much done. The only thing left is to plug it back in, and then put the entire unit back in.
*They recommend a file to run the wire through the hole for the rear side, but you don't need it.
Also, this happened to me, so just going to write it down here incase it happens to someone else. Once I installed all the lights and turned them on, the passenger side light would stay on even with the switch selected to OFF. I'm guessing I pressed the button before the install, therefore turning it on before it got plugged in, but I am not sure. However, to fix this, all I did was disconnect the negative terminal off the battery, waited a few minutes, pressed the button the light itself once, and it started working properly with the door features.
Overall, I am super happy with how it turned out, the LED's are almost too bright for me, but the red lighting is perfect. I think that will be my to go lighting for now on. Just waiting for the cargo lights now!
Here's all the videos I used to help with installation.
Sponsored