
Sponsored
FITCAMX dash cam install - step by step how-to DIY (on 2025+ 4runner 6th gen)

OP
OP

- First Name
- Van
- Joined
- May 20, 2025
- Threads
- 16
- Messages
- 463
- Reaction score
- 309
- Location
- Calgary / Canada
- Vehicle(s)
- 4Runner
- Thread starter
- #107
Happy Halloween get 10% off your FITCAMX order use link below for fast shipping.
https://fitcamx.com/?sca_ref=9482025.Fys4ufUrJO

https://fitcamx.com/?sca_ref=9482025.Fys4ufUrJO

OP
OP
- First Name
- Van
- Joined
- May 20, 2025
- Threads
- 16
- Messages
- 463
- Reaction score
- 309
- Location
- Calgary / Canada
- Vehicle(s)
- 4Runner
- Thread starter
- #108
When needing to connect to the Camera disconnect the CarPlay.
OP
OP
- First Name
- Van
- Joined
- May 20, 2025
- Threads
- 16
- Messages
- 463
- Reaction score
- 309
- Location
- Calgary / Canada
- Vehicle(s)
- 4Runner
- Thread starter
- #109
4K I have used them on my last 4 vehicles it's clean and well behavedMine arrived today! Just need my 4runner to arrive now! lol How's the video quality?
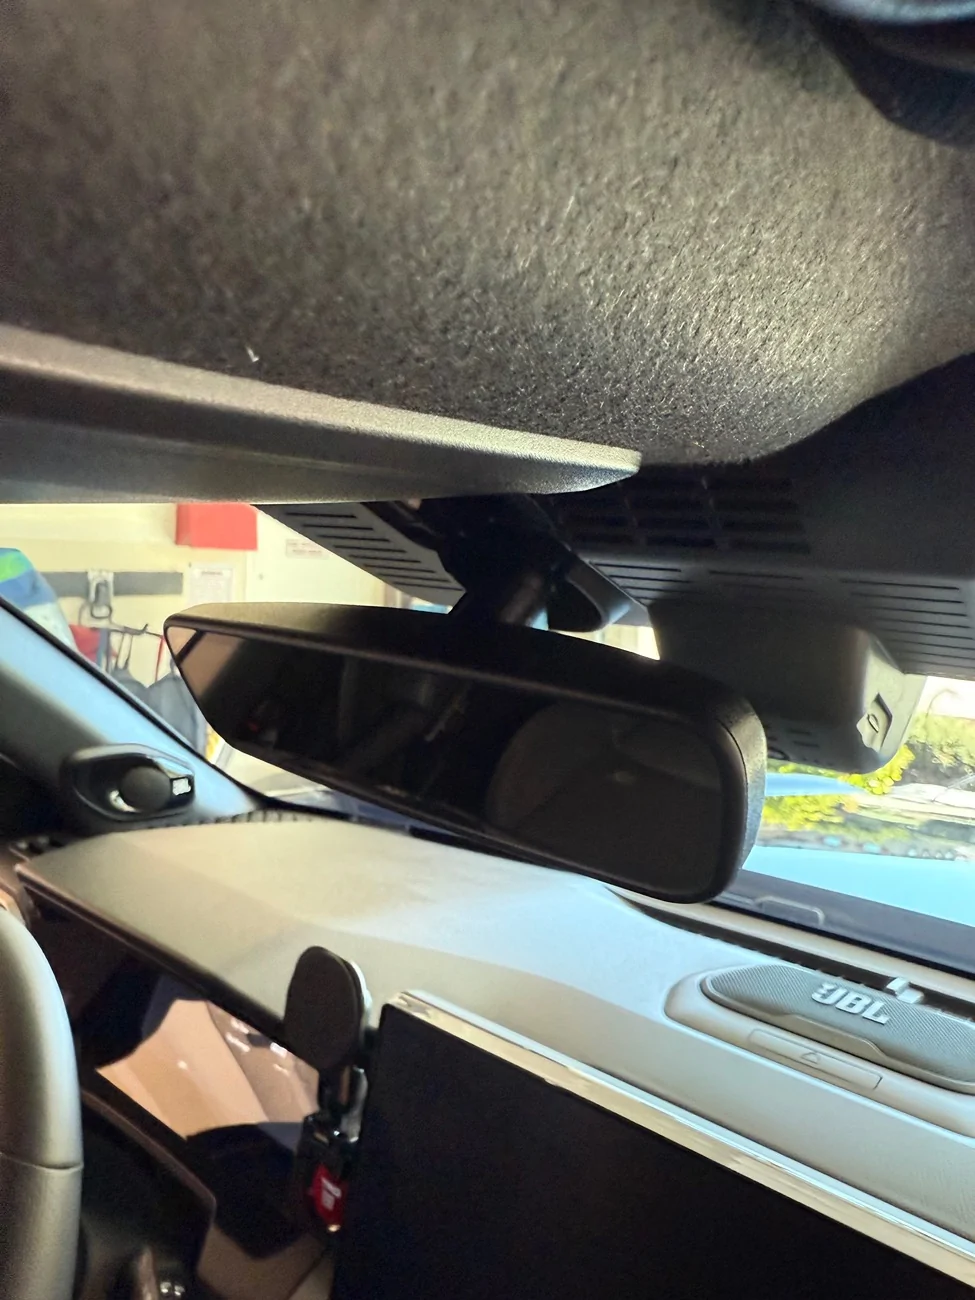
Thanks. I just installed the OEM dashcam because I got one from eBay for really cheap new without box.Didn't take any pictures but if you watch this video for the Meso Customs light install its the same thing. In this video, they make it look really easy, and it wont be that easy... It just pops out but it takes a lot of force that first time you do it, and you have to be careful that when your pulling down on it, your pulling down on the whole assembly and not just the bezel that's around the outside as you will snap the clips on the bezel if you pull it. There is not a lot of room and it will be pinching your fingers so its just a PITA, its not hard just learn from my mistakes and take more care with the bezel. At the time, I didn't realize it was just the bezel coming down so I kept pulling.

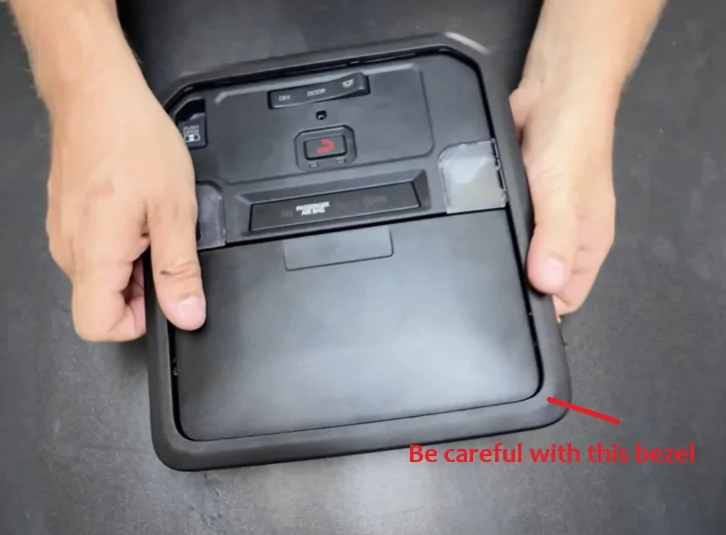
Removing the map light console was the toughest part. At first, I was afraid I’d break something and spent a lot of time being too gentle. Later, I found out that besides the bezel, there’s really nothing fragile — the console is held by four solid clips that don’t break easily. Once I knew that, I went back, pushed my fingers all the way in and pulled it down with confidence, and it popped right out in two seconds. Nothing broke!

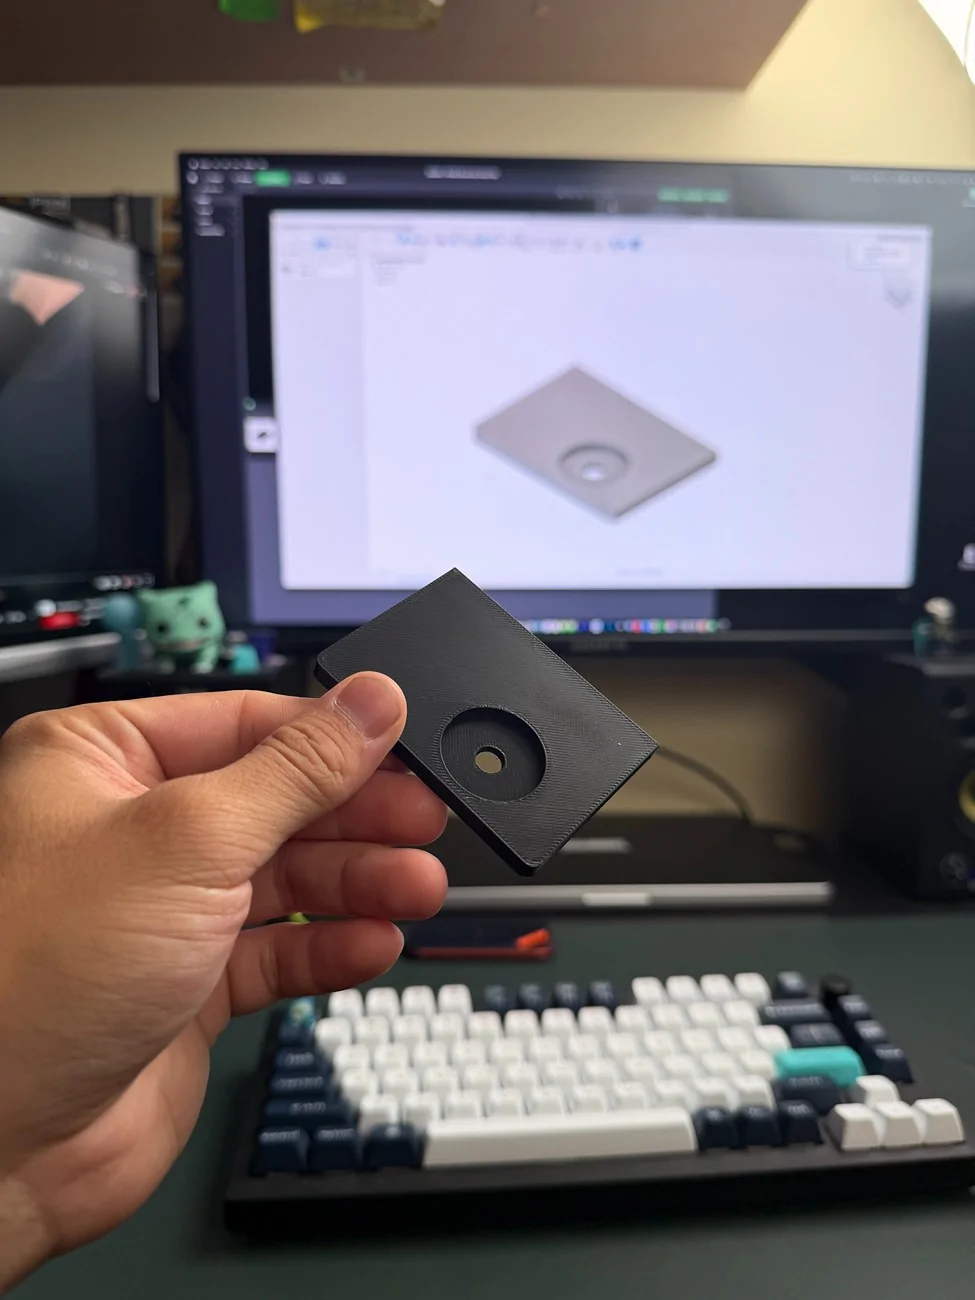
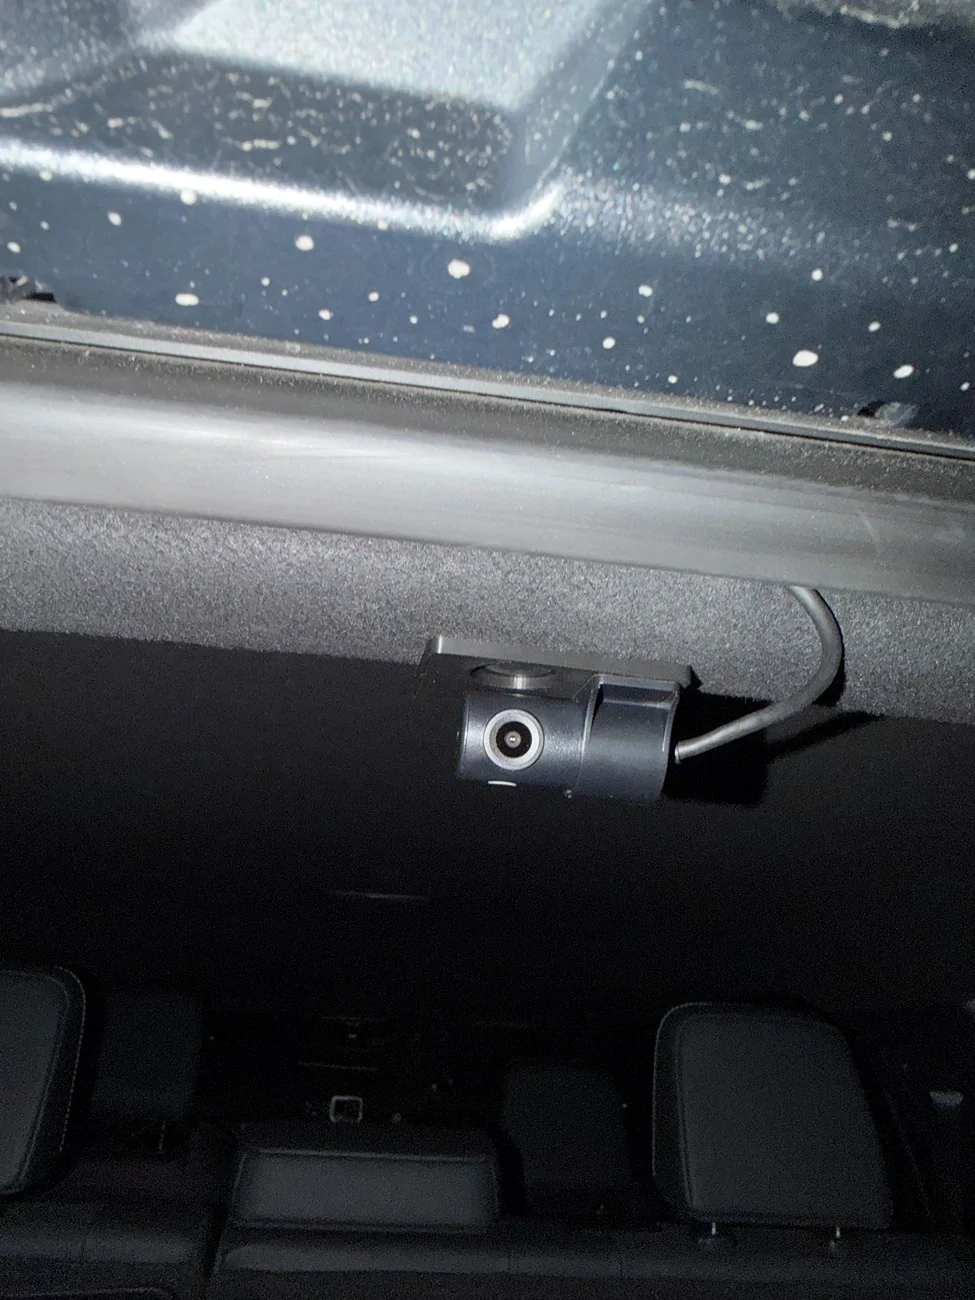
Hi! Please share the 3D Print file for the rear mount for the FITCAMX!! Thanks a bunch.This is my second installation of the Fitcamx for the 4Runner. I had previously been helping with testing their prototypes. This time I asked to receive the additional rear camera. Routing the cable is simple honestly. They give you more than enough, however there isn't a lot of spots to actually mount the camera in the back. And I didn't want to obstruct the window or run the cable through the trunk.
Decided to design a 3D printed plate that can be mounted to the roof liner pin above the trunk. With some velcro on the other side, the plate itself does not move at all once secured back through with the pin. I also designed the plate to align itself with the camera to have it centered perfectly. I have a full view of the back as the camera is extremely wide.


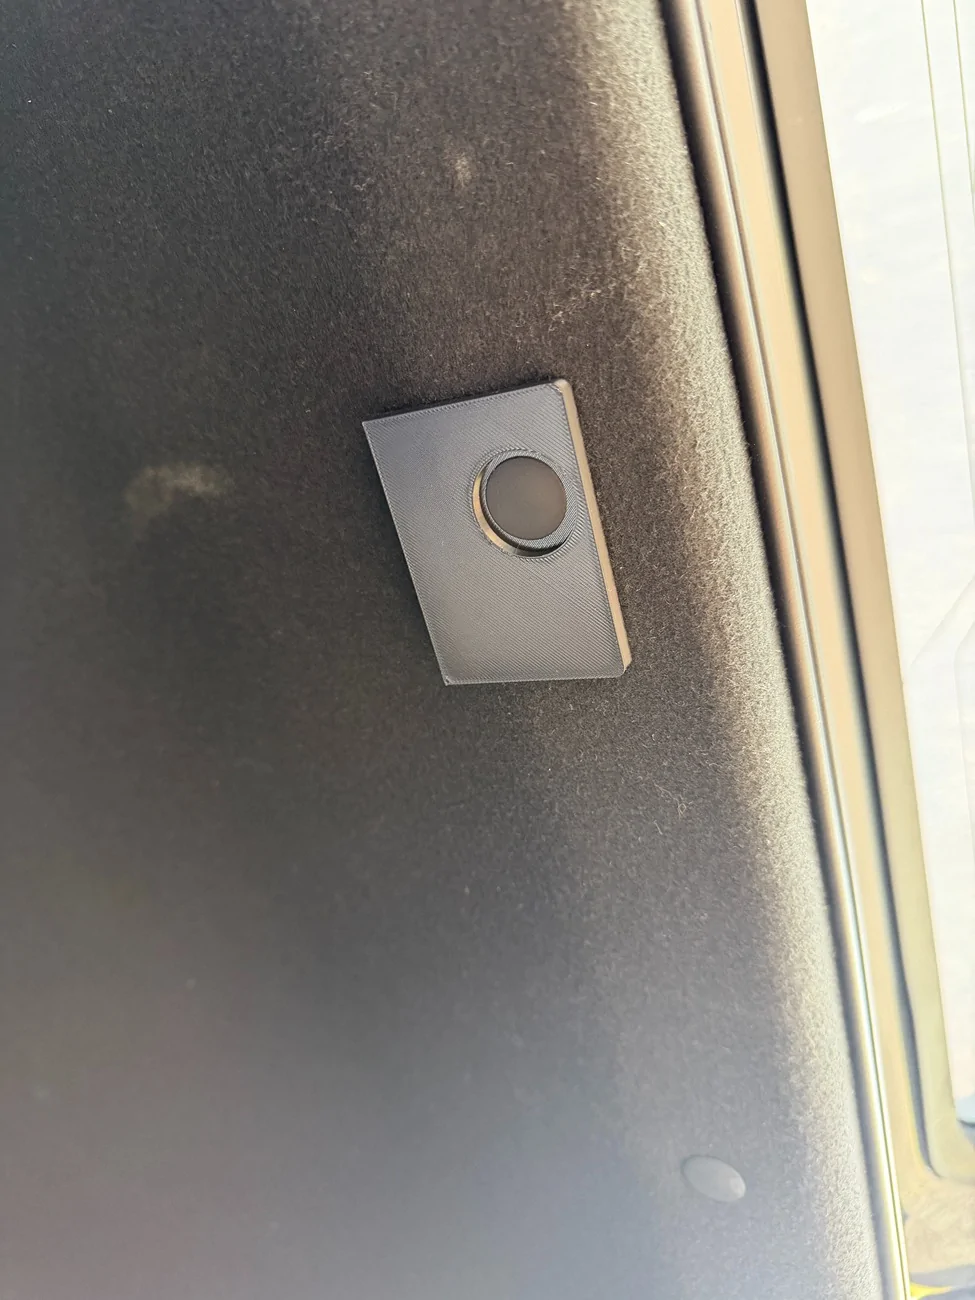
Anyways, it's done. Thanks y'all


Were you able to get the parking mode working with the cable? I have the same setup with the sienna cable but the camera's not recording when car is parked.
I have not driven my car much but I have noticed it kicked in a few times when I'm cleaning and waxing the Runner.Were you able to get the parking mode working with the cable? I have the same setup with the sienna cable but the camera's not recording when car is parked.
STL?This is my second installation of the Fitcamx for the 4Runner. I had previously been helping with testing their prototypes. This time I asked to receive the additional rear camera. Routing the cable is simple honestly. They give you more than enough, however there isn't a lot of spots to actually mount the camera in the back. And I didn't want to obstruct the window or run the cable through the trunk.
Decided to design a 3D printed plate that can be mounted to the roof liner pin above the trunk. With some velcro on the other side, the plate itself does not move at all once secured back through with the pin. I also designed the plate to align itself with the camera to have it centered perfectly. I have a full view of the back as the camera is extremely wide.
I remixed a different mount I found on Thingiverse and made some alterations.STL?
https://www.printables.com/model/1581358
https://www.thingiverse.com/thing:7286726
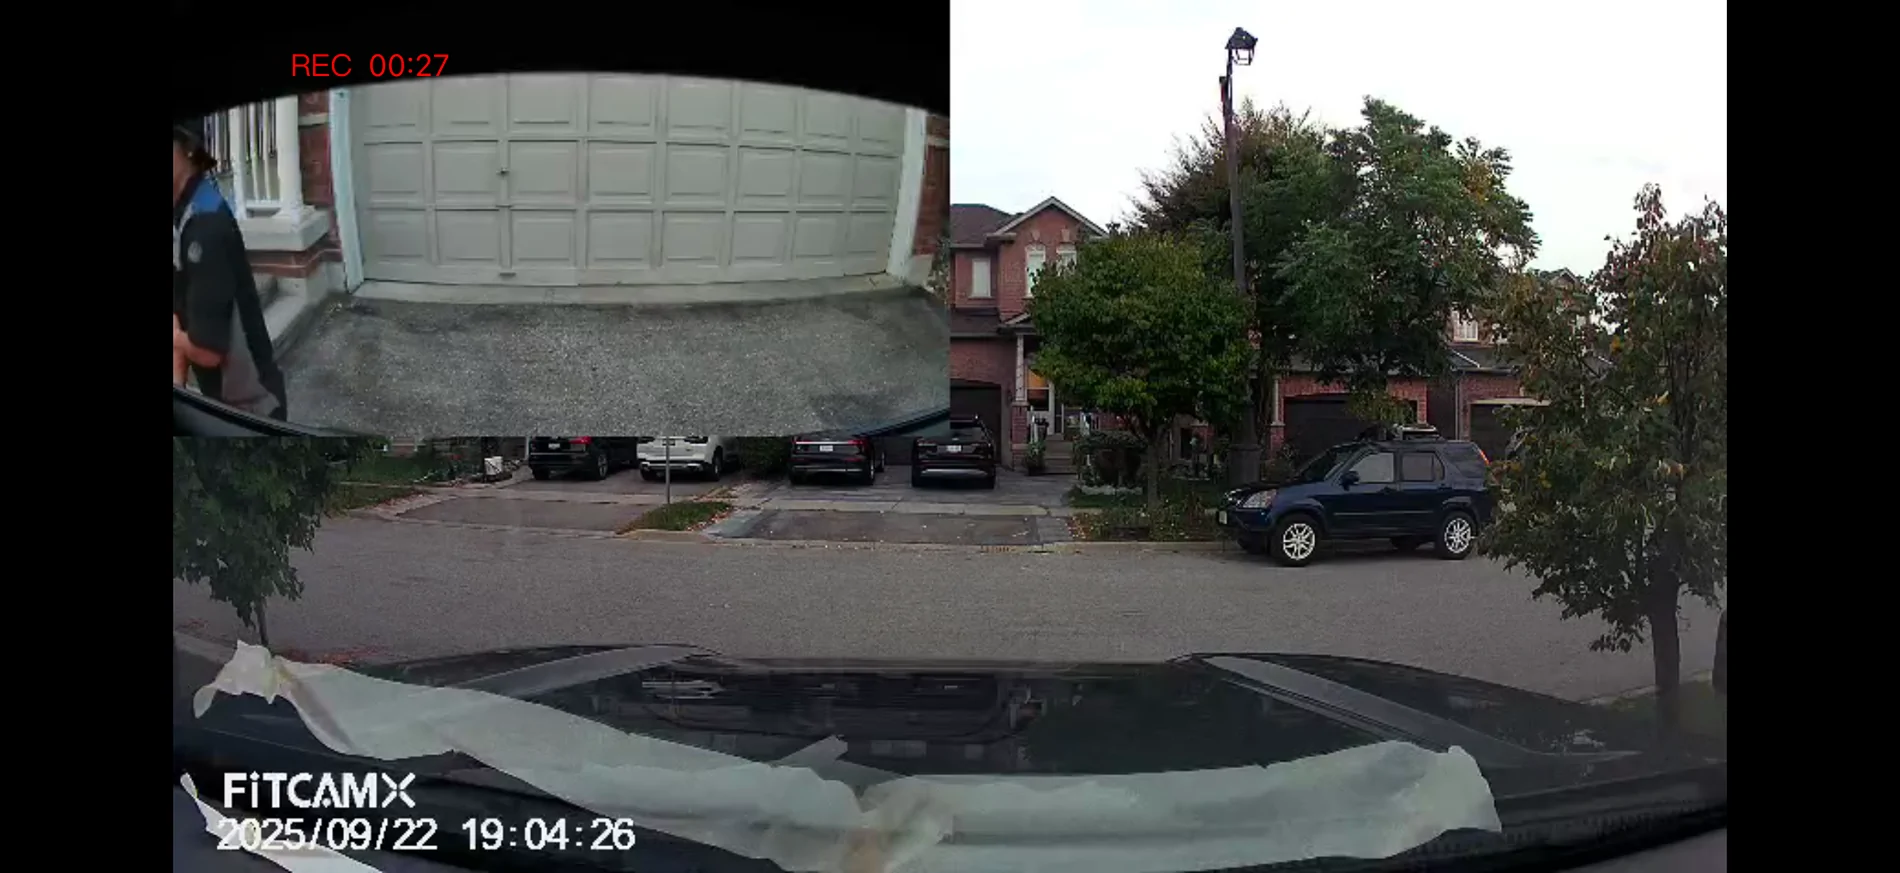
I have been having major issues with my FitcamX after installing recently. I have the dual camera 4k version and it has been deleting videos, or straight up not recording on every drive. I contacted the company and they responded quickly with a new firmware update.
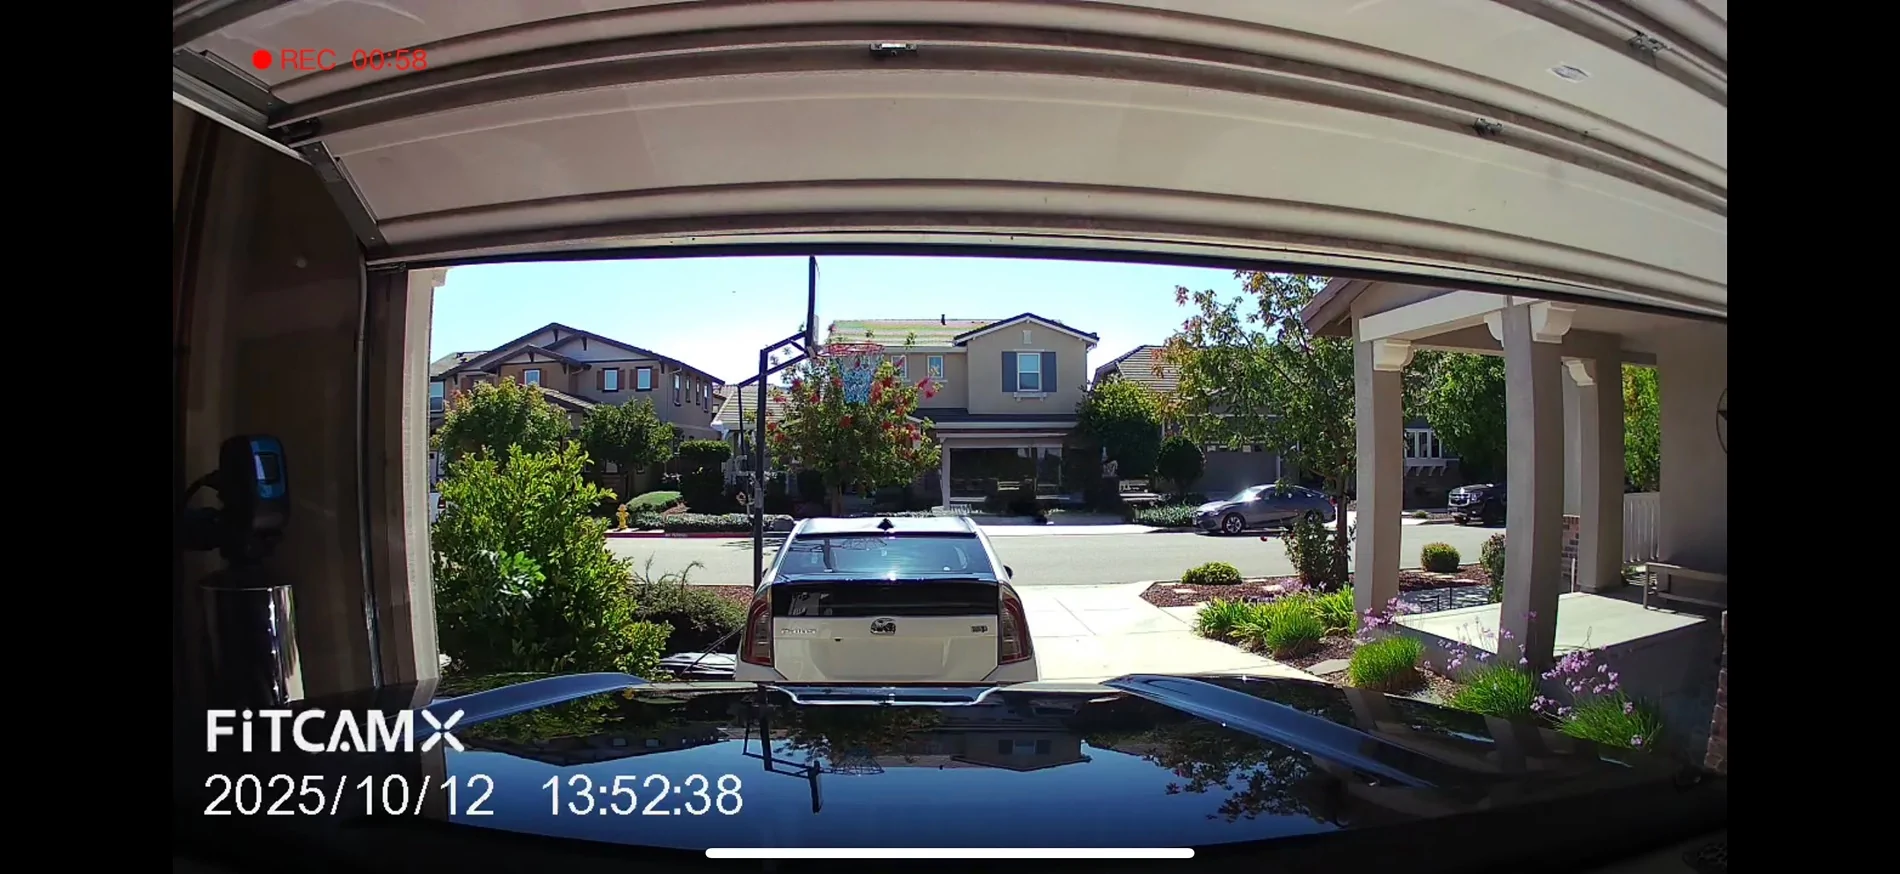
Just a reminder to confirm your camera is working...
Just a reminder to confirm your camera is working...
Hello,
Please follow the steps below to upgrade the firmware:
Download the Firmware
Download the firmware file (TY970C_4653_20251115_0947_4kdual) from the following link: REDACTED to prevent liability
Preparation – Create the Upgrade Card
Insert a microSD card into your computer and format it using the following settings:
- File System: FAT32 or exFAT
- Allocation Unit Size: 32KB
Important: Formatting is required before proceeding.
After formatting, copy the file [LD****A.bin] to the root directory of the SD card first.
Next, copy the file [FW****A.bin] to the SD card.
Upgrade Process
Best regards,
FITCAMX Support Team
Sponsored
Similar threads
- Replies
- 2
- Views
- 2,067
- Replies
- 24
- Views
- 13,697
- Replies
- 19
- Views
- 55,723
- Replies
- 11
- Views
- 3,716
- Replies
- 6
- Views
- 7,388