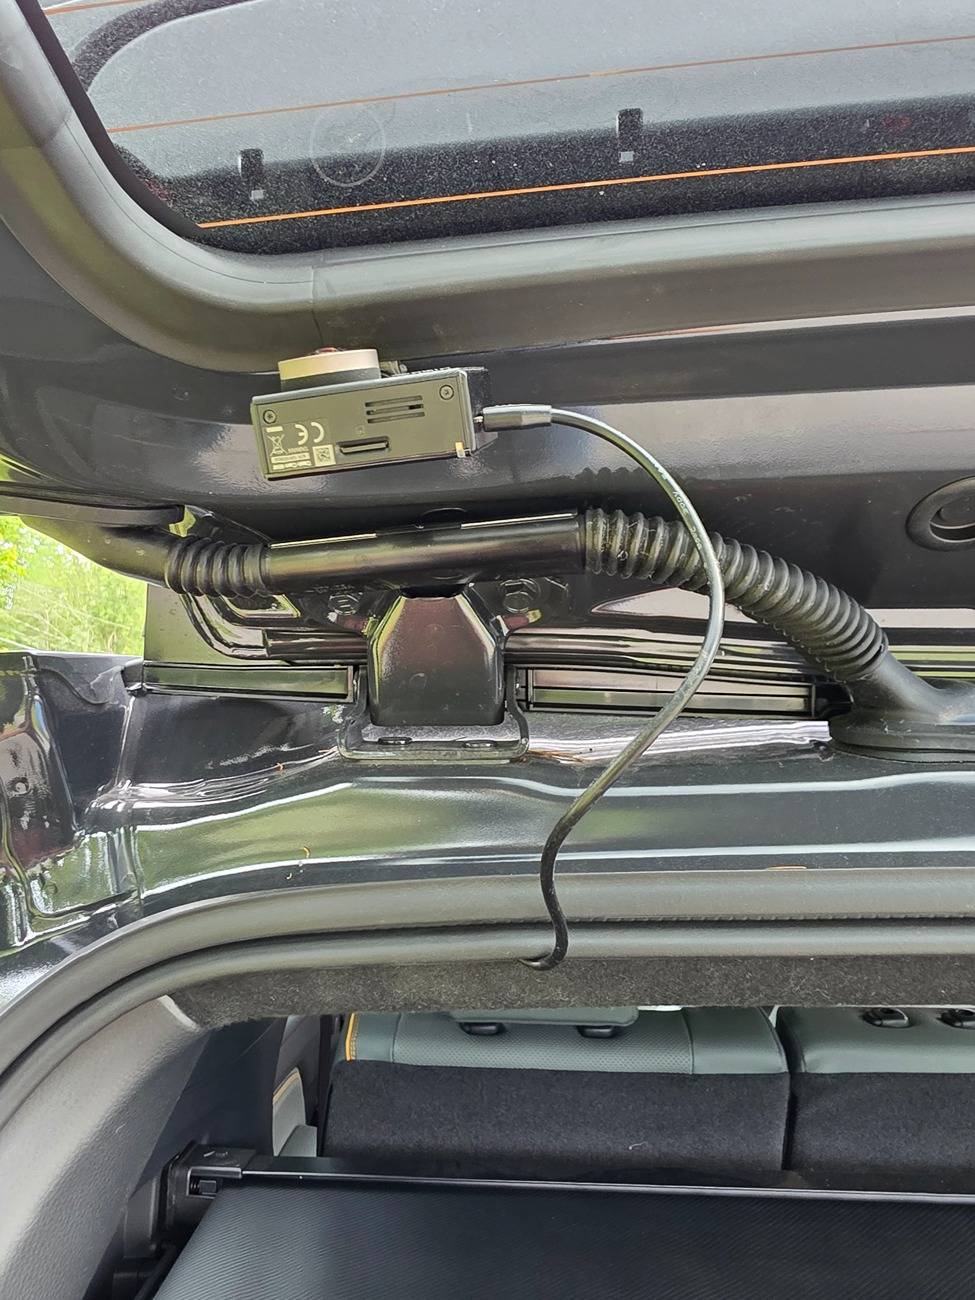
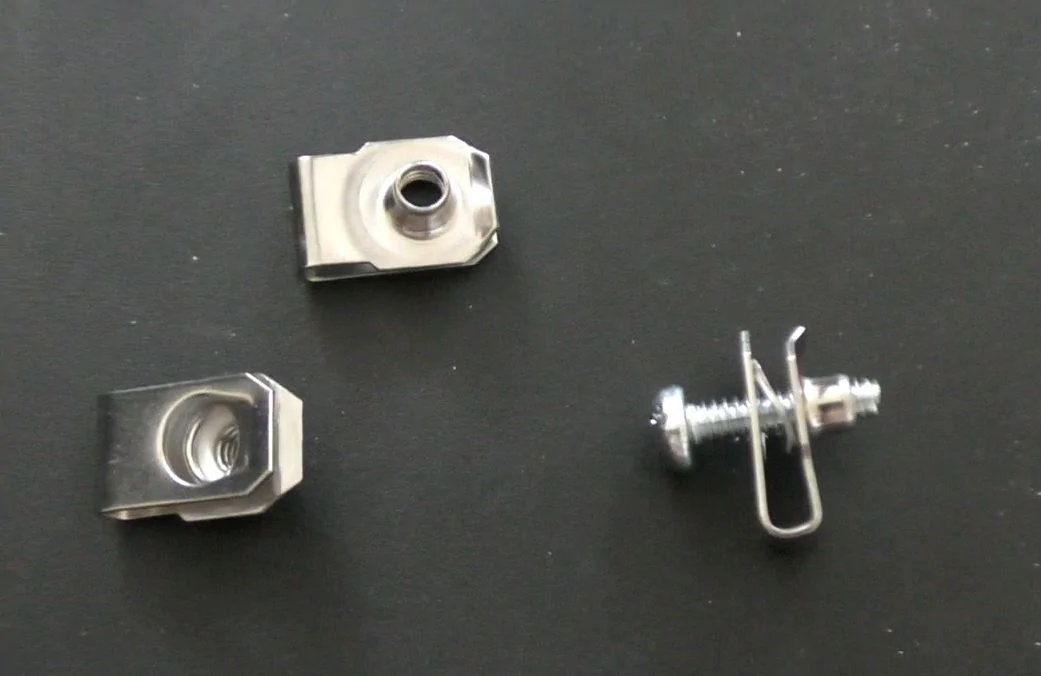
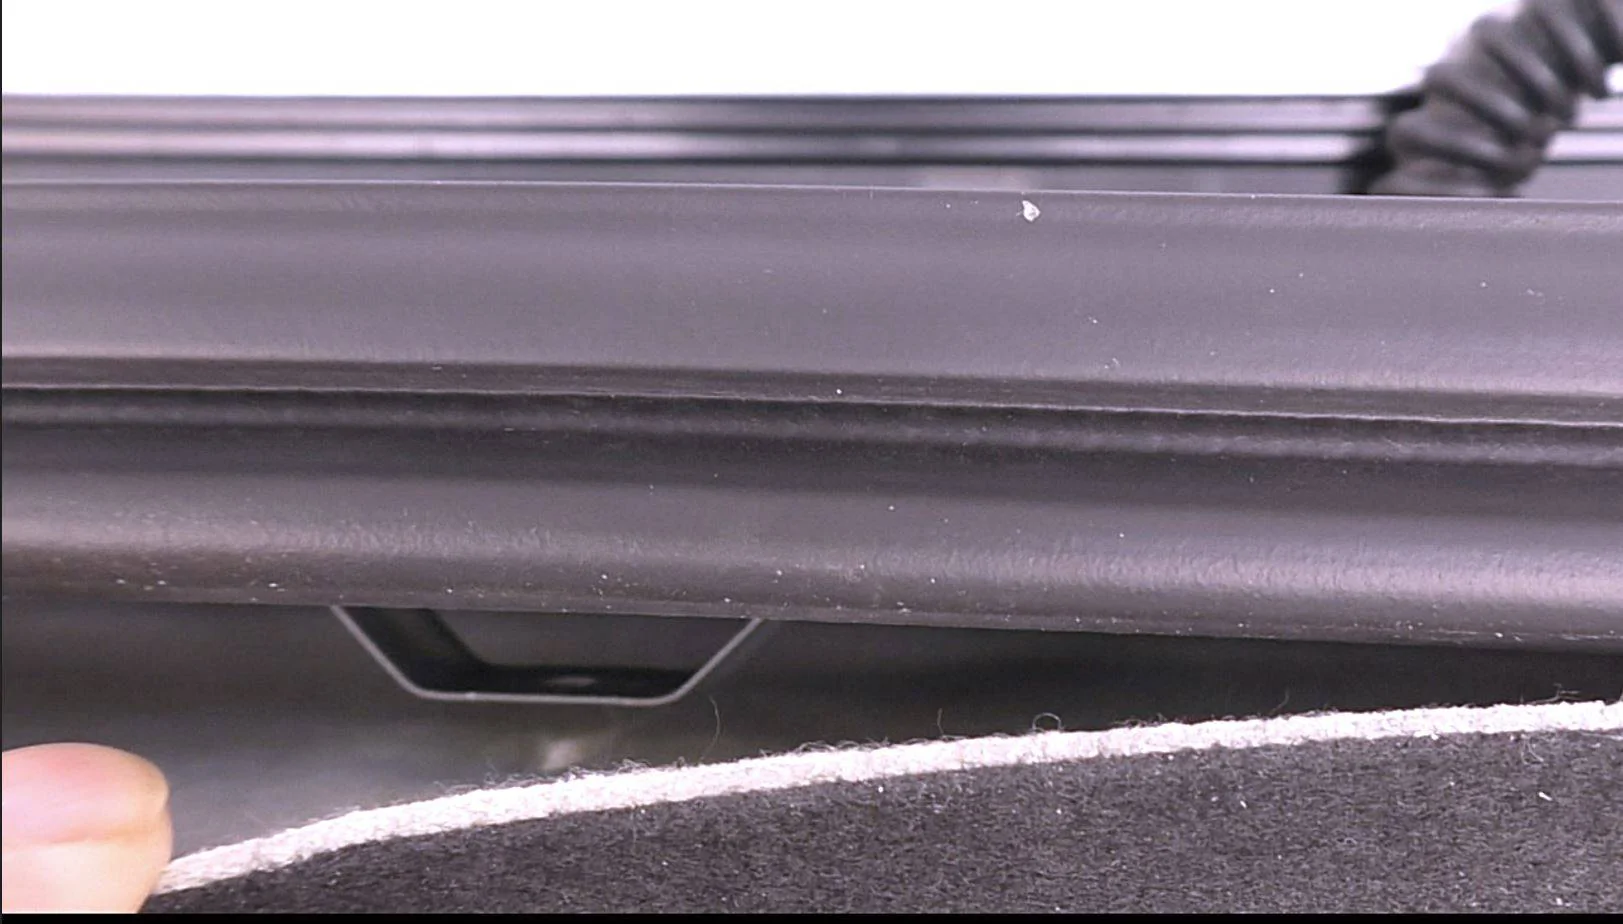
Just to provide a visual on this, here's a pic of the metal bracket that the headliner plug (or screw) goes in to. You can only see the bracket if you pull the headliner out of the way. This is a zoomed pic with the rear hatch open, zoomed in at the top-middle of the rear opening, and also showing that the headliner, while being somewhat rigid, is flexible enough to pull it down and deform it a bit with your finger. Once you're done, you can mash the headliner back in place and squeeze it strategically to get it to fit back under the weather stripping.No the weight of the camera doesn’t factor in because it is clipped into the roof with the factory headliner clip. It probably looks like that because I pulled the headliner down to see what it looks like in there and to more easily remove the clip. Or maybe it always look like that I never noticed it.
If you look carefully at the pic you can see a fuzzy white dot area right below the hole in the middle of the bracket (this is where the plastic headliner plug comes through from the visible side of the headliner and plugs into the bracket)
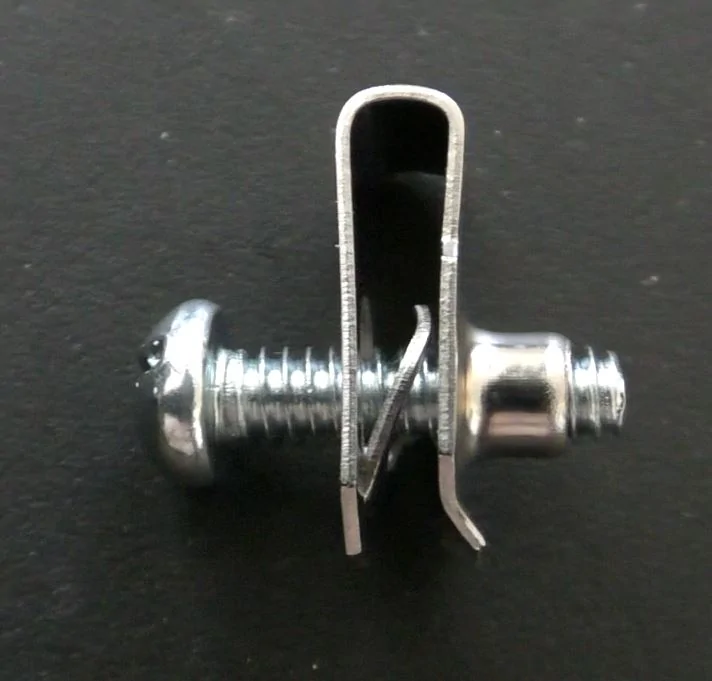
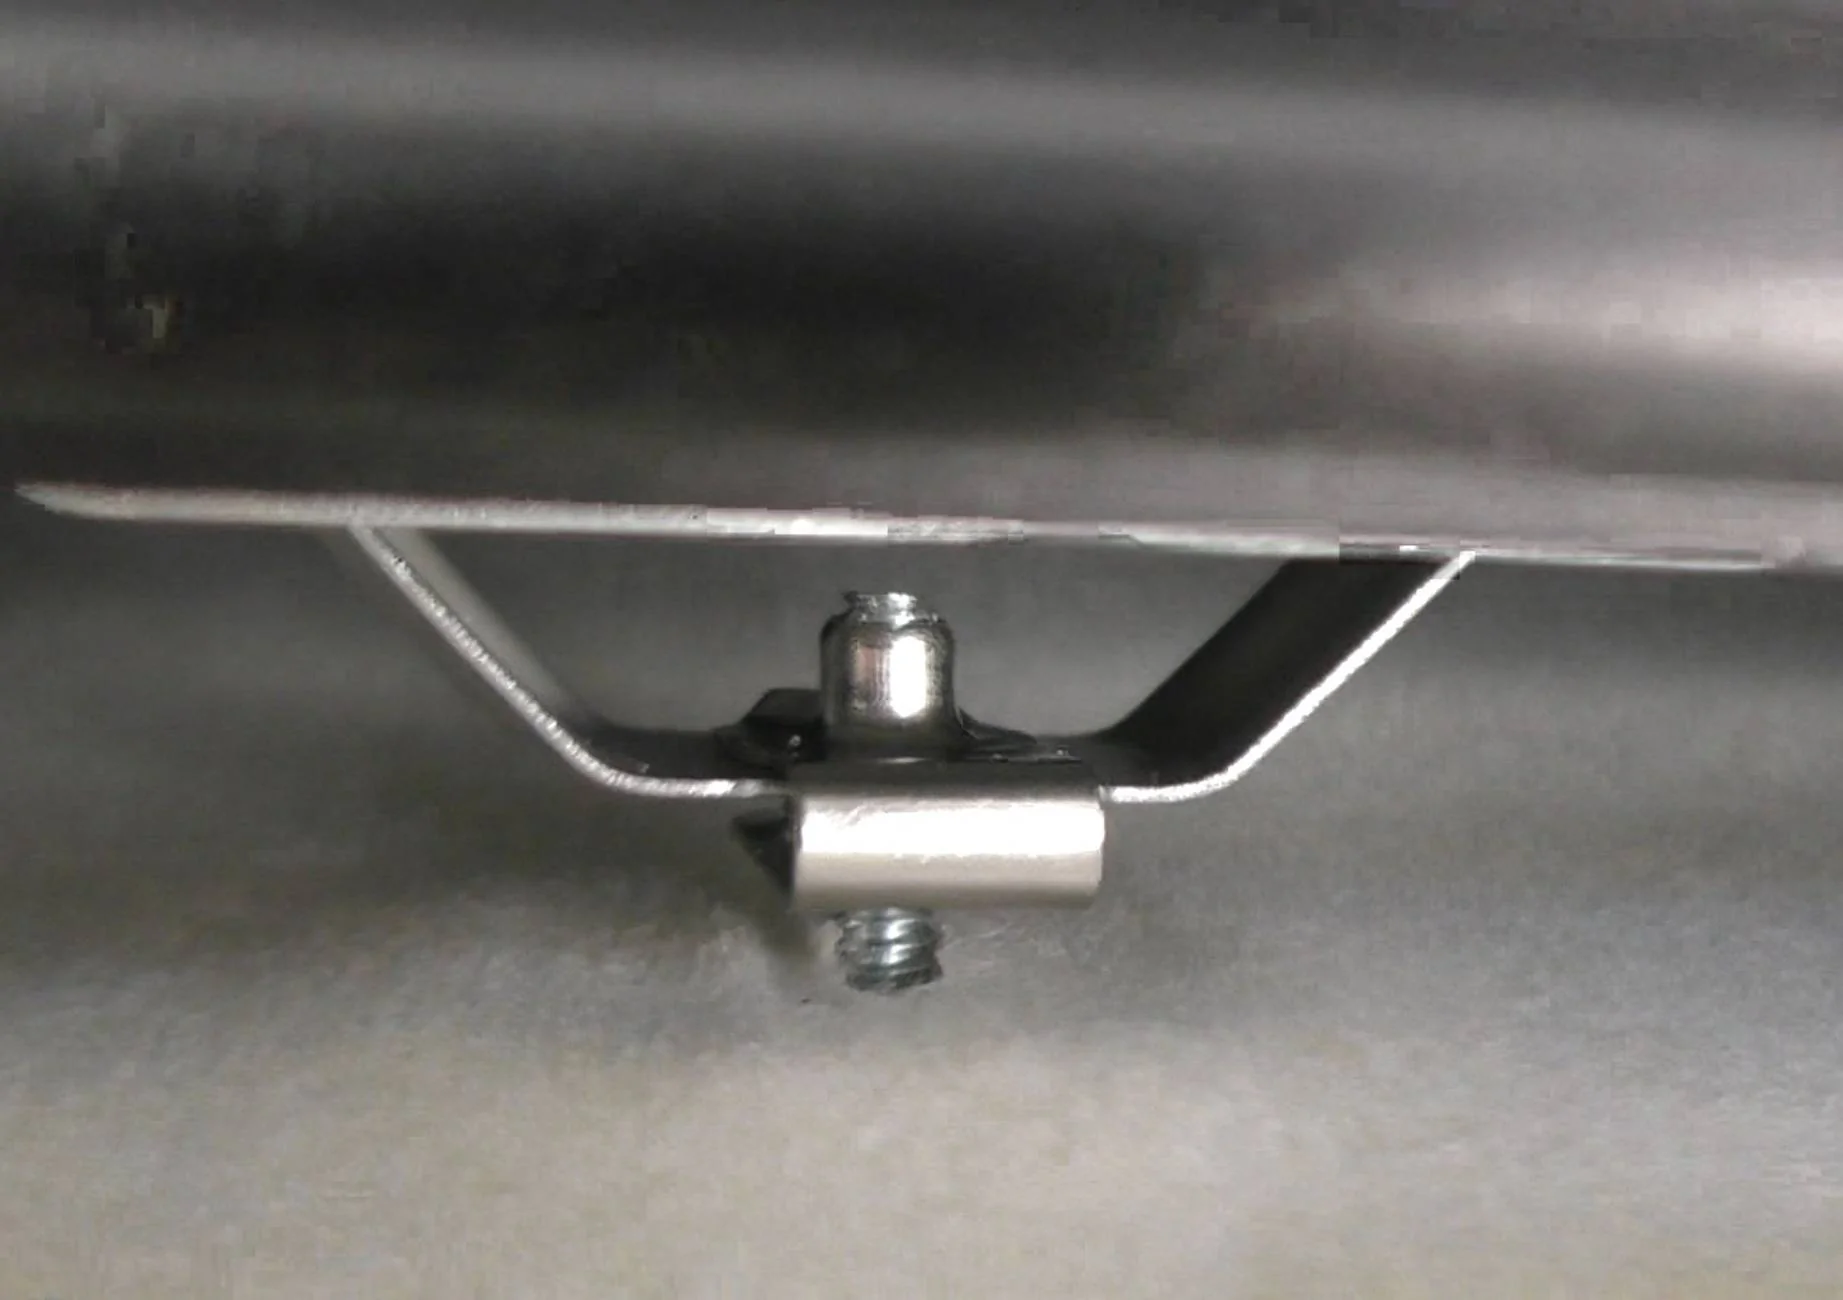
And just as an additional FYI, here's another pic zoomed in on the headliner bracket. I ended up using a u-nut on the bracket so I could add a screw from the visible side of the headliner instead of using that plastic plug that just has a friction fit into the hole of the bracket. Obviously the screw isn't yet tightened down here because I wanted to be able to show the threads in the pic:
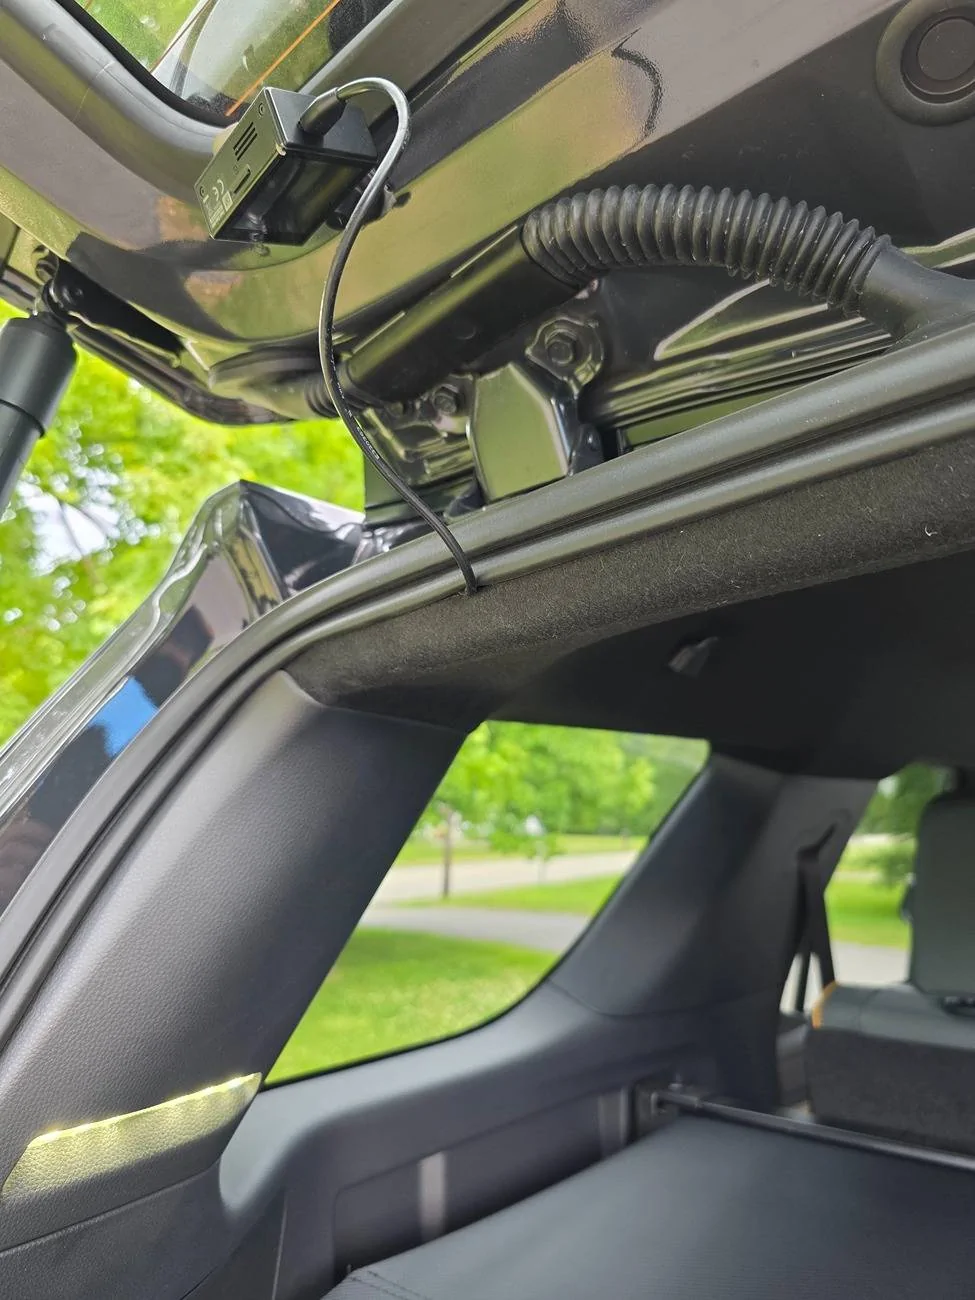
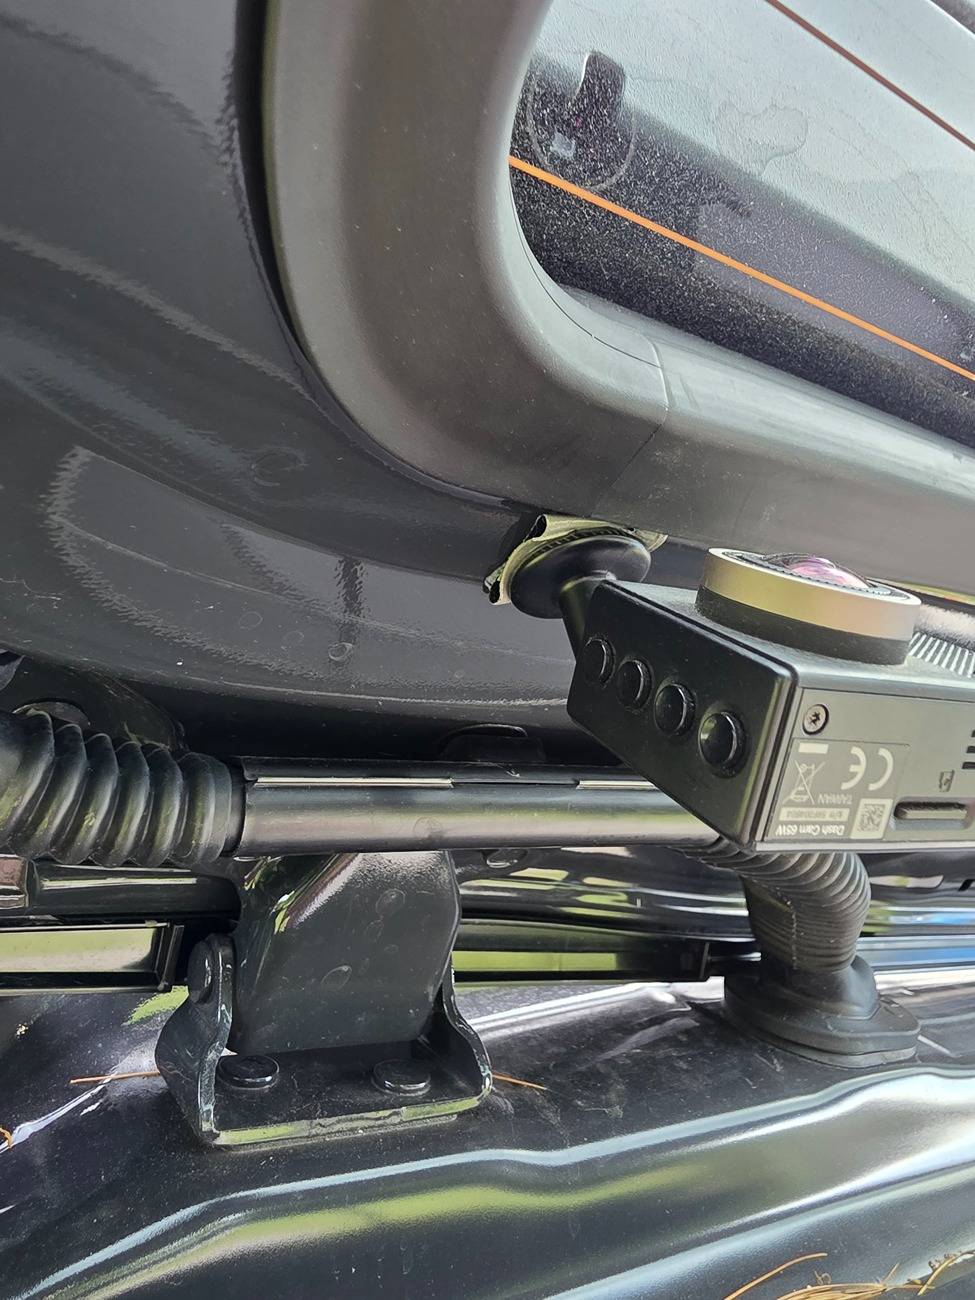
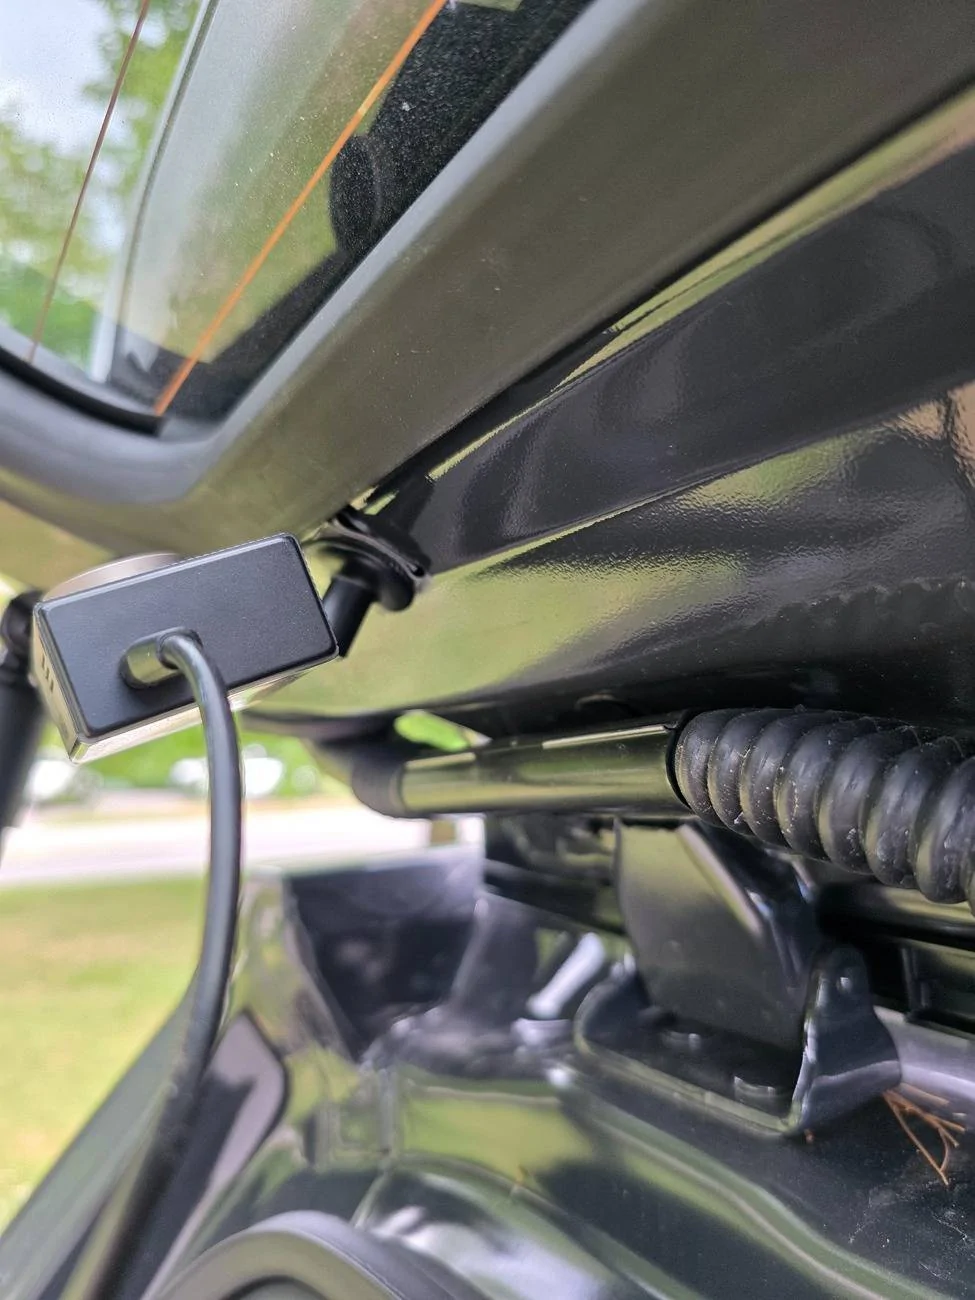
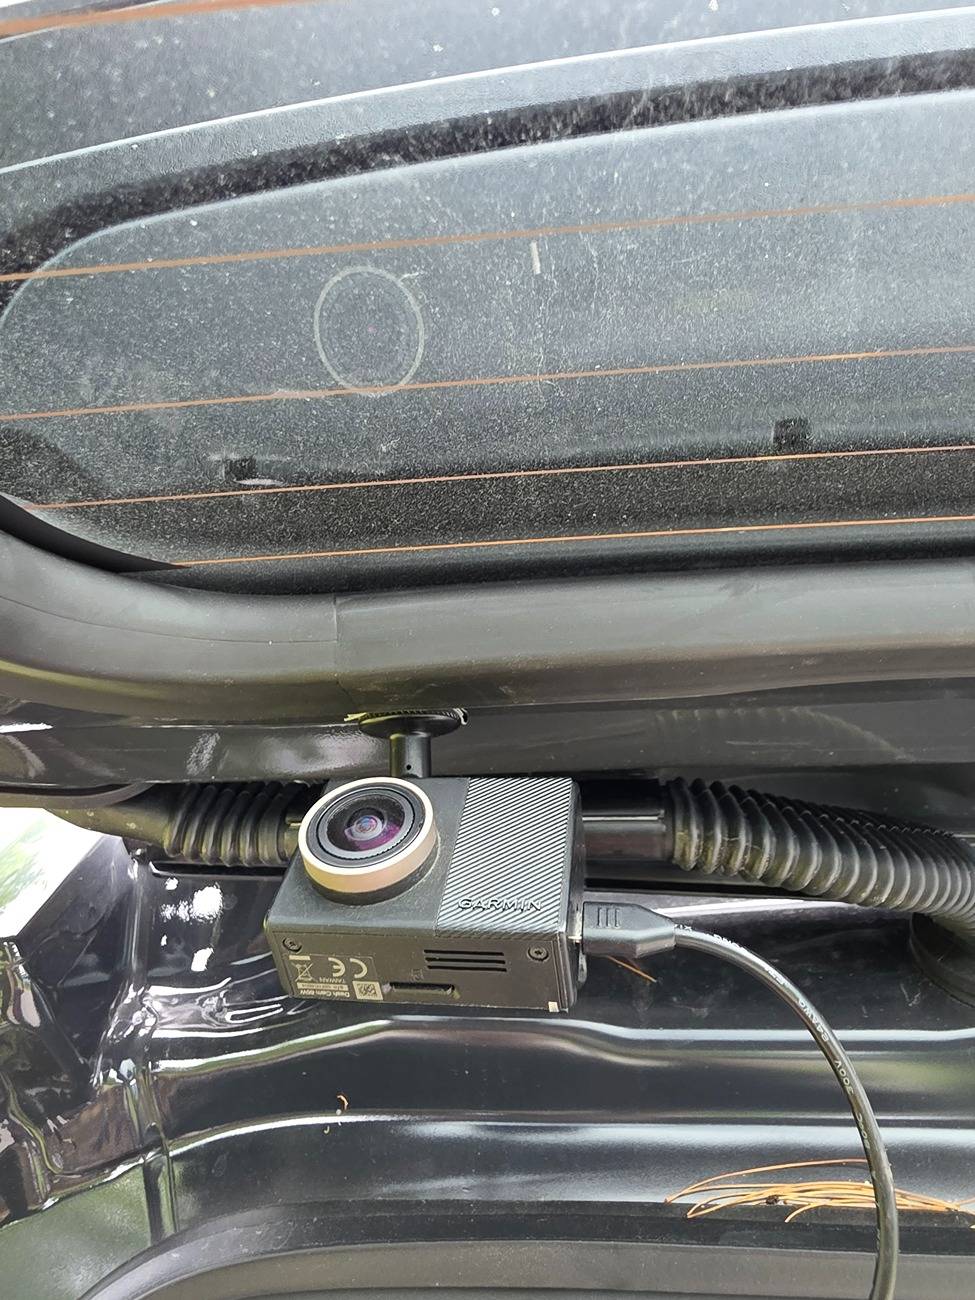
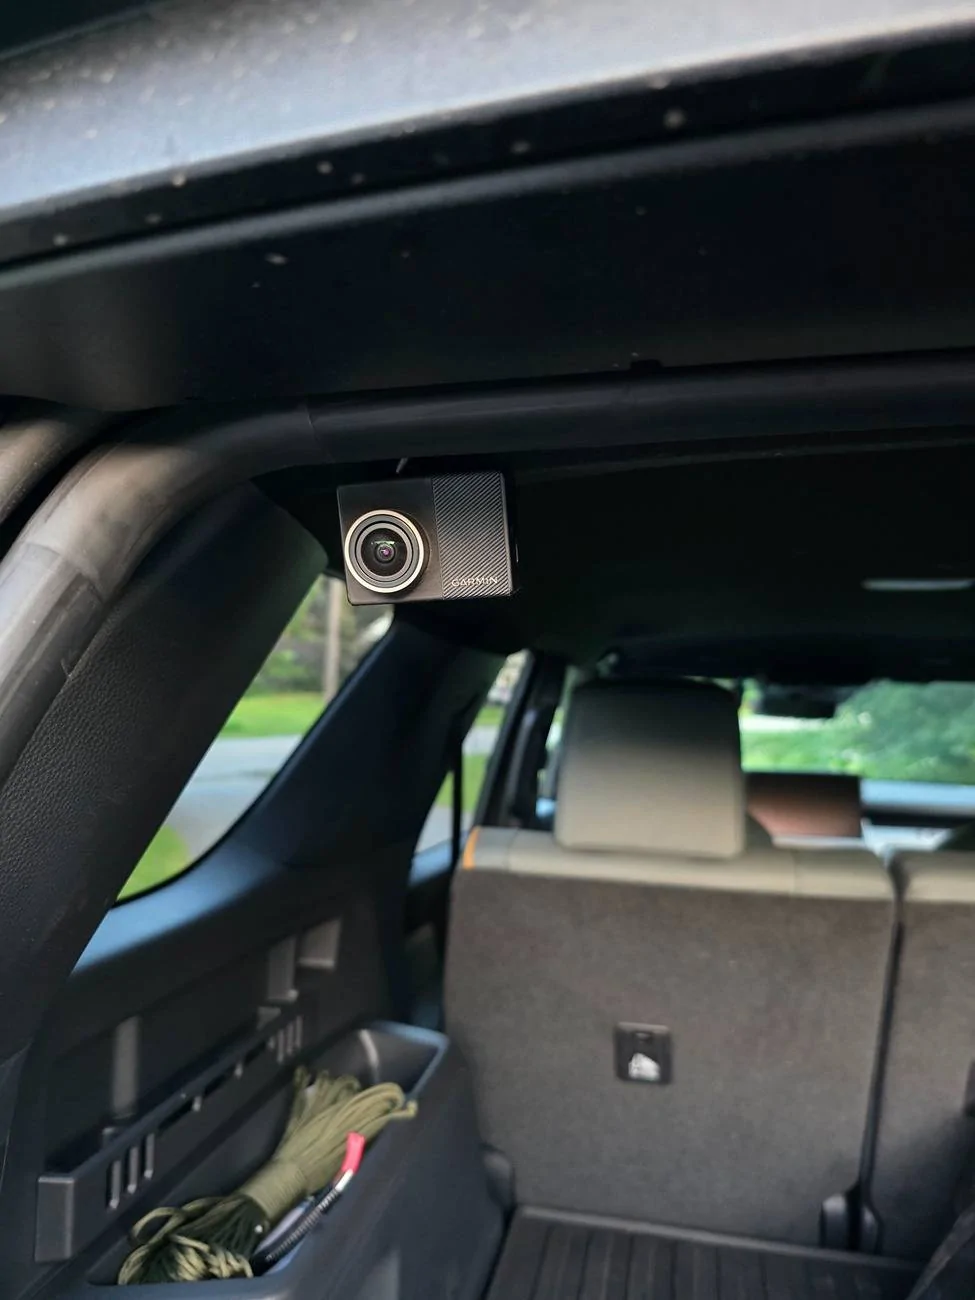
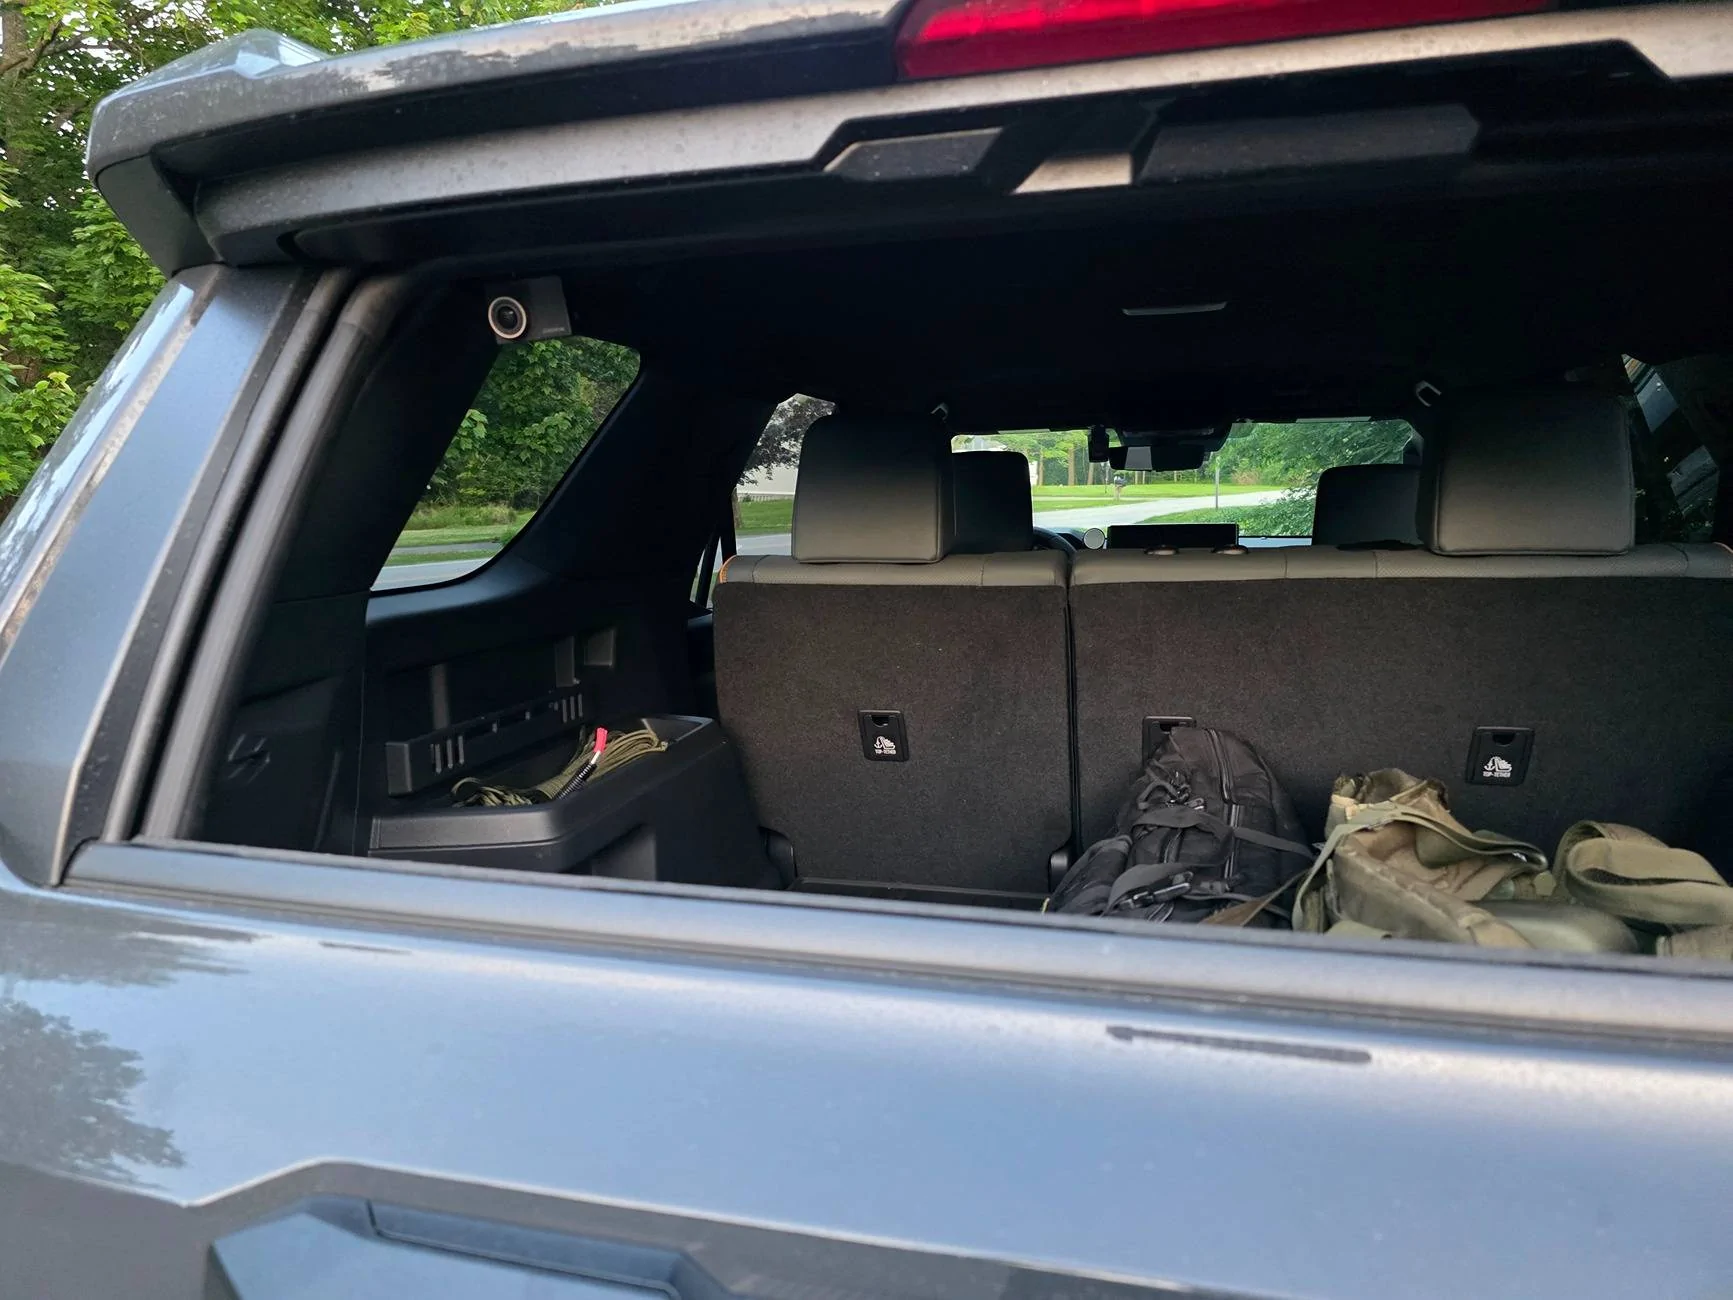
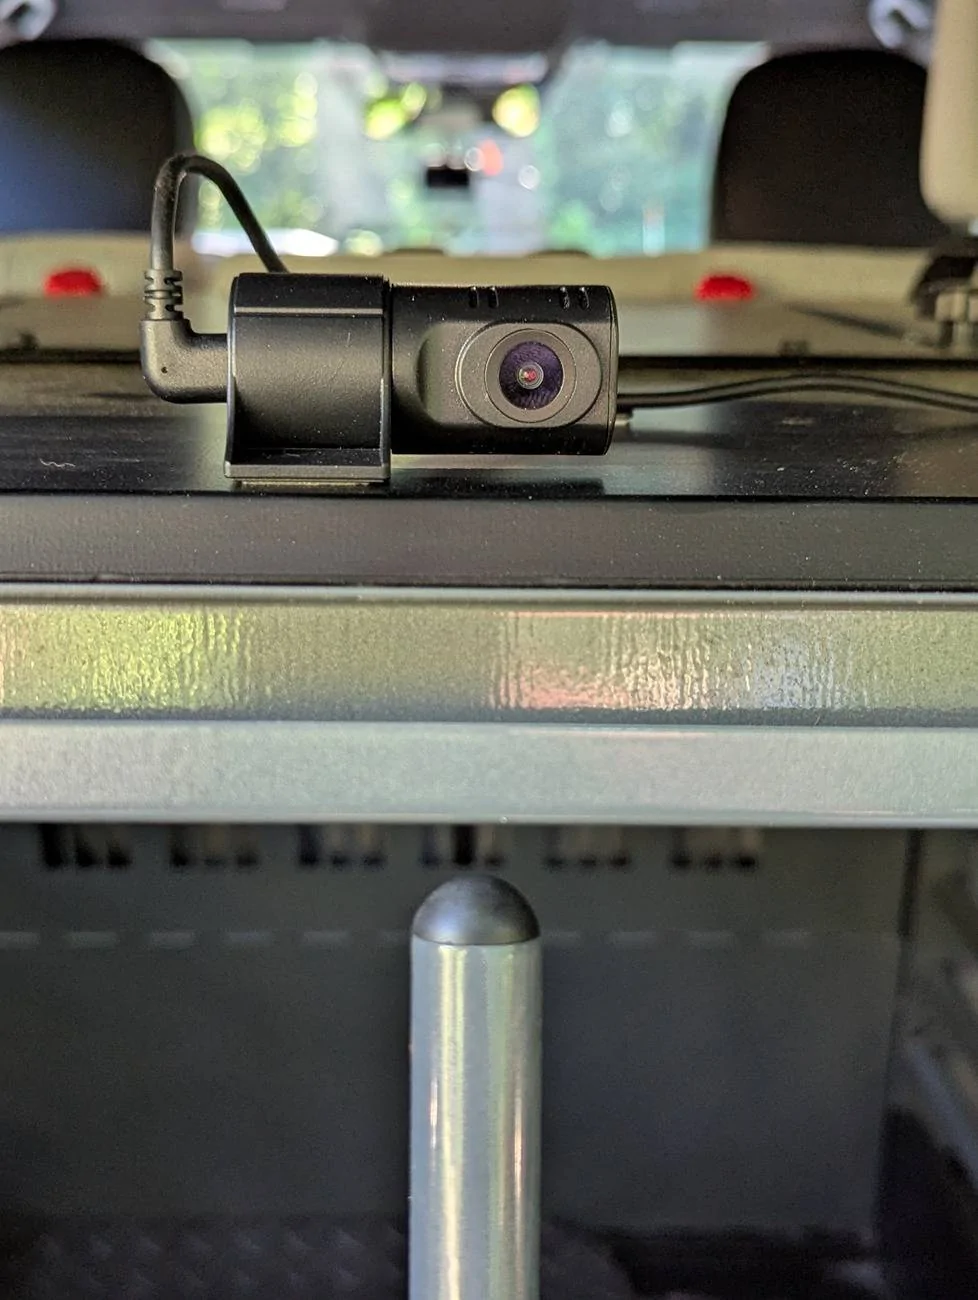
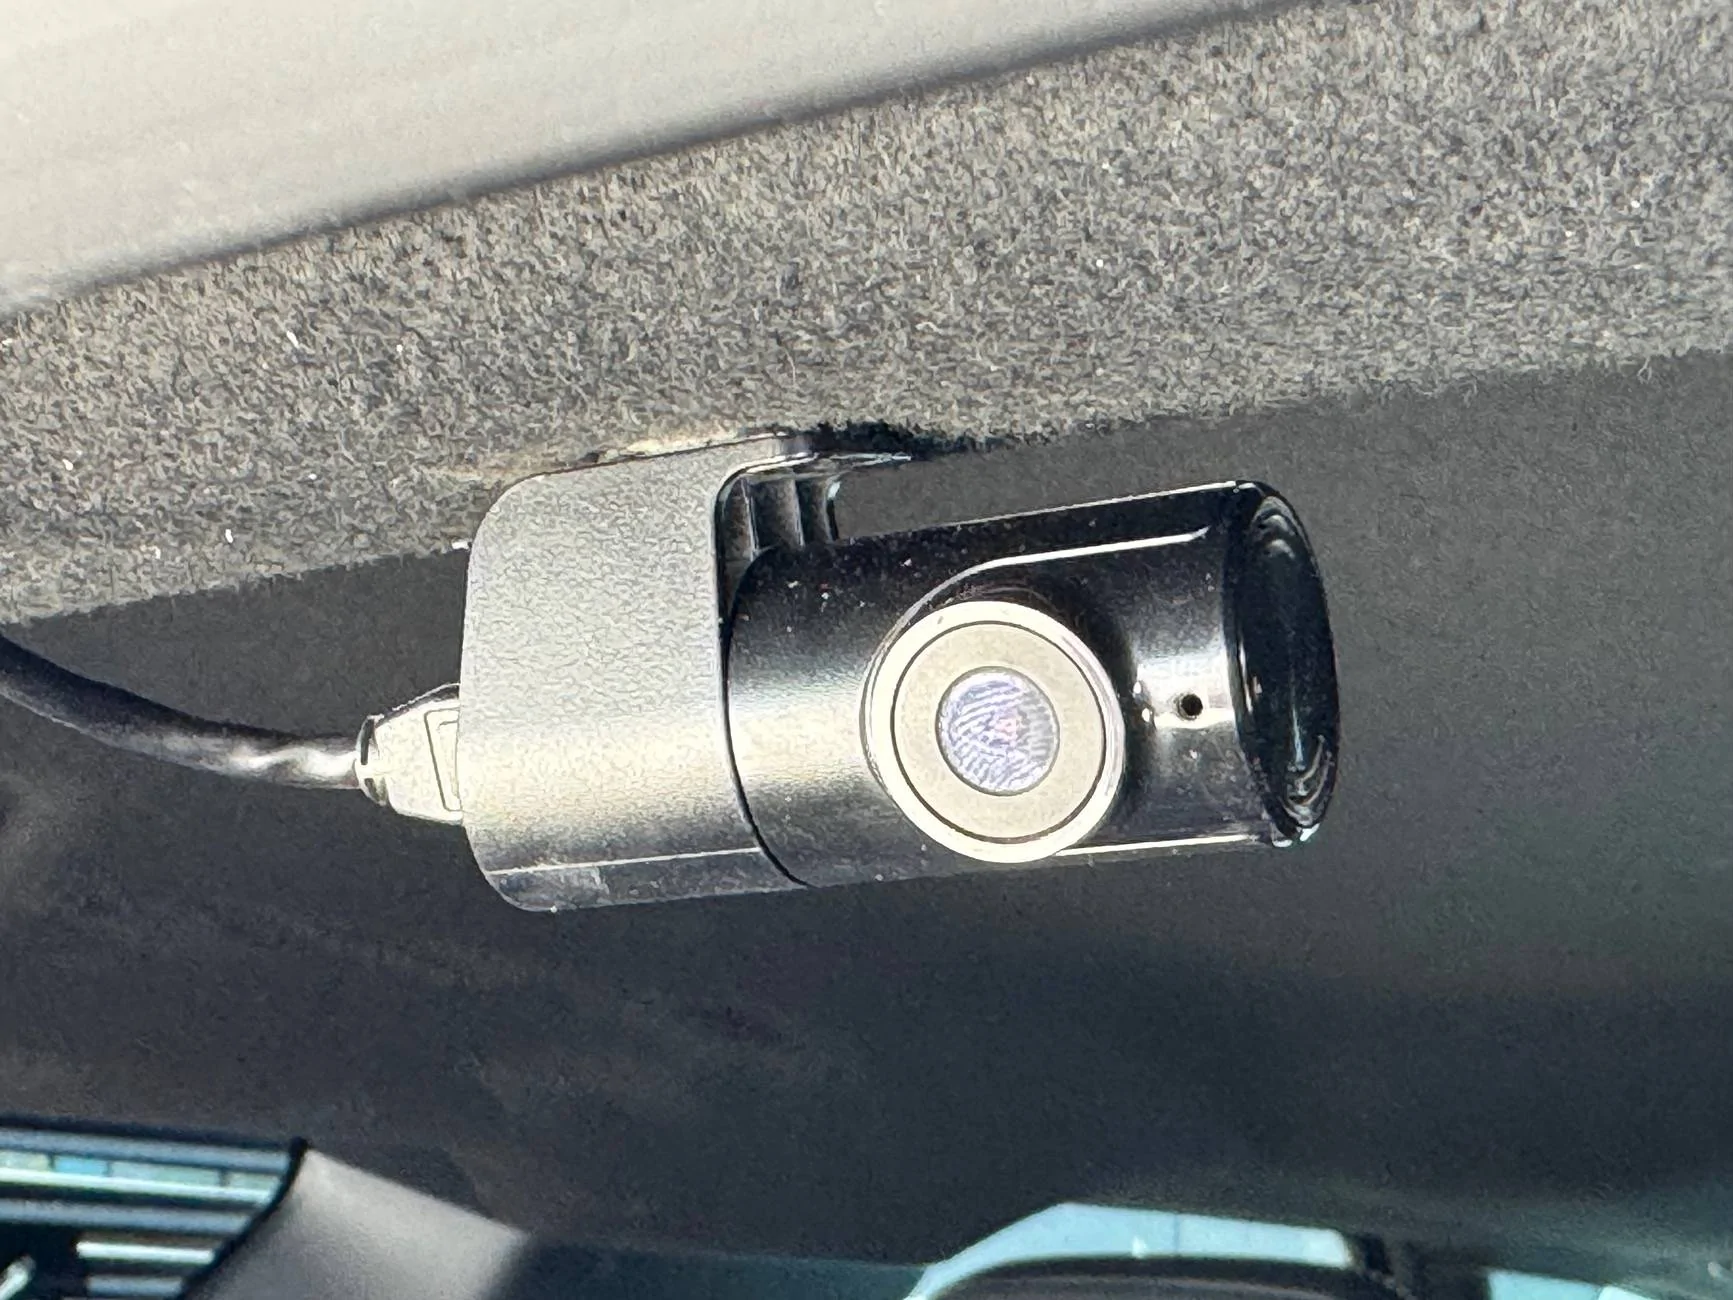
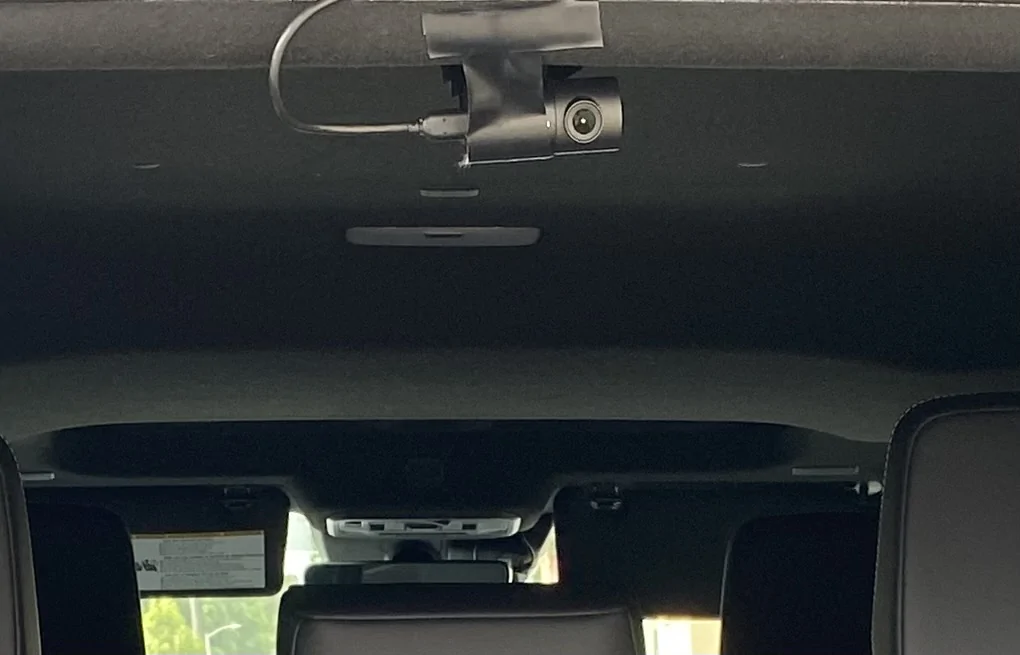
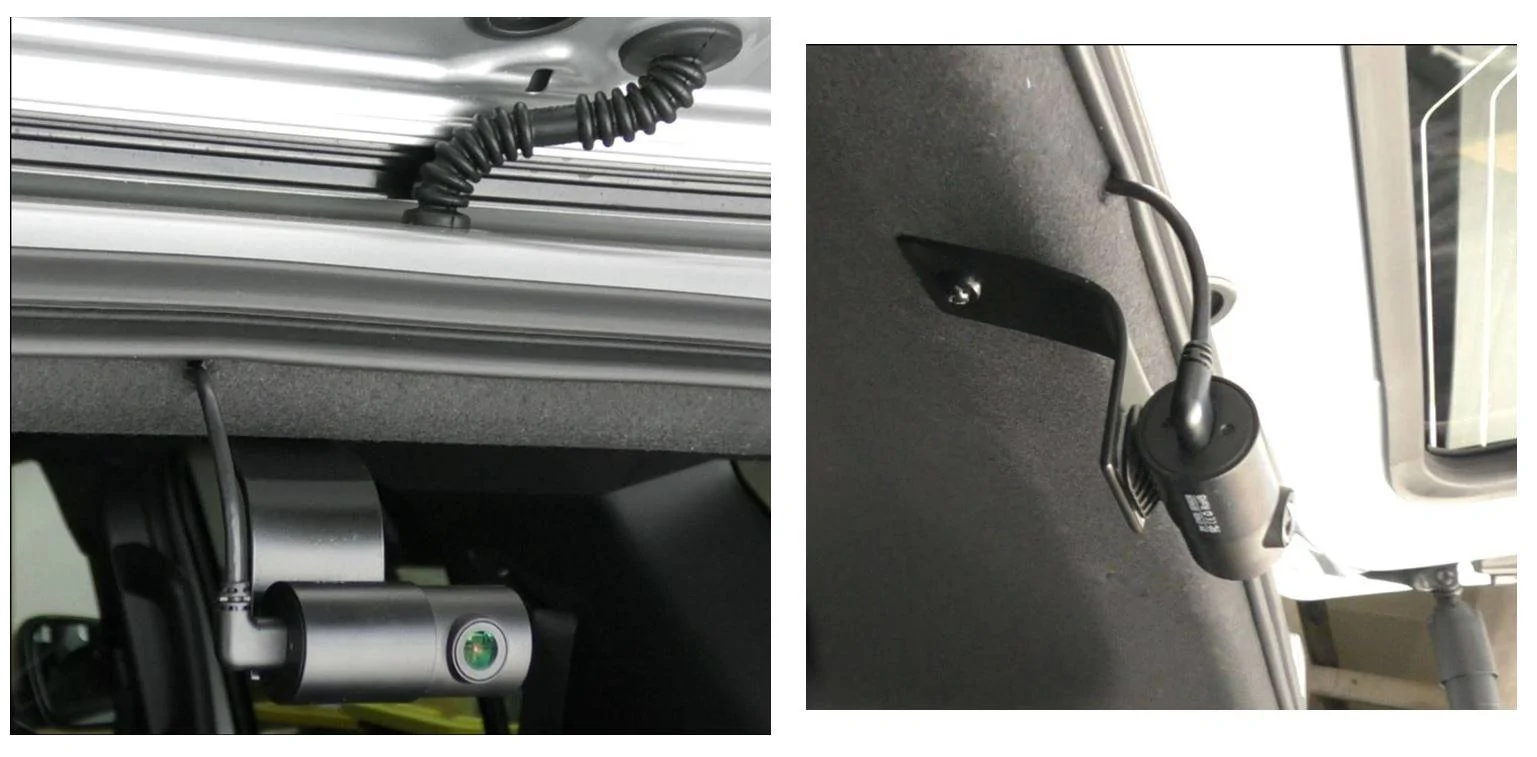
And here are a couple pics of the final install of my rear dash cam, from the front and side. I made a custom bracket out of aluminum bar stock since I wanted the lens of the camera to be lower than a flush headliner mount (to clear the rear wiper housing without needing to tilt the camera down too much), and a couple extra inches out toward the back window (figuring the smaller the distance between the lens and the rear glass, the less chance for reflective glare under some lighting conditions). I cut a small notch in the headliner to feed the cable through below the weatherstripping, and I used a screw rather than the plastic plug to fasten the camera and bracket to the headliner/bracket.
Sponsored
Last edited: