- Joined
- Jan 22, 2025
- Threads
- 31
- Messages
- 293
- Reaction score
- 579
- Location
- United States
- Vehicle(s)
- 2025 Toyota 4Runner
- Thread starter
- #1
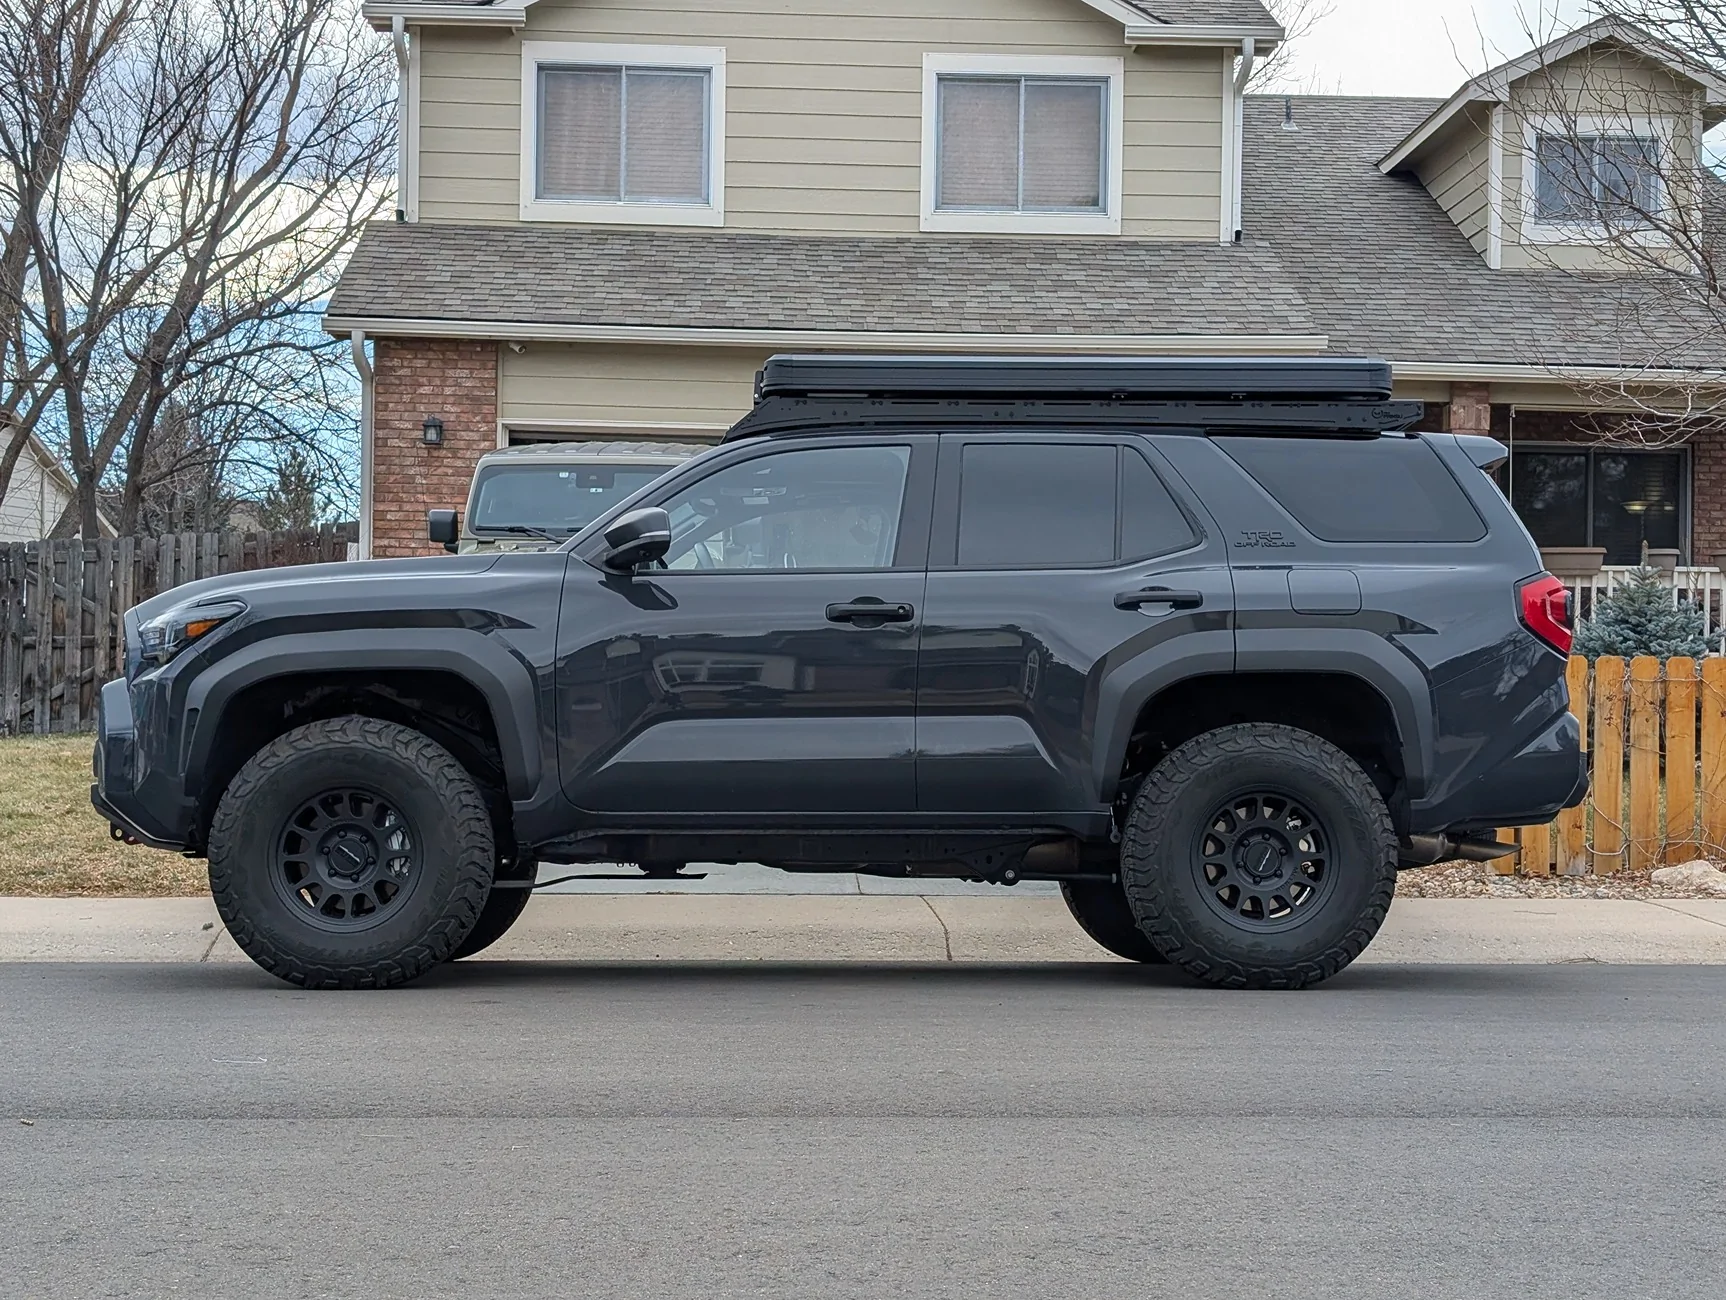
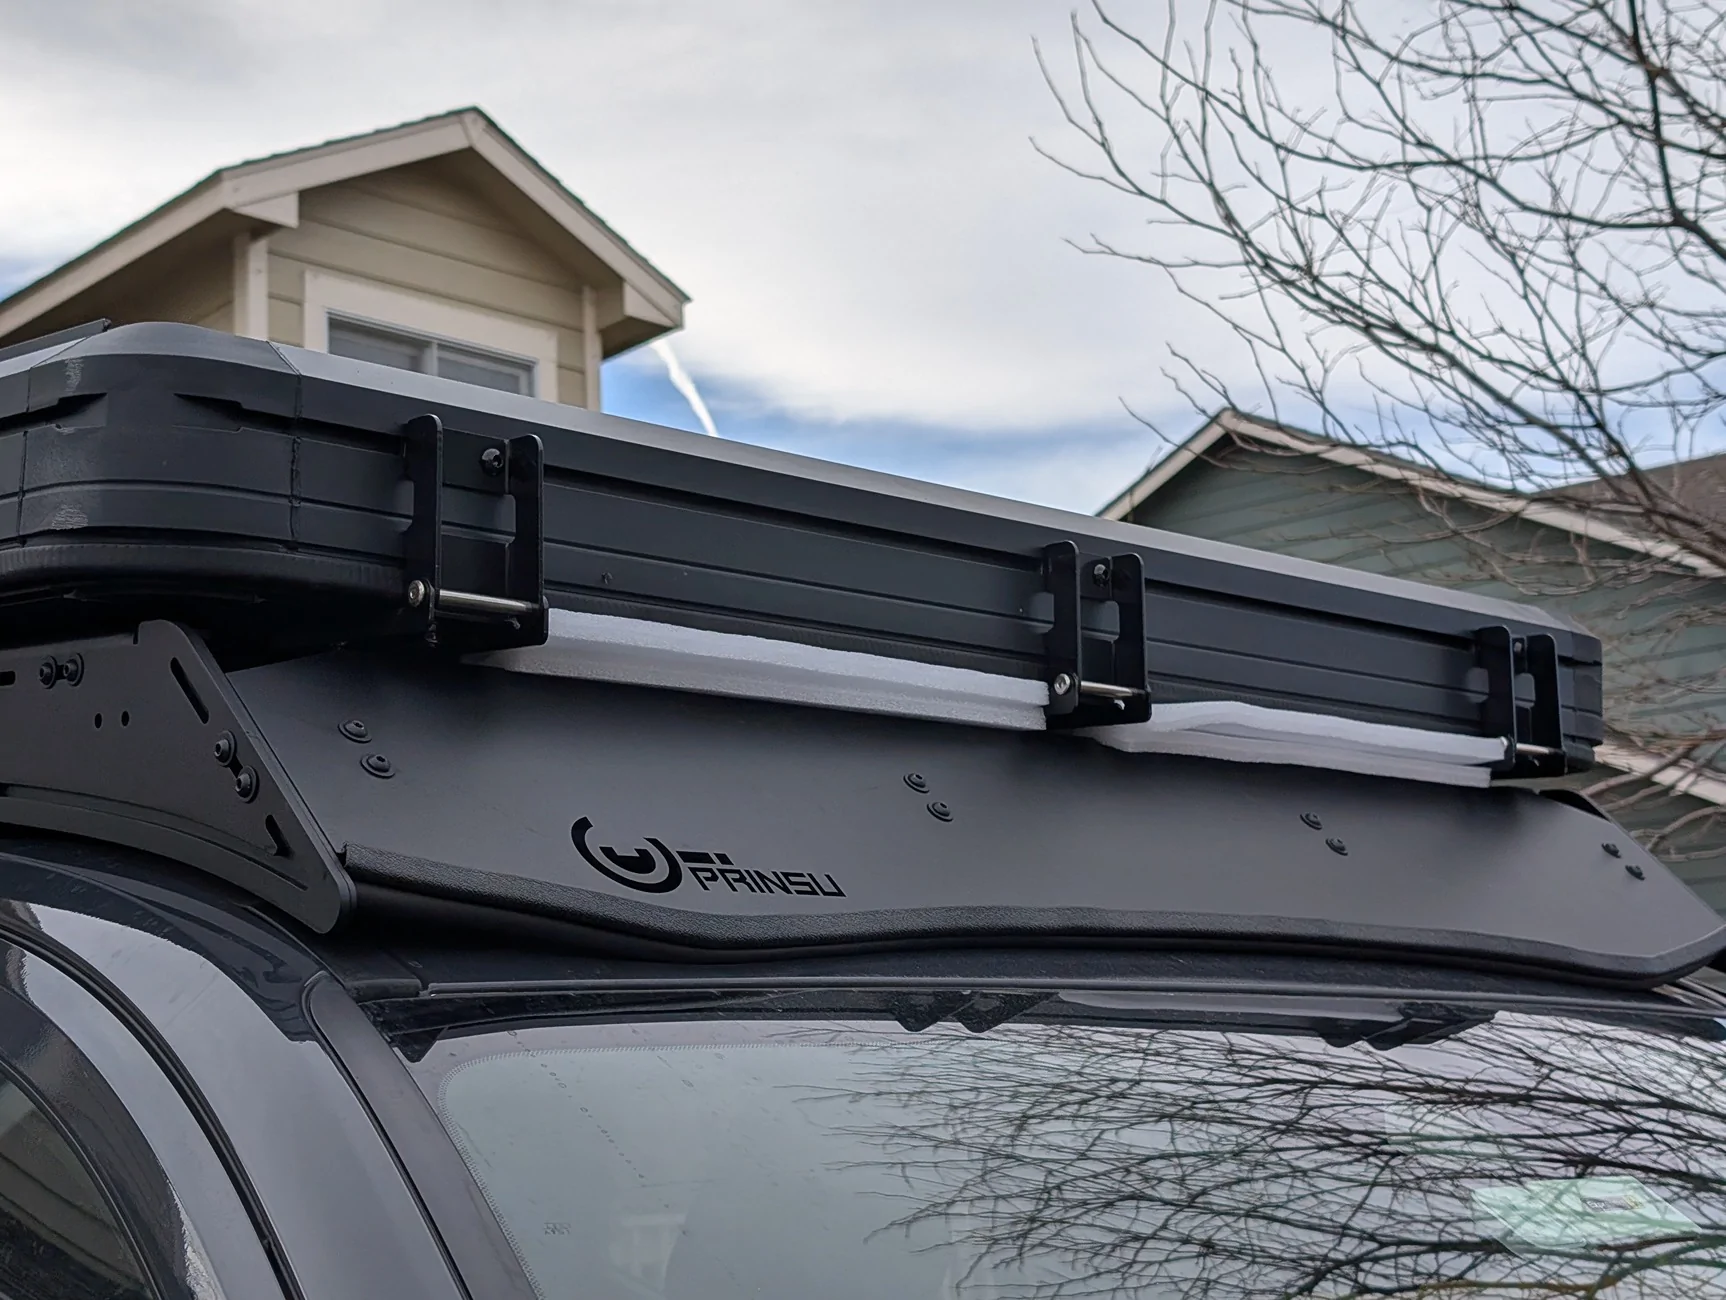
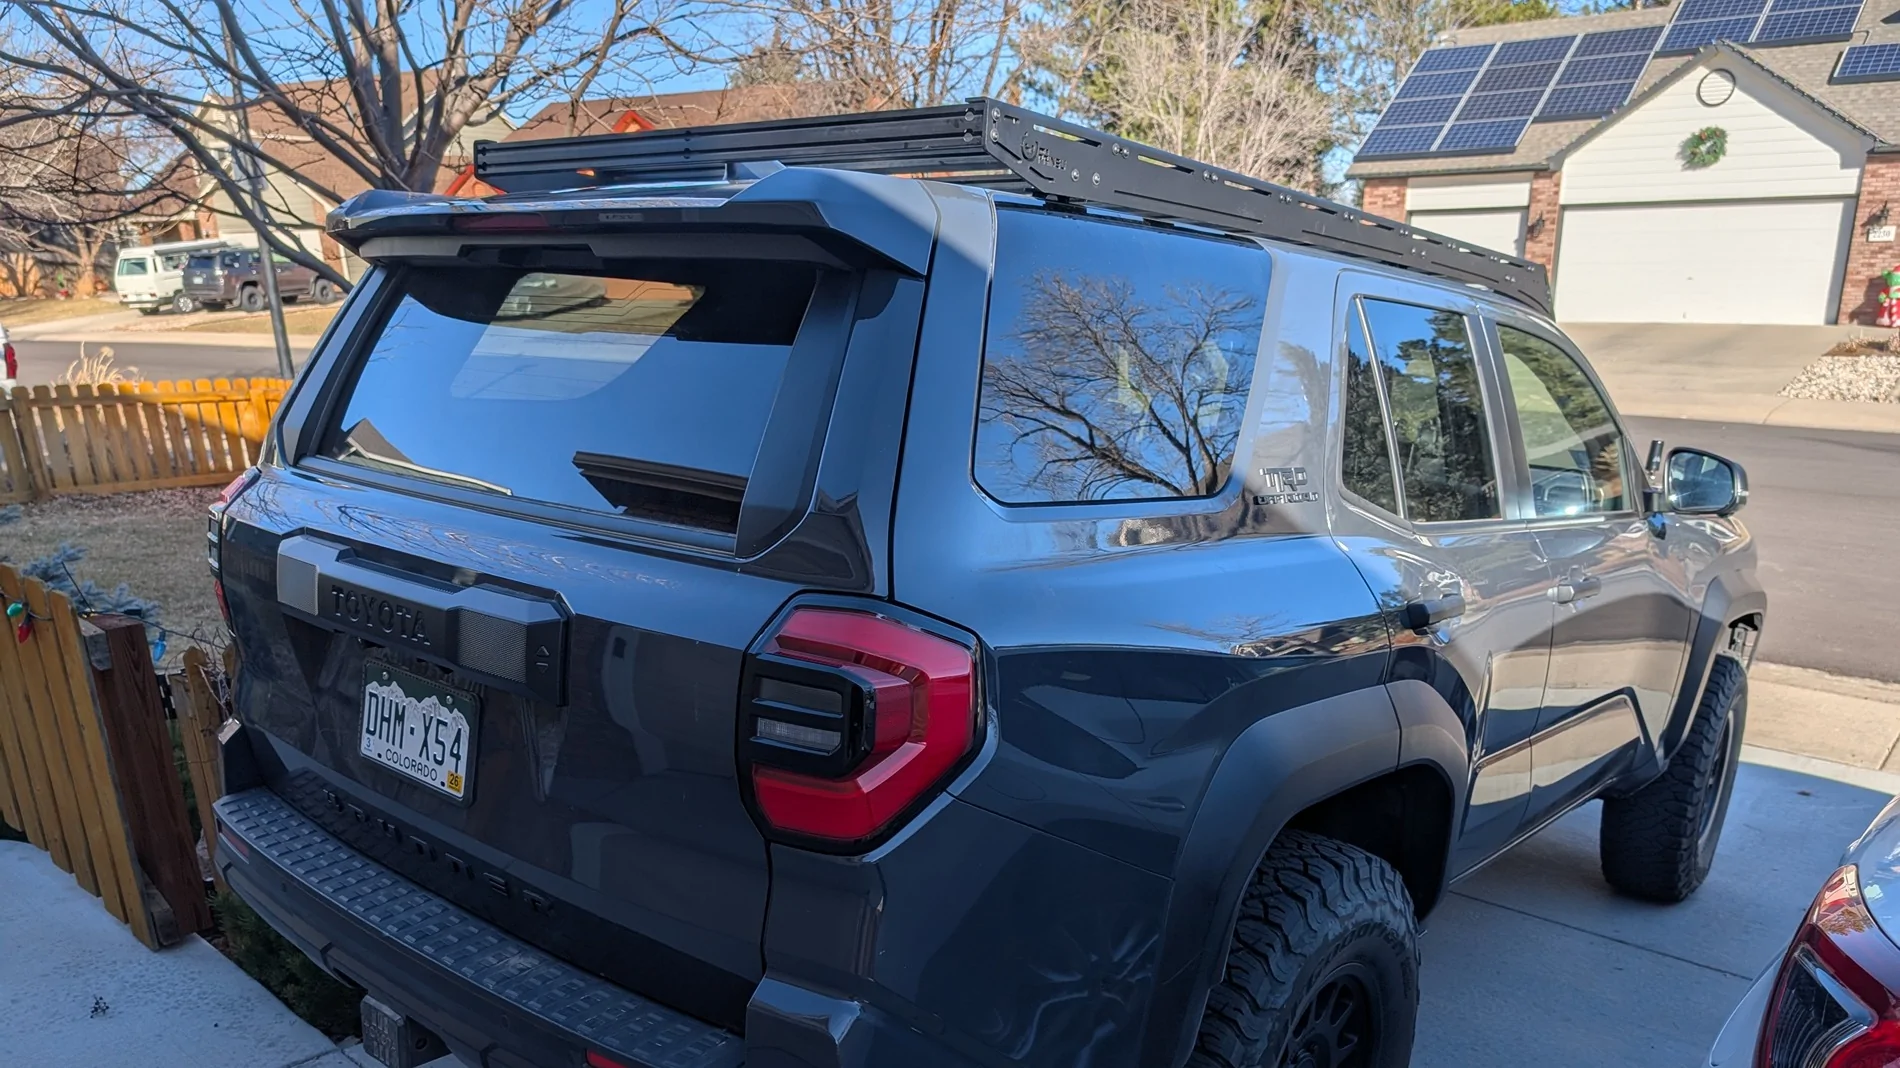
I received my Prinsu Pro roof rack yesterday (2025-12-29) and got it installed. I started while it was still light out, knowing it would be dark when I finished, but I wanted to take advantage of the relatively good weather (for this time of year in Colorado). Installation took a while (as expected), but I got it done. I decided to setup my Insta360 to record the process. It wasn’t too exciting, but I’m sharing the video anyway. The installation was pretty intuitive. I referred to the instructions (a PDF on Prinsu’s website) and a video they had posted on the installation process.
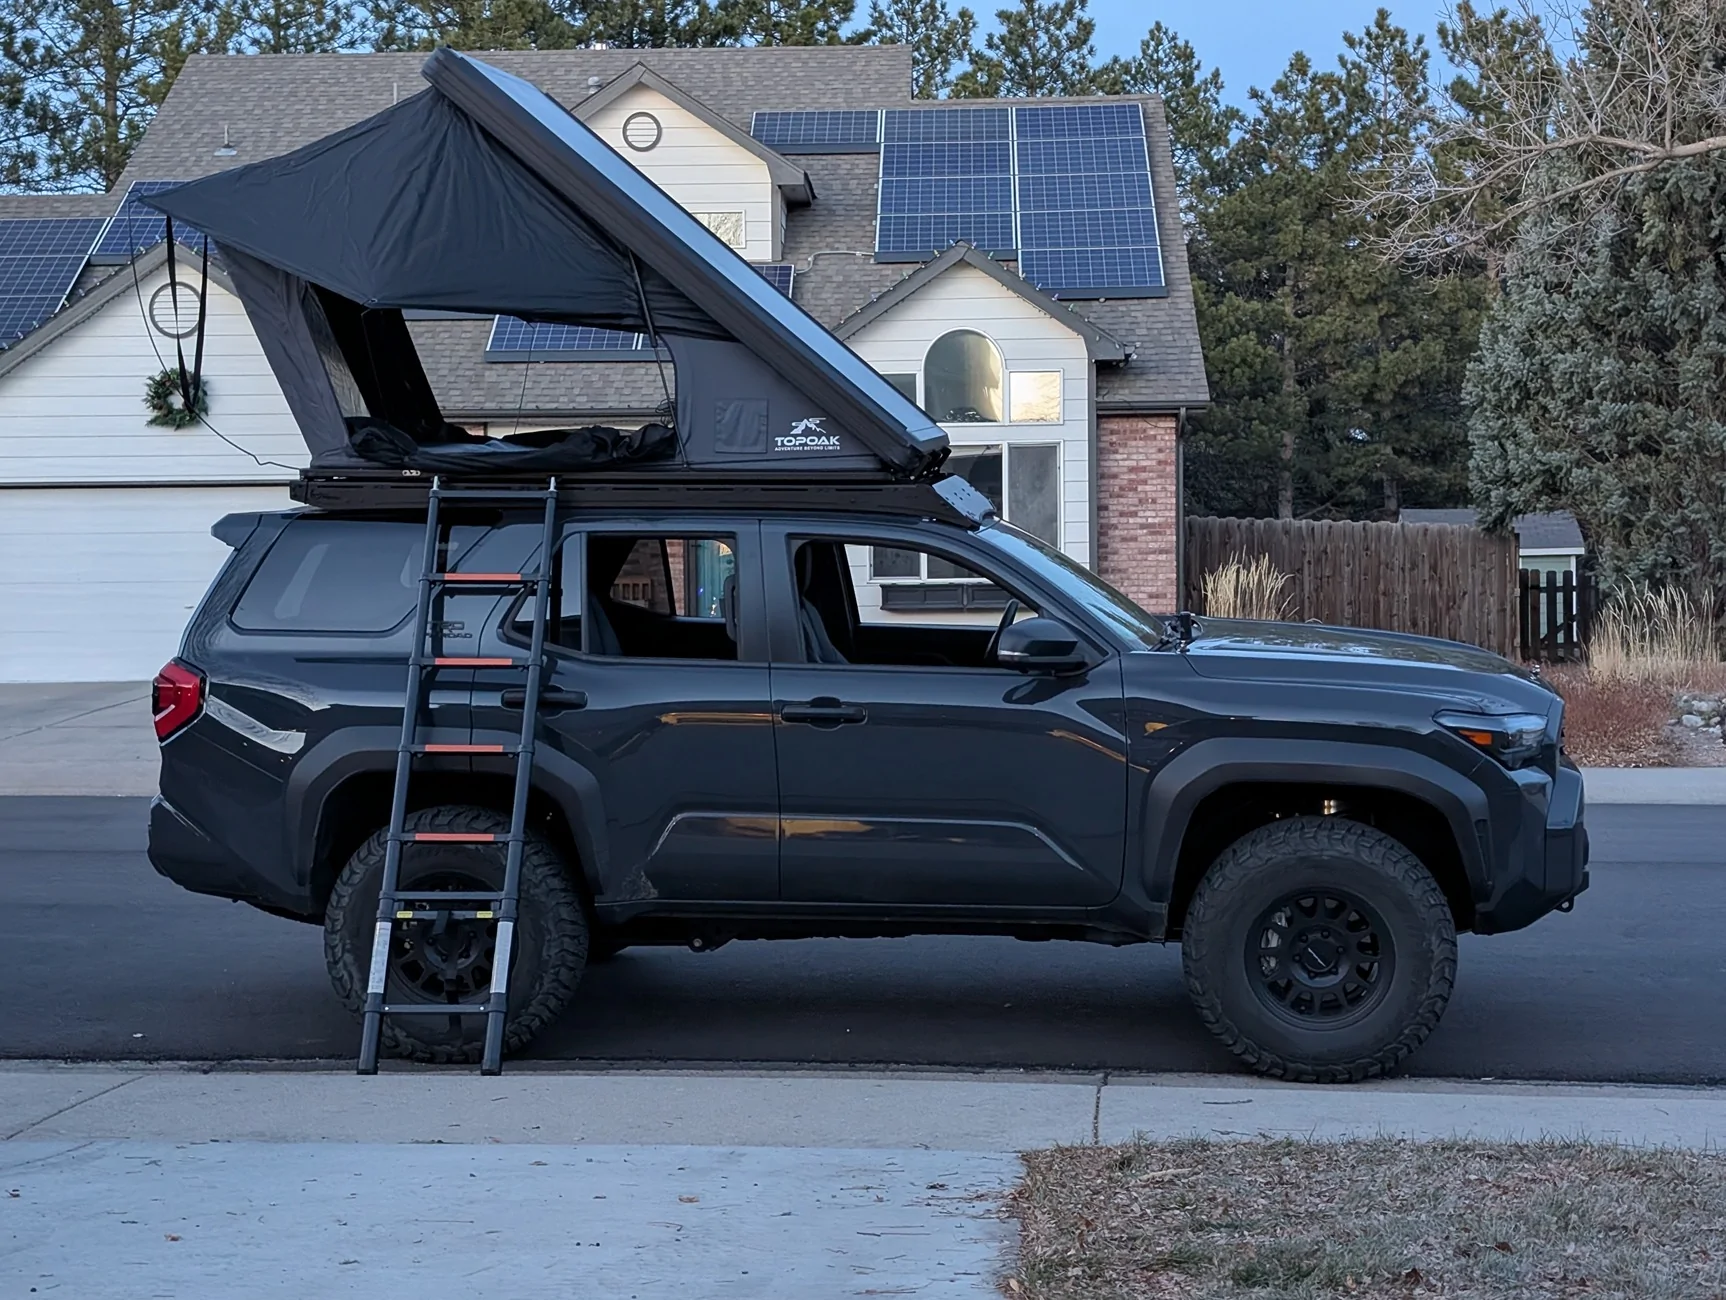
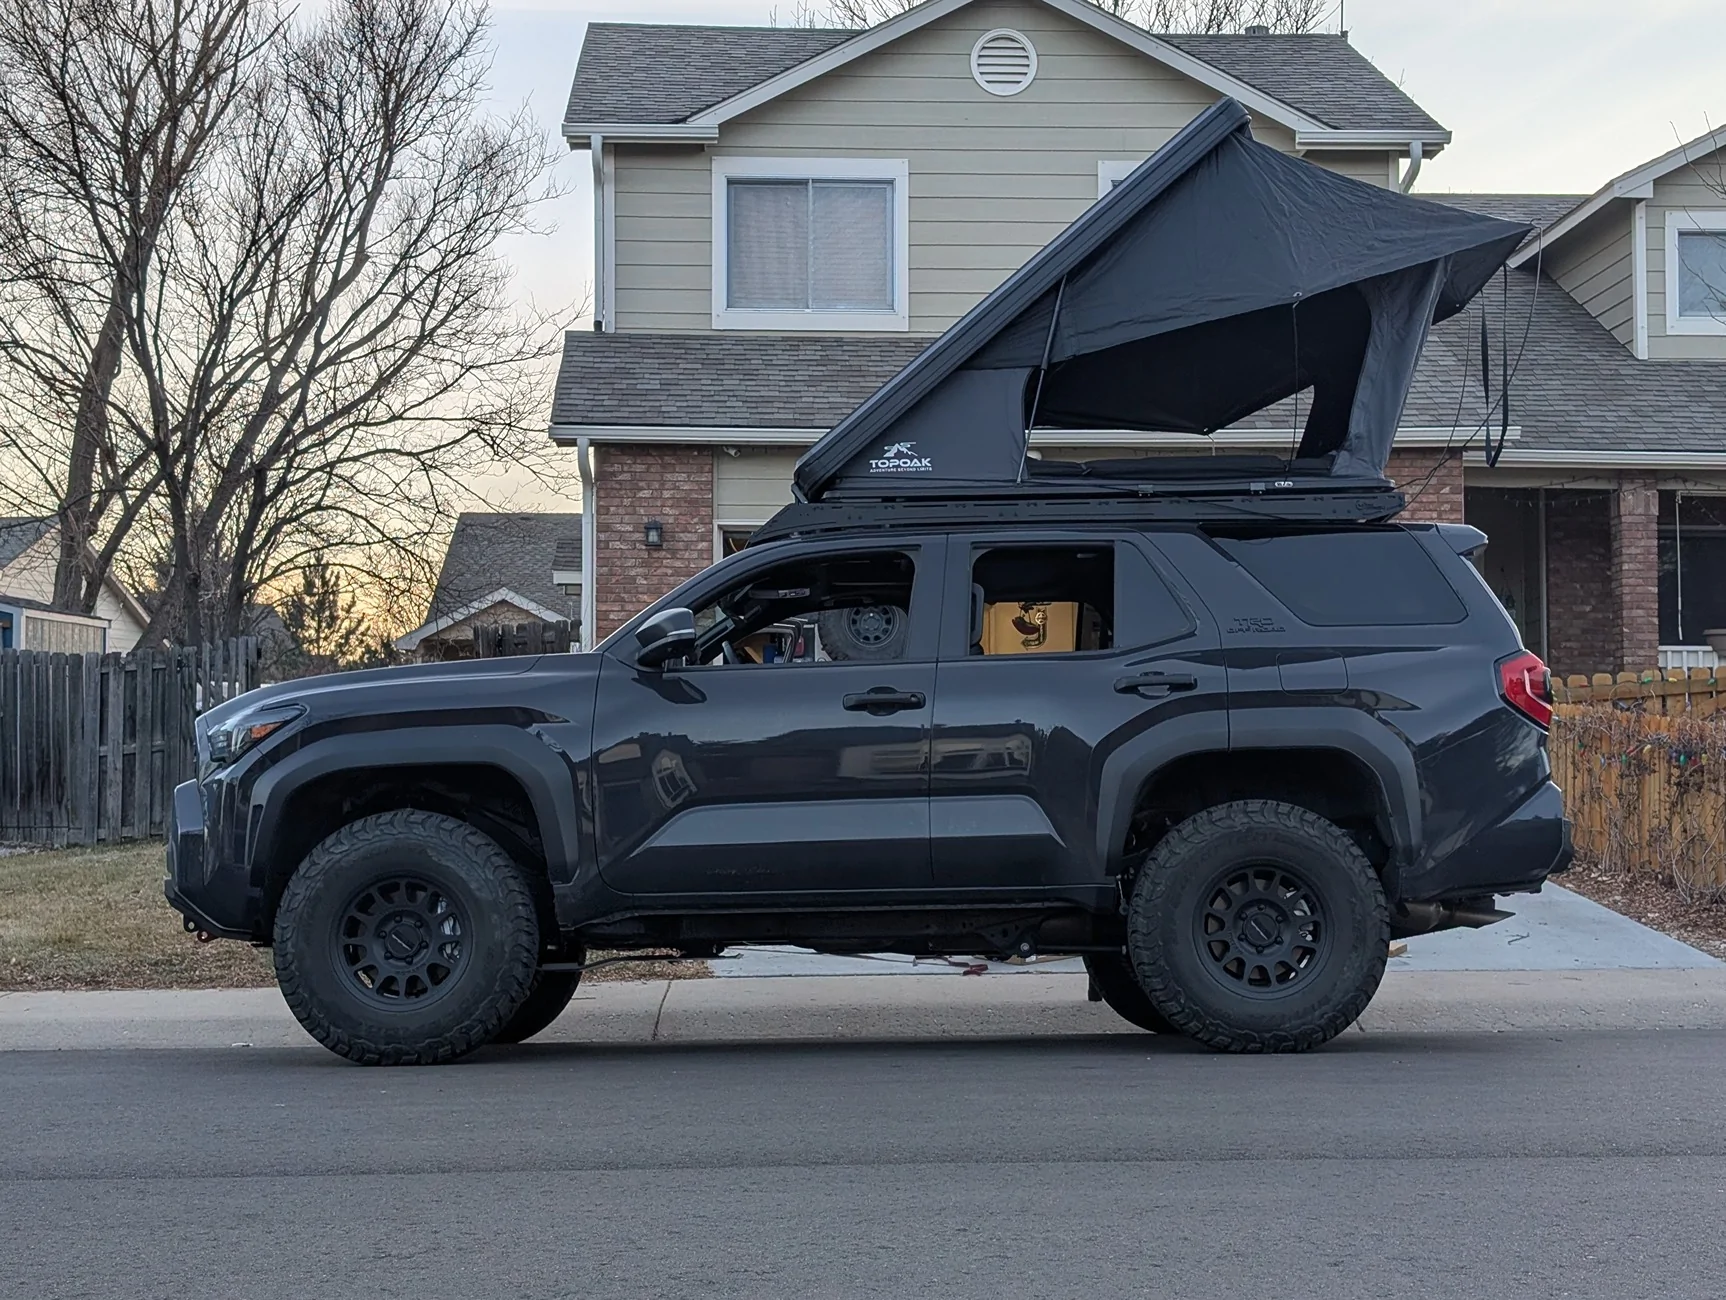
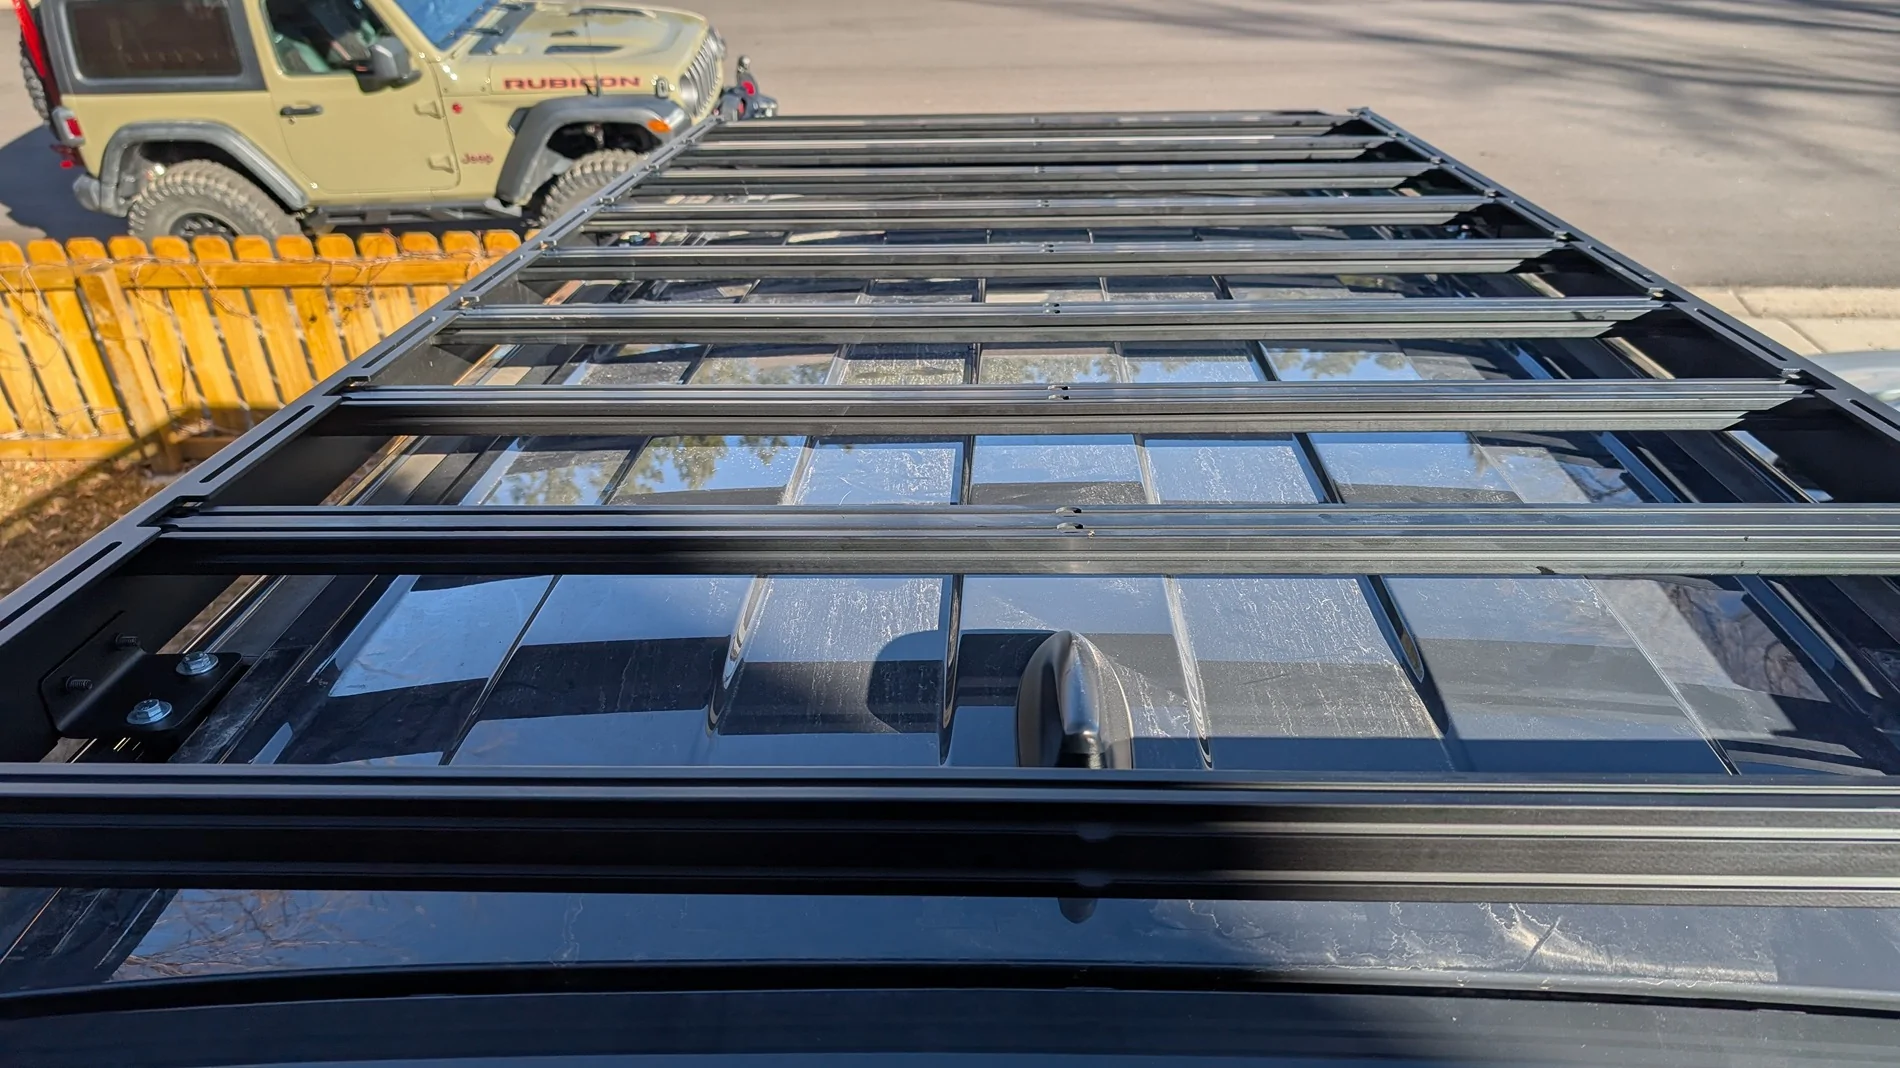
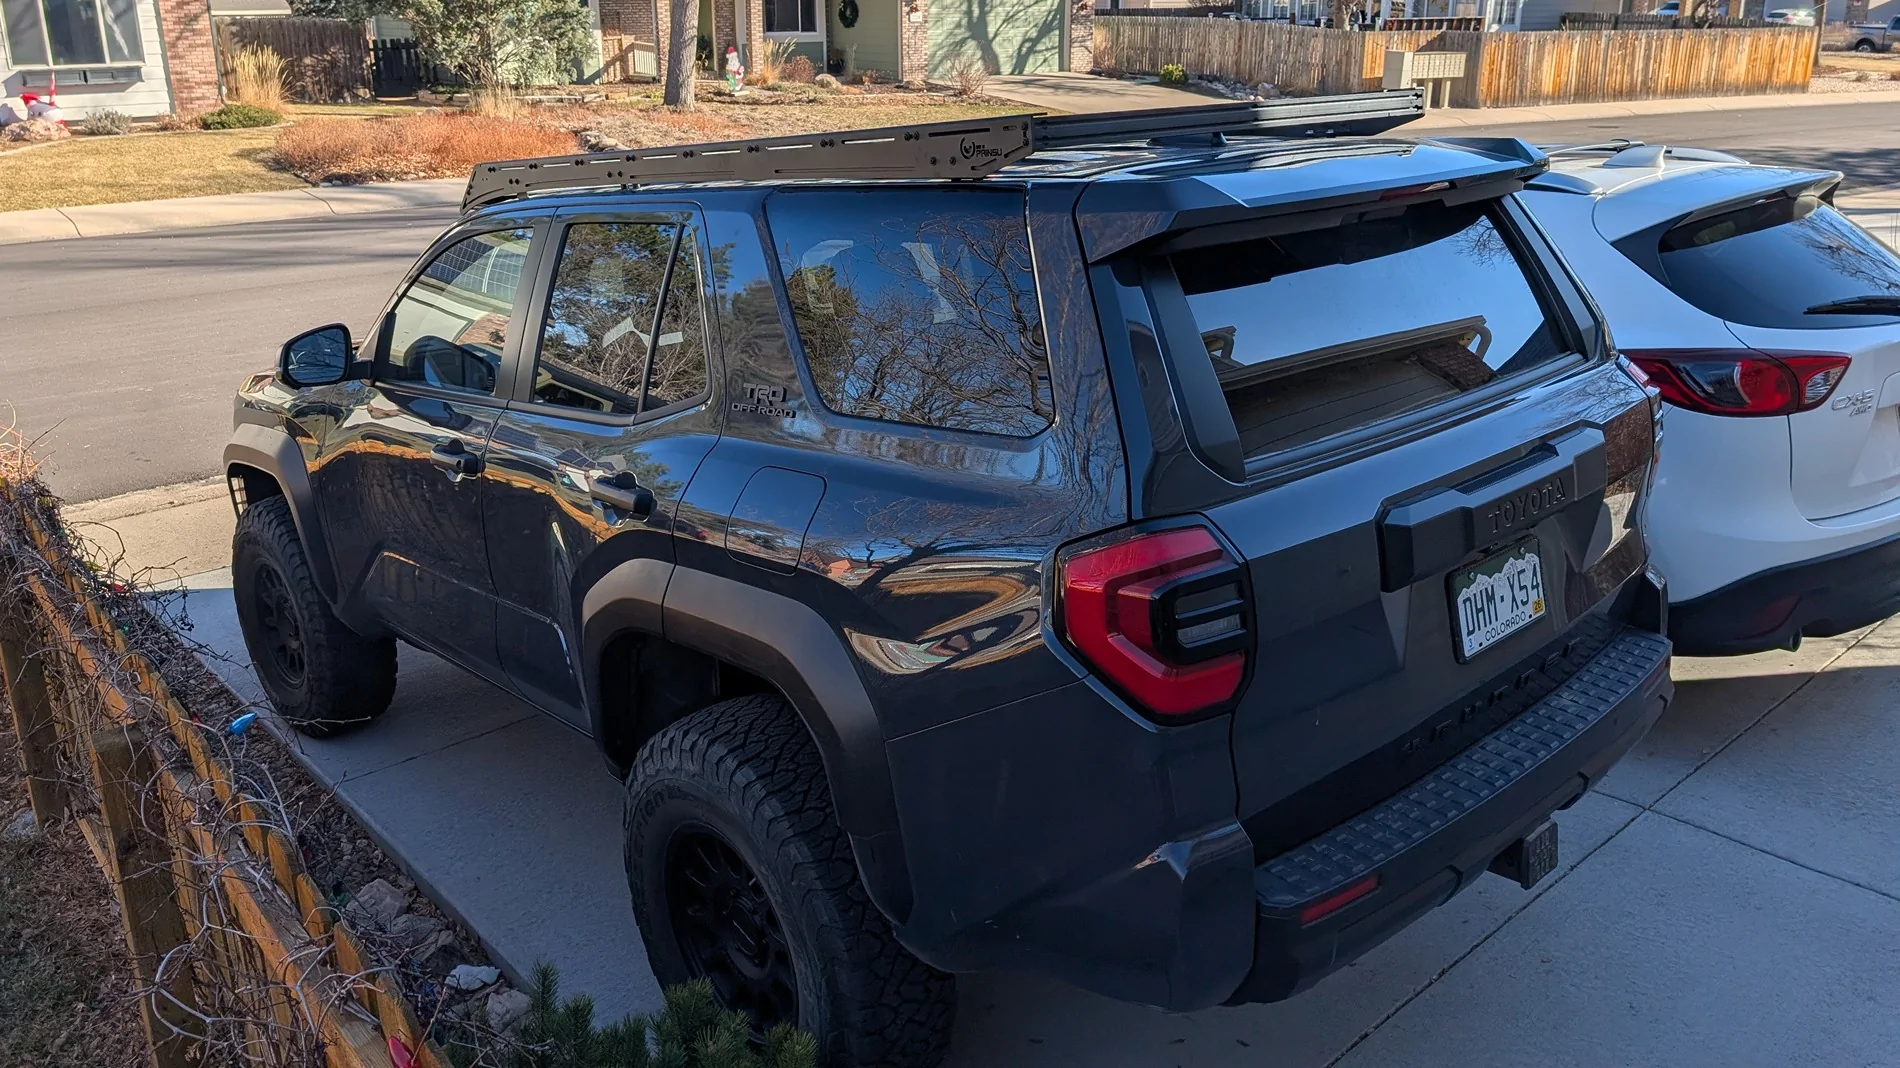
I installed this rack primarily to add roof top tent (RTT) — which I’ve had sitting in my garage for a while now. The next step is to get the RTT installed “soon”. Some pics from this morning (now that it's light out)...

I installed this rack primarily to add roof top tent (RTT) — which I’ve had sitting in my garage for a while now. The next step is to get the RTT installed “soon”. Some pics from this morning (now that it's light out)...


Sponsored