

- Thread starter
- #1
The meso customs map light upgrades are sold out everywhere/ on back order. I got some from https://www.bustabeatgeorge.com/products/4g-tacoma-3g-tundra-3g-sequoia-dome-light-dual-color
I was skeptical about buying from this site but they use the shop app which I have used many times so that gave me a little confidence. I messaged him the same day and received a quick response to my questions. It was shipped within 2 days and I received it right away. If you’re looking for this product and don’t wanna wait, you can try at the link above.
install was super easy as other members have mentioned. The 2024 Tacoma install video was pretty spot on. I didn’t need a torx bit as it was just a small Phillips head needed for the 2 inner screws. I will say that you must commit to the removing of the housing for the first step. It really does require quite a bit of force to remove. I pulled straight down on the windshield side of the housing first. It really feels like it’s not gonna pop off but just trust that it will.

Here they are installed. I forgot to take pics during the install so all I can provide now are after the fact.
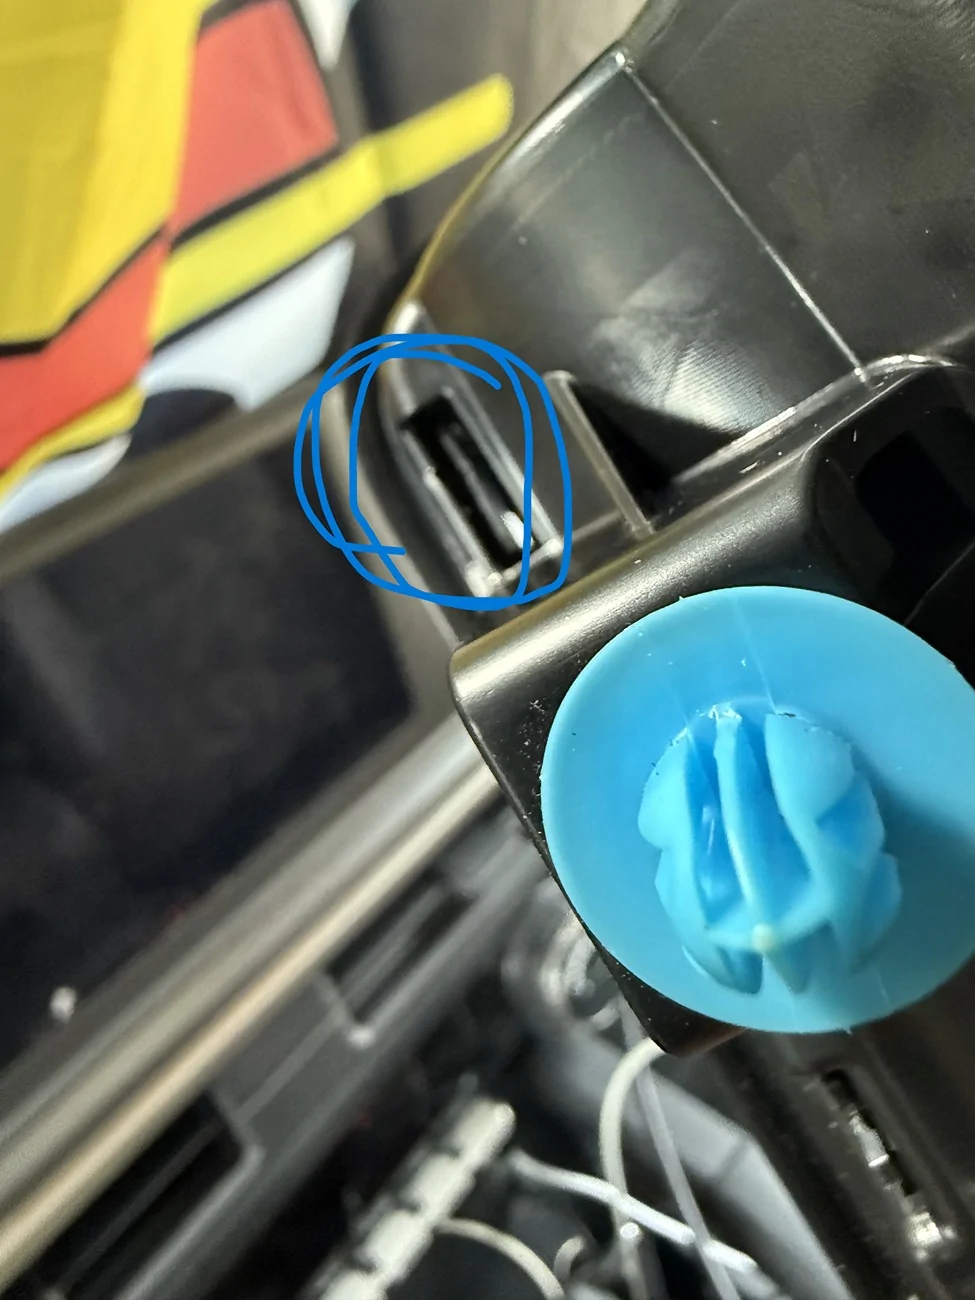
There are 2 of these blue clips holding the housing to the metal. That's it. They simply plug up into the holes. No tabs to press or anything. As I mentioned before, it's held up there quite securely but maybe if you see what's holding it up there, it will ease your mind about how much force is needed to just pull down on it.
For removing the trim, if the tab looks like this and is SMALL, it will just pull out.
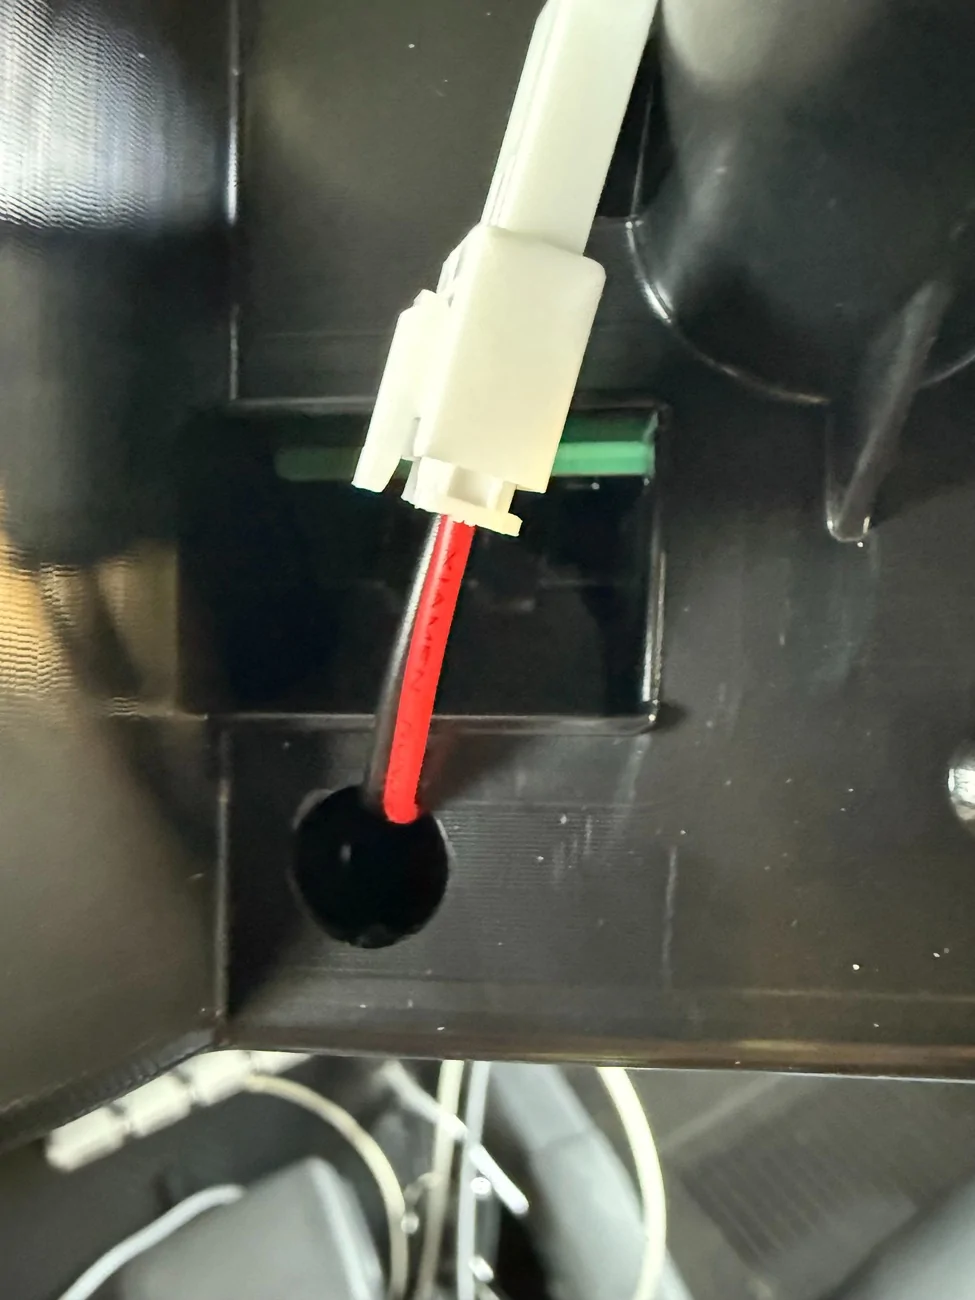
If the tab looks like this or a larger version of the previous picture, you will need to move the tab to release it.
One of 4 holes that need to be drilled in the housing.
I spent the most time trying to remove the outer bezel without beaking any tabs (it can be done).
@Van Solo has a post in the lighting section with the link to the video of installation in a 2024 Tacoma as well as more photos. See his DIY video here:
https://www.4runner6g.com/forum/thr...-dome-map-light-upgrade-white-red-modes.5897/
I was skeptical about buying from this site but they use the shop app which I have used many times so that gave me a little confidence. I messaged him the same day and received a quick response to my questions. It was shipped within 2 days and I received it right away. If you’re looking for this product and don’t wanna wait, you can try at the link above.
install was super easy as other members have mentioned. The 2024 Tacoma install video was pretty spot on. I didn’t need a torx bit as it was just a small Phillips head needed for the 2 inner screws. I will say that you must commit to the removing of the housing for the first step. It really does require quite a bit of force to remove. I pulled straight down on the windshield side of the housing first. It really feels like it’s not gonna pop off but just trust that it will.
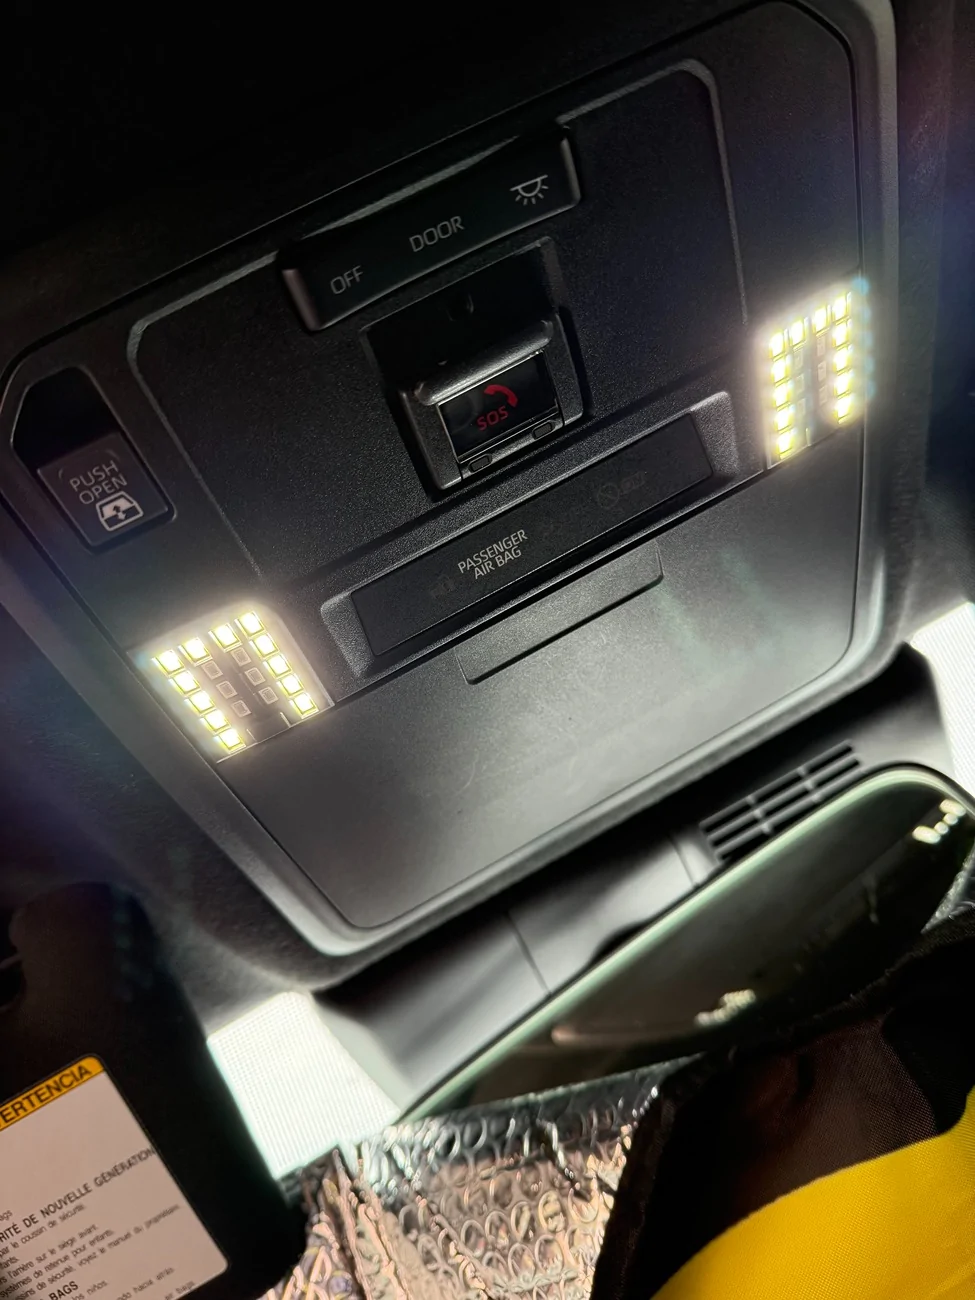
Here they are installed. I forgot to take pics during the install so all I can provide now are after the fact.
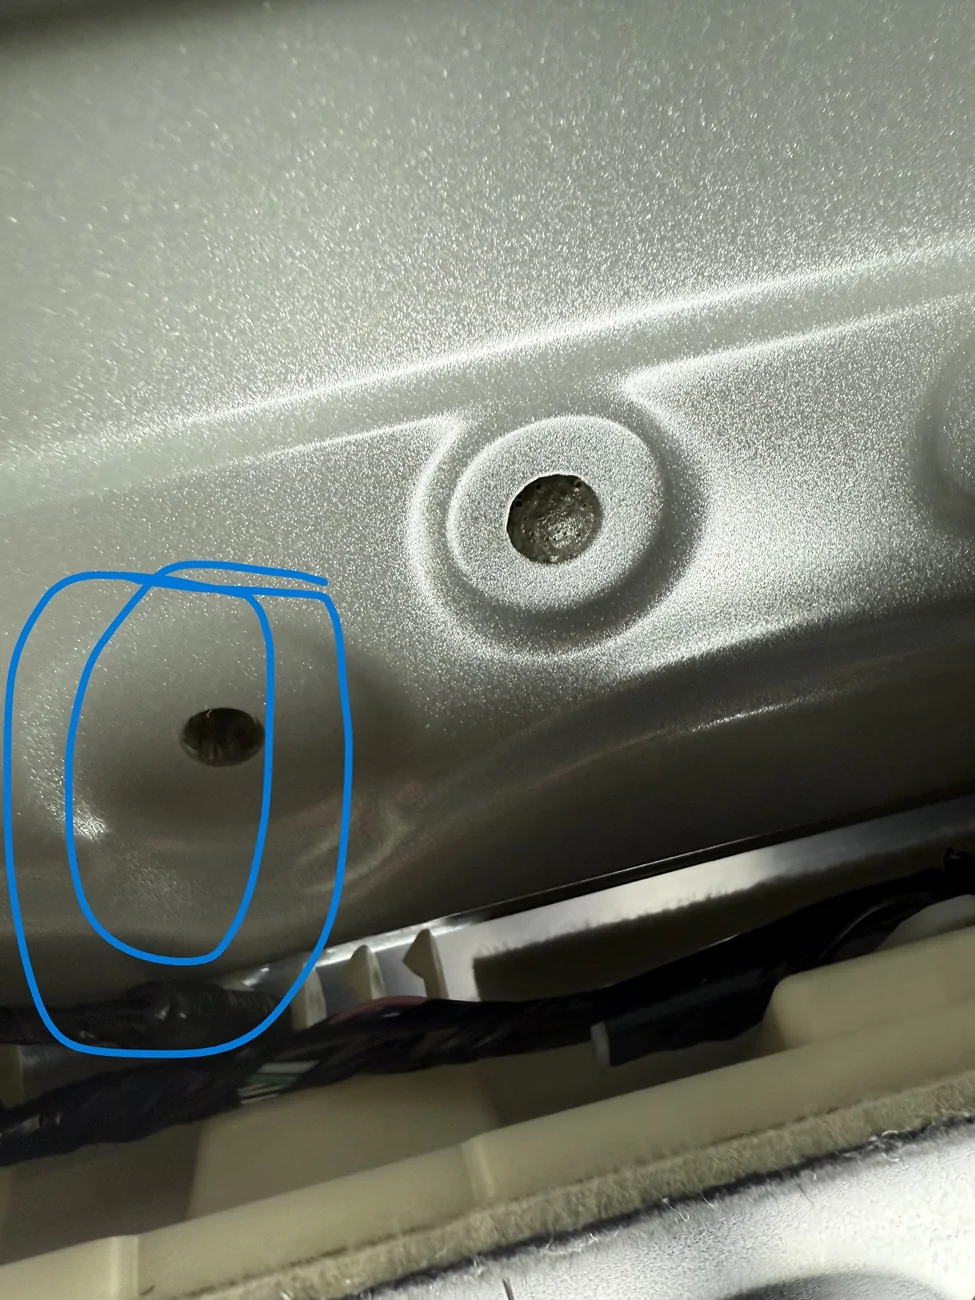
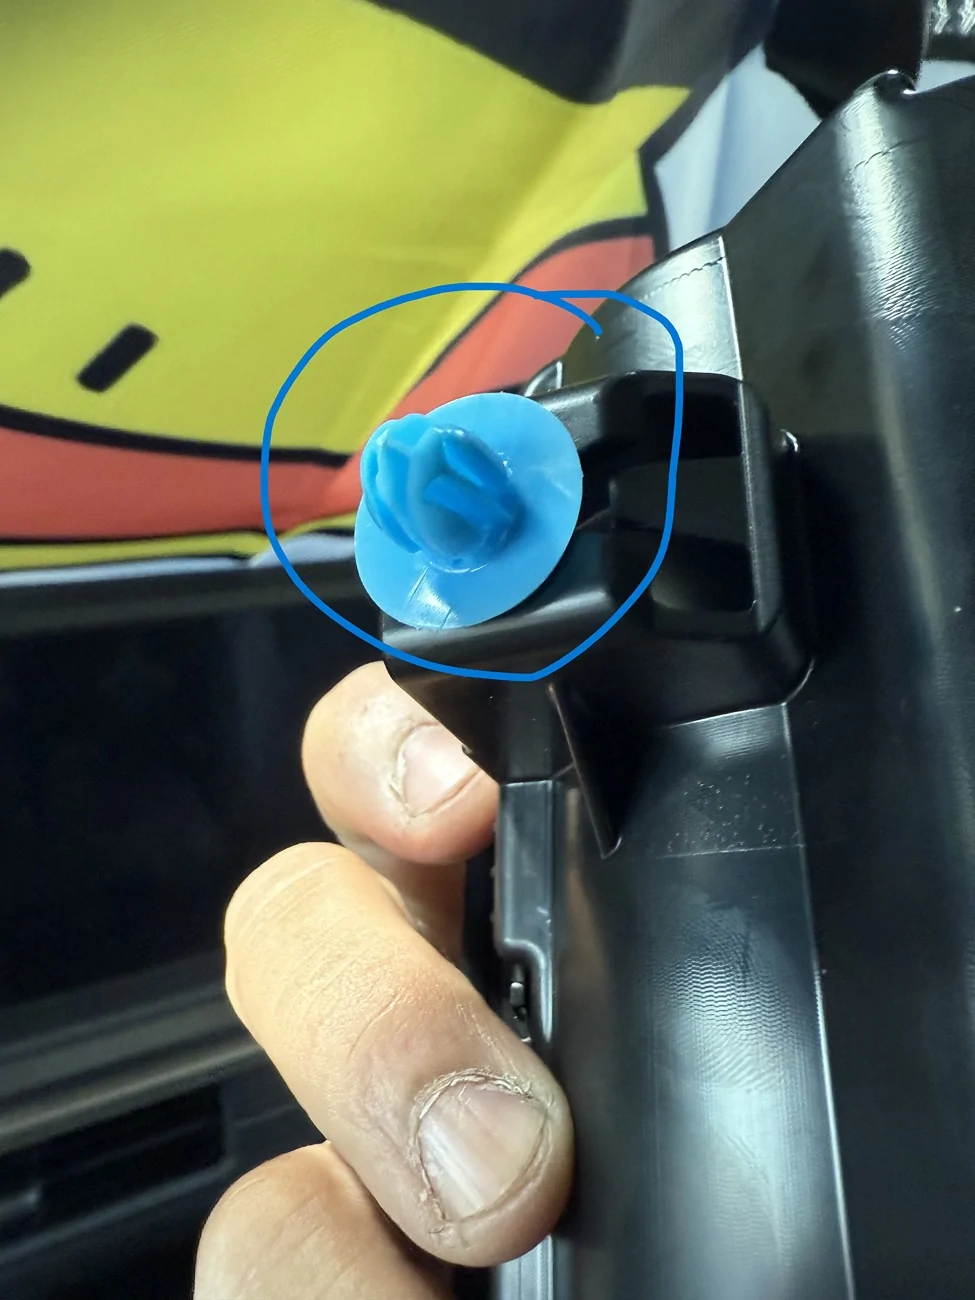
There are 2 of these blue clips holding the housing to the metal. That's it. They simply plug up into the holes. No tabs to press or anything. As I mentioned before, it's held up there quite securely but maybe if you see what's holding it up there, it will ease your mind about how much force is needed to just pull down on it.
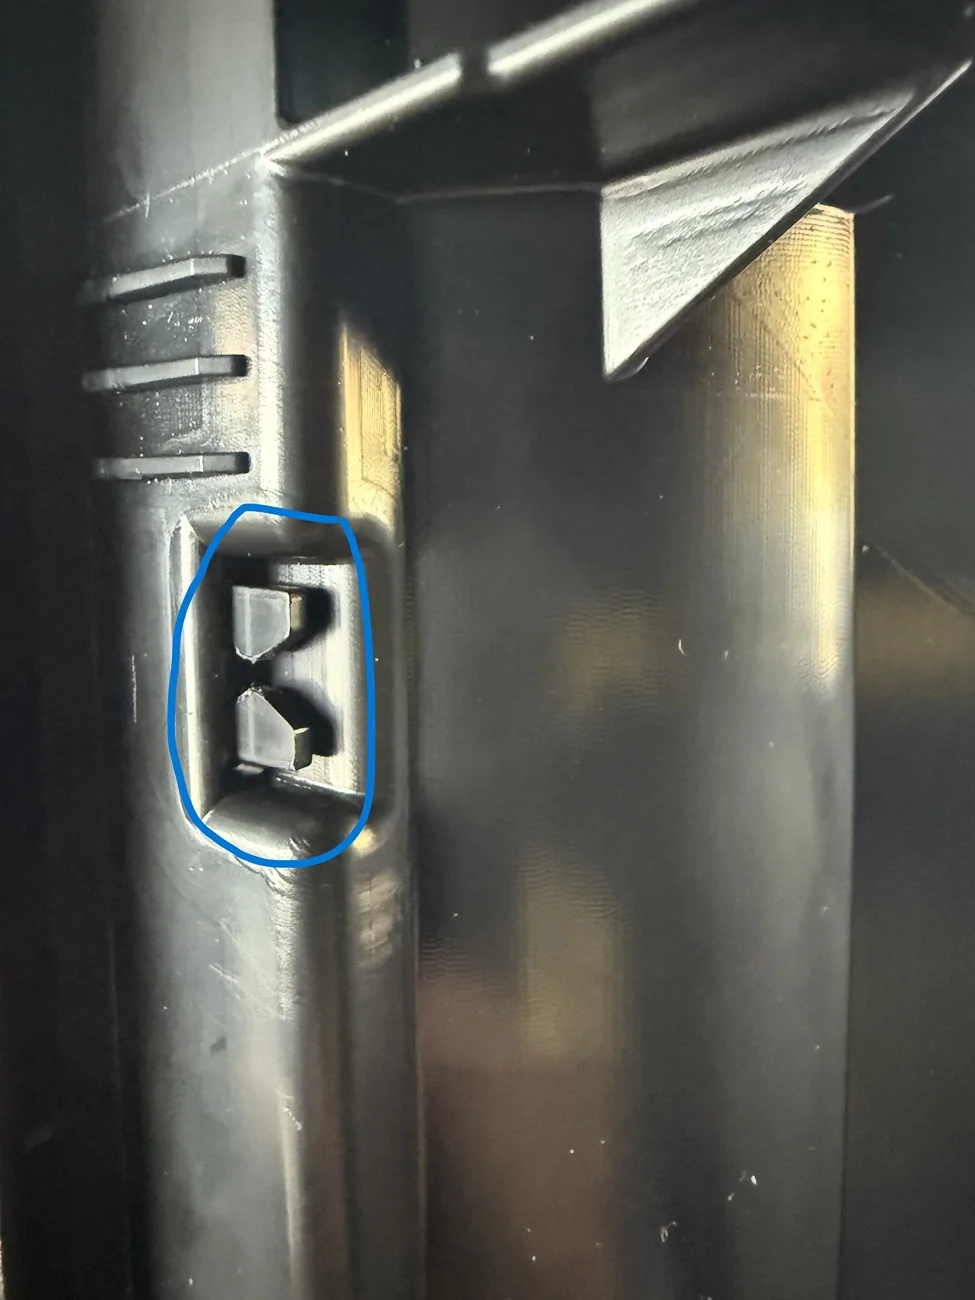
For removing the trim, if the tab looks like this and is SMALL, it will just pull out.
If the tab looks like this or a larger version of the previous picture, you will need to move the tab to release it.
One of 4 holes that need to be drilled in the housing.
I spent the most time trying to remove the outer bezel without beaking any tabs (it can be done).
@Van Solo has a post in the lighting section with the link to the video of installation in a 2024 Tacoma as well as more photos. See his DIY video here:
https://www.4runner6g.com/forum/thr...-dome-map-light-upgrade-white-red-modes.5897/
Sponsored
Last edited by a moderator:


