
- Thread starter
- #1
Just finished installing this unit to accompany my C1000 power station. Installation is pretty straight forward but I figured I would post a little write up since I have not seen any instructional posts on how to do it on a 6th gen.
Step 1: Disconnect the battery
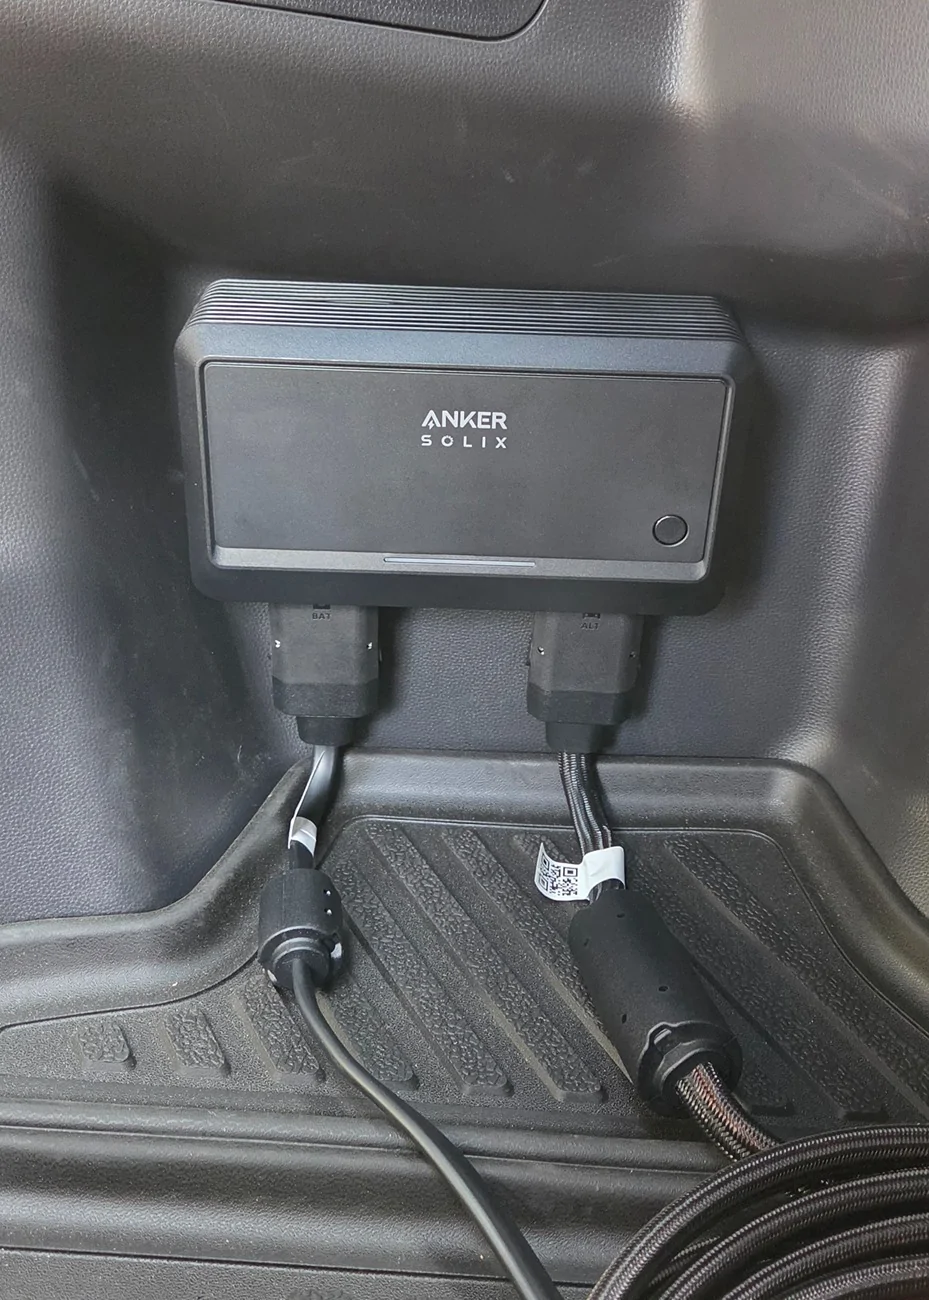
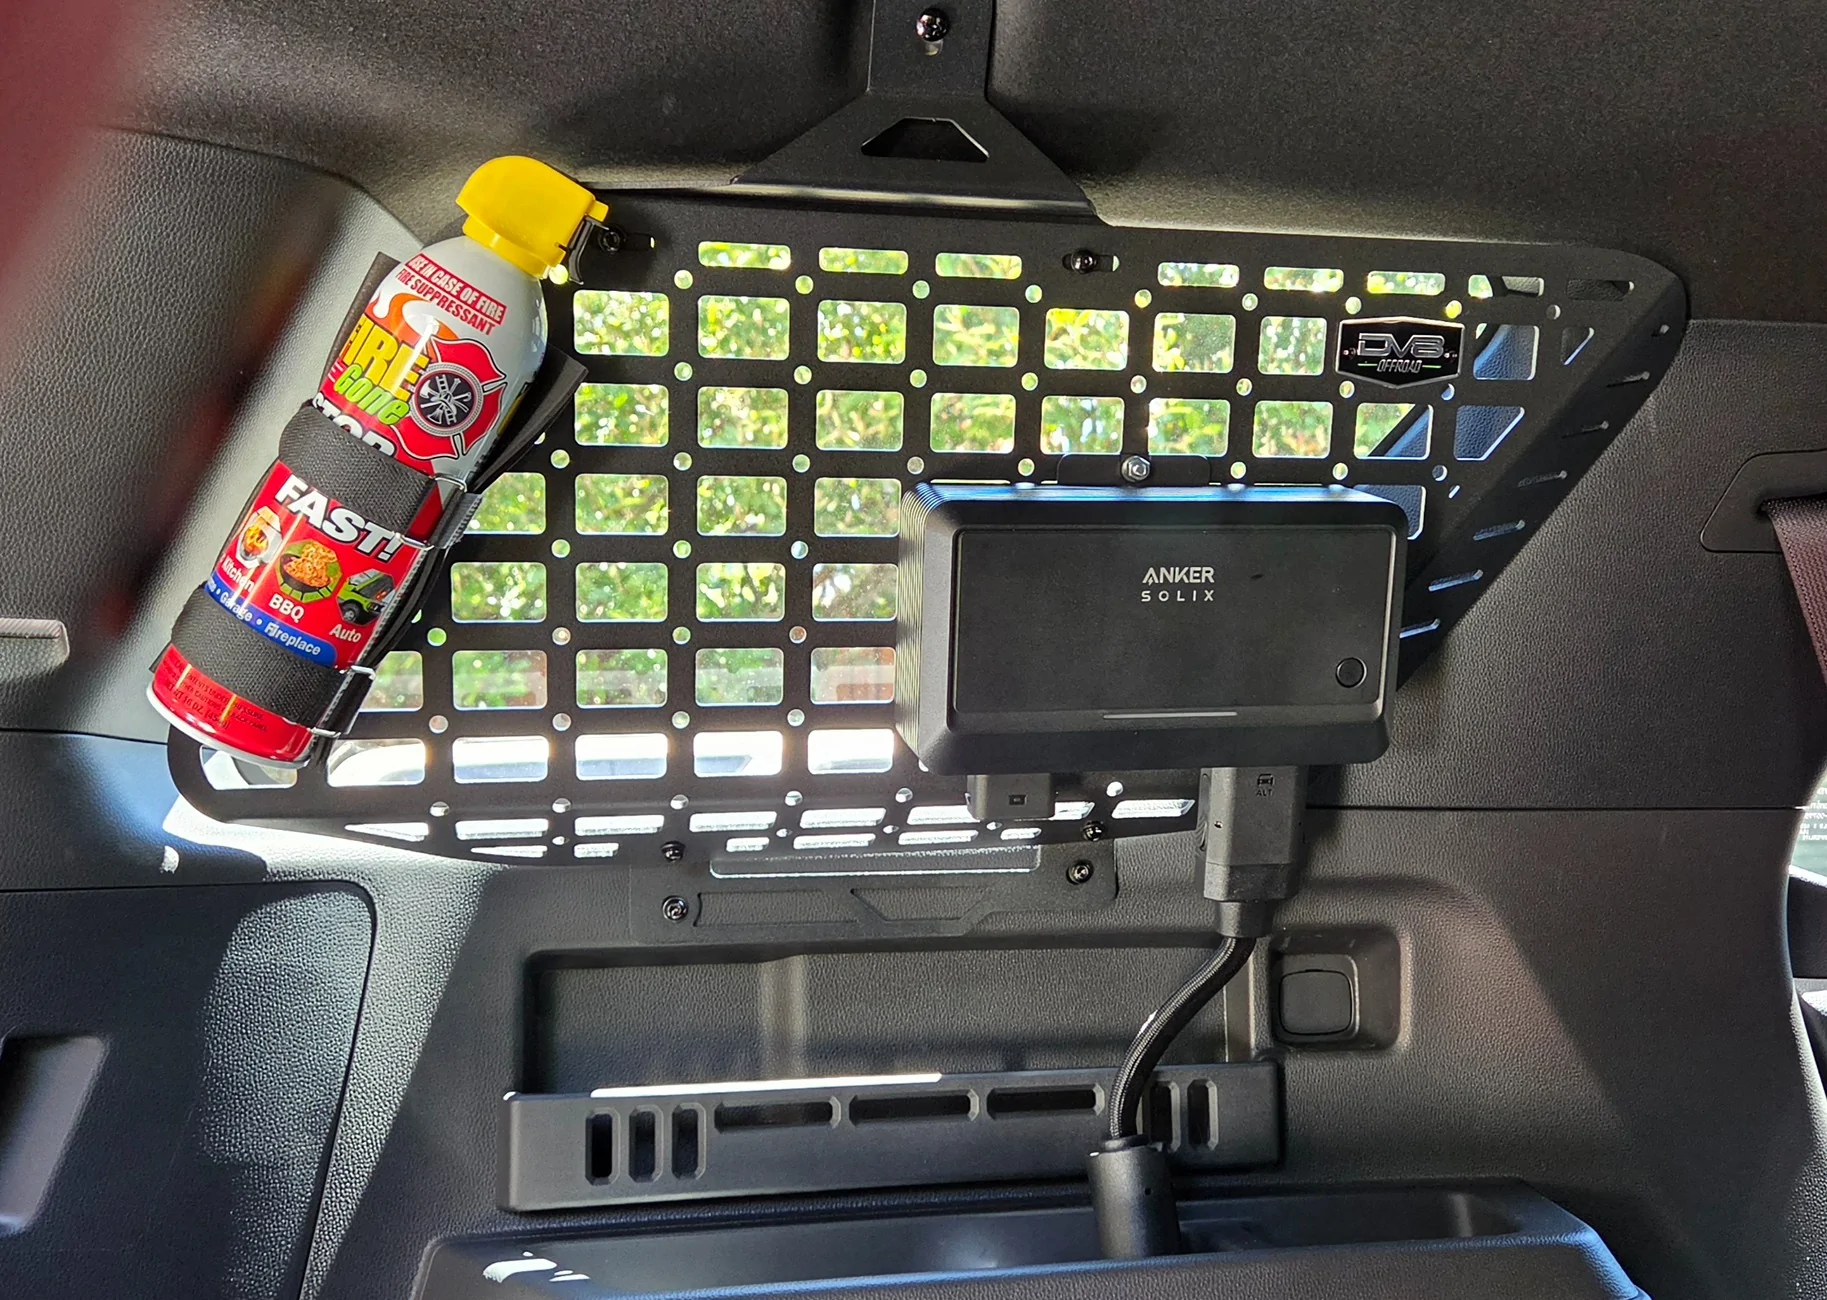
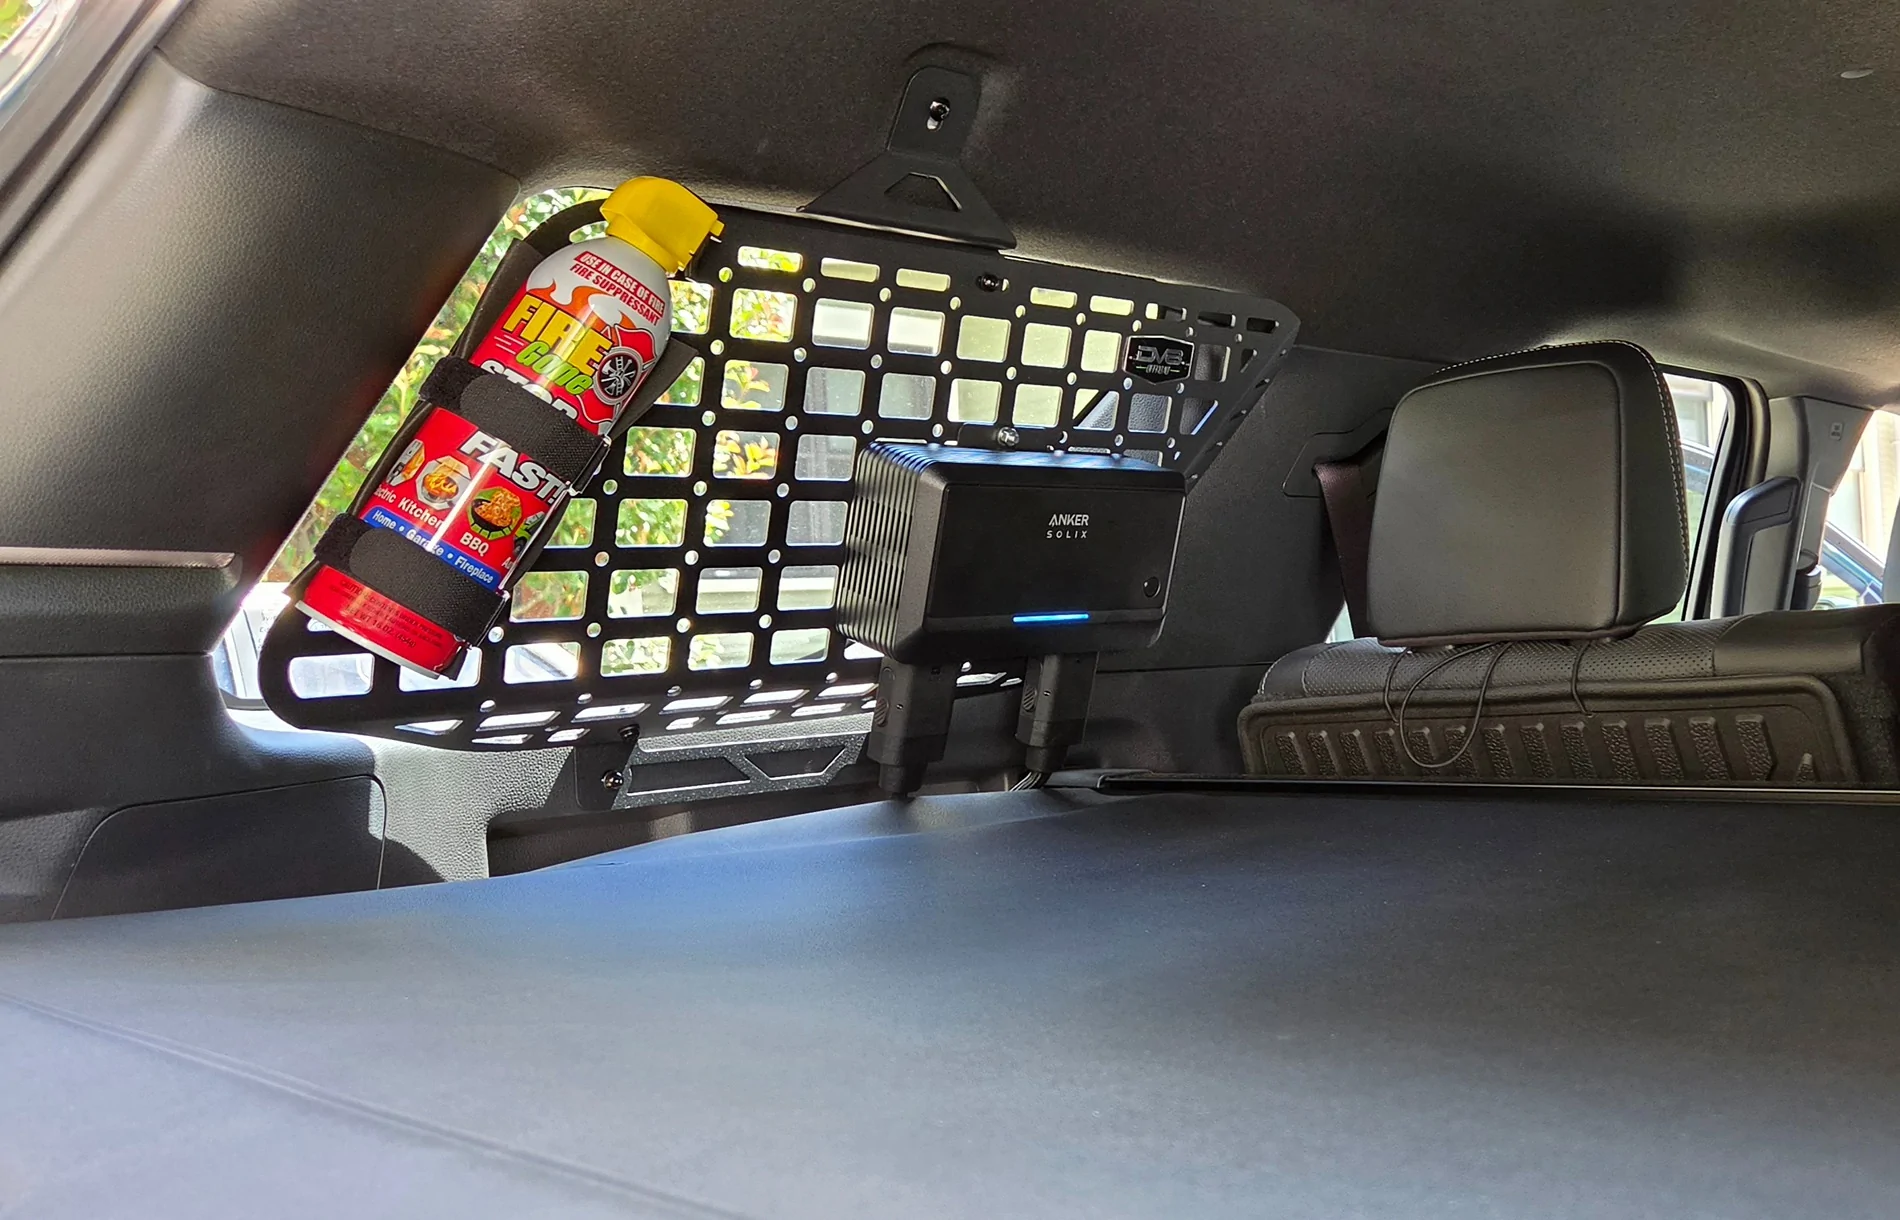
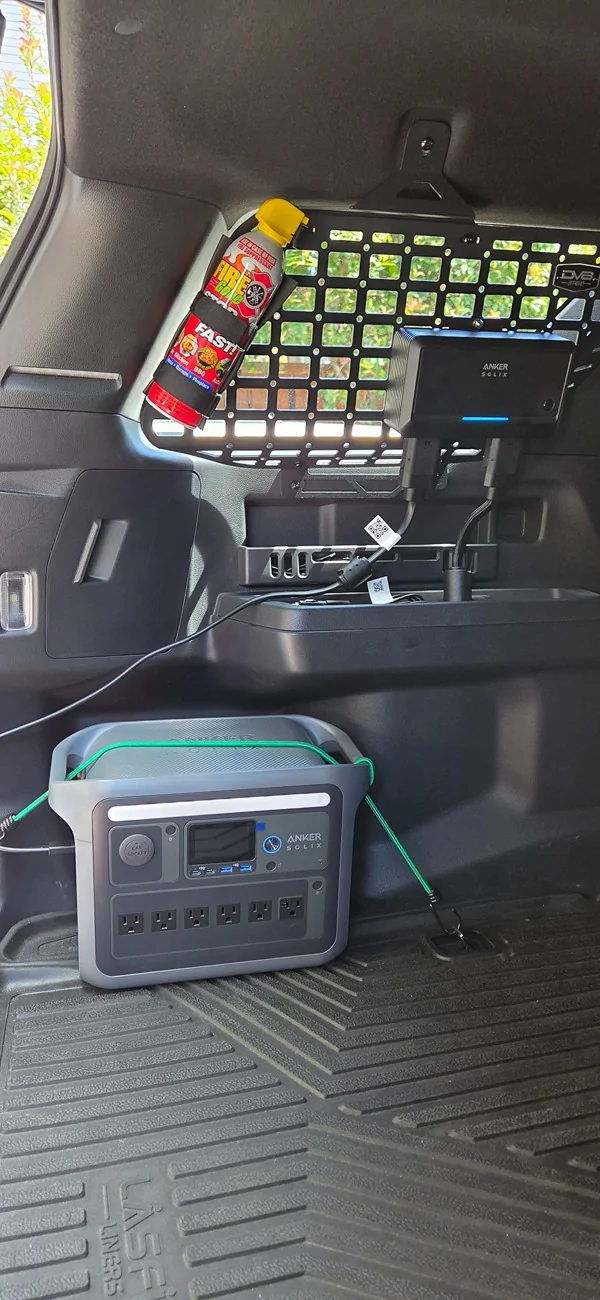
Decide where you want to mount the charger. If I didn't have the MOLLE panels I would have mounted it in the recessed area on the drivers side in the picture but I think it will be safer up higher where it is clear of snowboards, cargo, etc. hitting it.

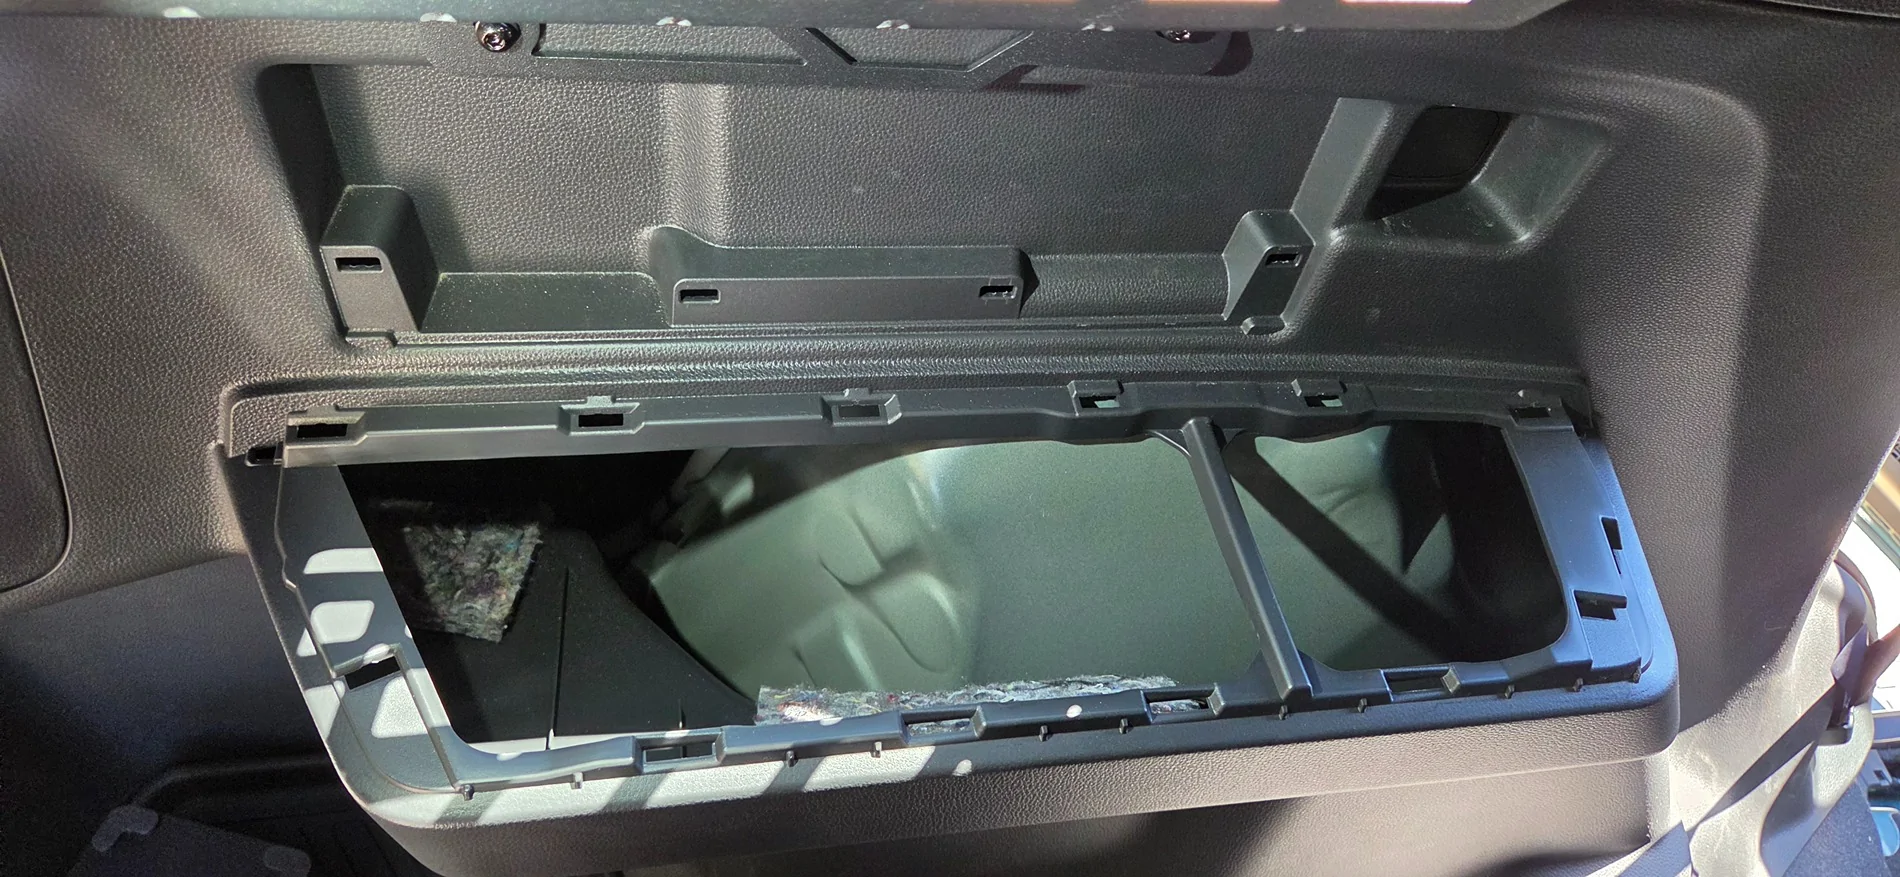
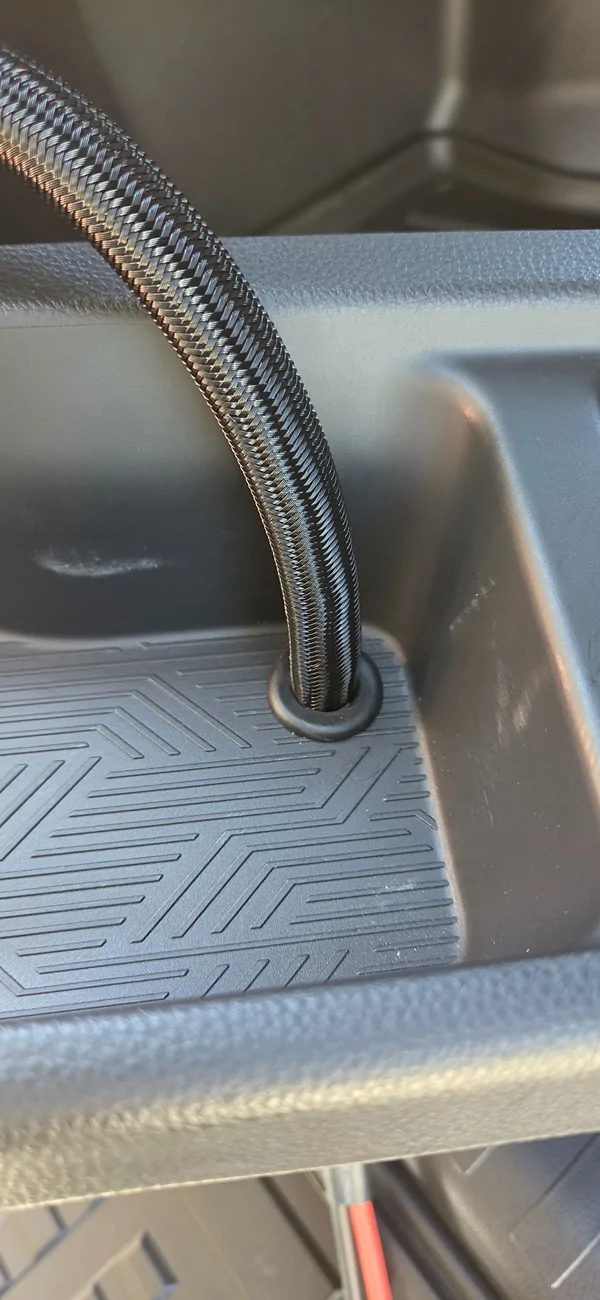
Remove the rear storage bins using plastic trim tools to avoid any scratches. The upper piece pops straight out. I used a step drill bit to punch a hole through the driver side storage bin to feed the battery cable through. I popped a rubber grommet in there to keep things tidy.


Remove the plastic trim pieces from the driver and second row areas pictured. You will need to pop the plastic cover off and remove the rear seatbelt anchor point with a 14mm socket.
I couldn't find my fish tape so I used a piece of weed wacker line to help feed the battery cable through the vehicle. I fed it through the existing white plastic tray in the rear seat area since I was an electrician in a past life and want things as clean as possible but it probably isn't necessary and running it next to it would be perfectly fine.
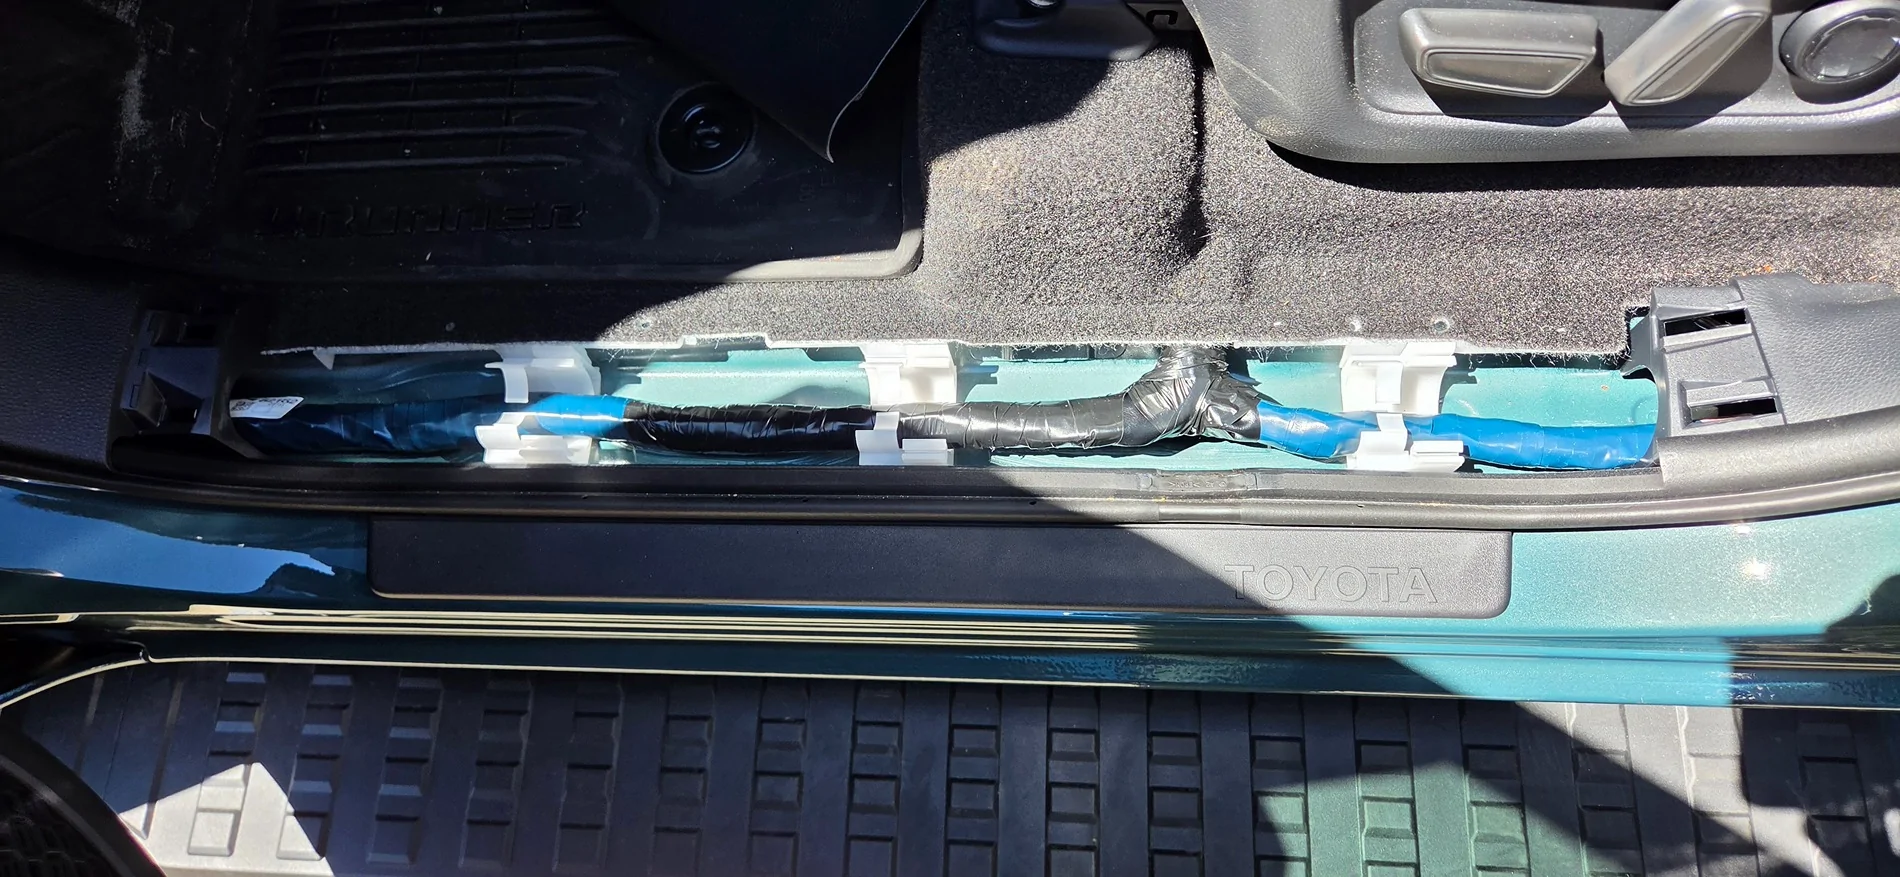
Feed the battery cable forward following the existing cable run under the floor trim.
To get the cable through the firewall I chopped off a part of the rubber grommet that the main harness goes through. It was pretty tight fit so I don't think any additional sealant is needed to keep moisture out of the cabin.
I routed the battery cable up and over the brake booster and tucked/zip tied it along some of the existing vacuum lines in the engine bay over to the battery.
Any extra cable can be folded onto itself(not coiled) and stashed in the rear wheel well area.
I did a goof and didn't run the cable under the plastic trim piece where I made my pass through so I had to chop it and gorilla glue it back together I wasn't about to pull the whole cable back out to fix it.
Pop all the trim pieces back on and reconnect the rear seat belt 14mm bolt that we removed.
Reconnect the battery and charger cables and enjoy your new quick charger. I have a Non-hybrid so the power station didn't like the dirty rear AC outlet signal and the 12v DC outlet only puts out ~100 Watts. This will charge the power station much faster and I believe can also be used to reverse flow and charge the trucks battery if it happens to drain.
Cheers! -Pete


Step 1: Disconnect the battery
Decide where you want to mount the charger. If I didn't have the MOLLE panels I would have mounted it in the recessed area on the drivers side in the picture but I think it will be safer up higher where it is clear of snowboards, cargo, etc. hitting it.
Remove the rear storage bins using plastic trim tools to avoid any scratches. The upper piece pops straight out. I used a step drill bit to punch a hole through the driver side storage bin to feed the battery cable through. I popped a rubber grommet in there to keep things tidy.
Remove the plastic trim pieces from the driver and second row areas pictured. You will need to pop the plastic cover off and remove the rear seatbelt anchor point with a 14mm socket.
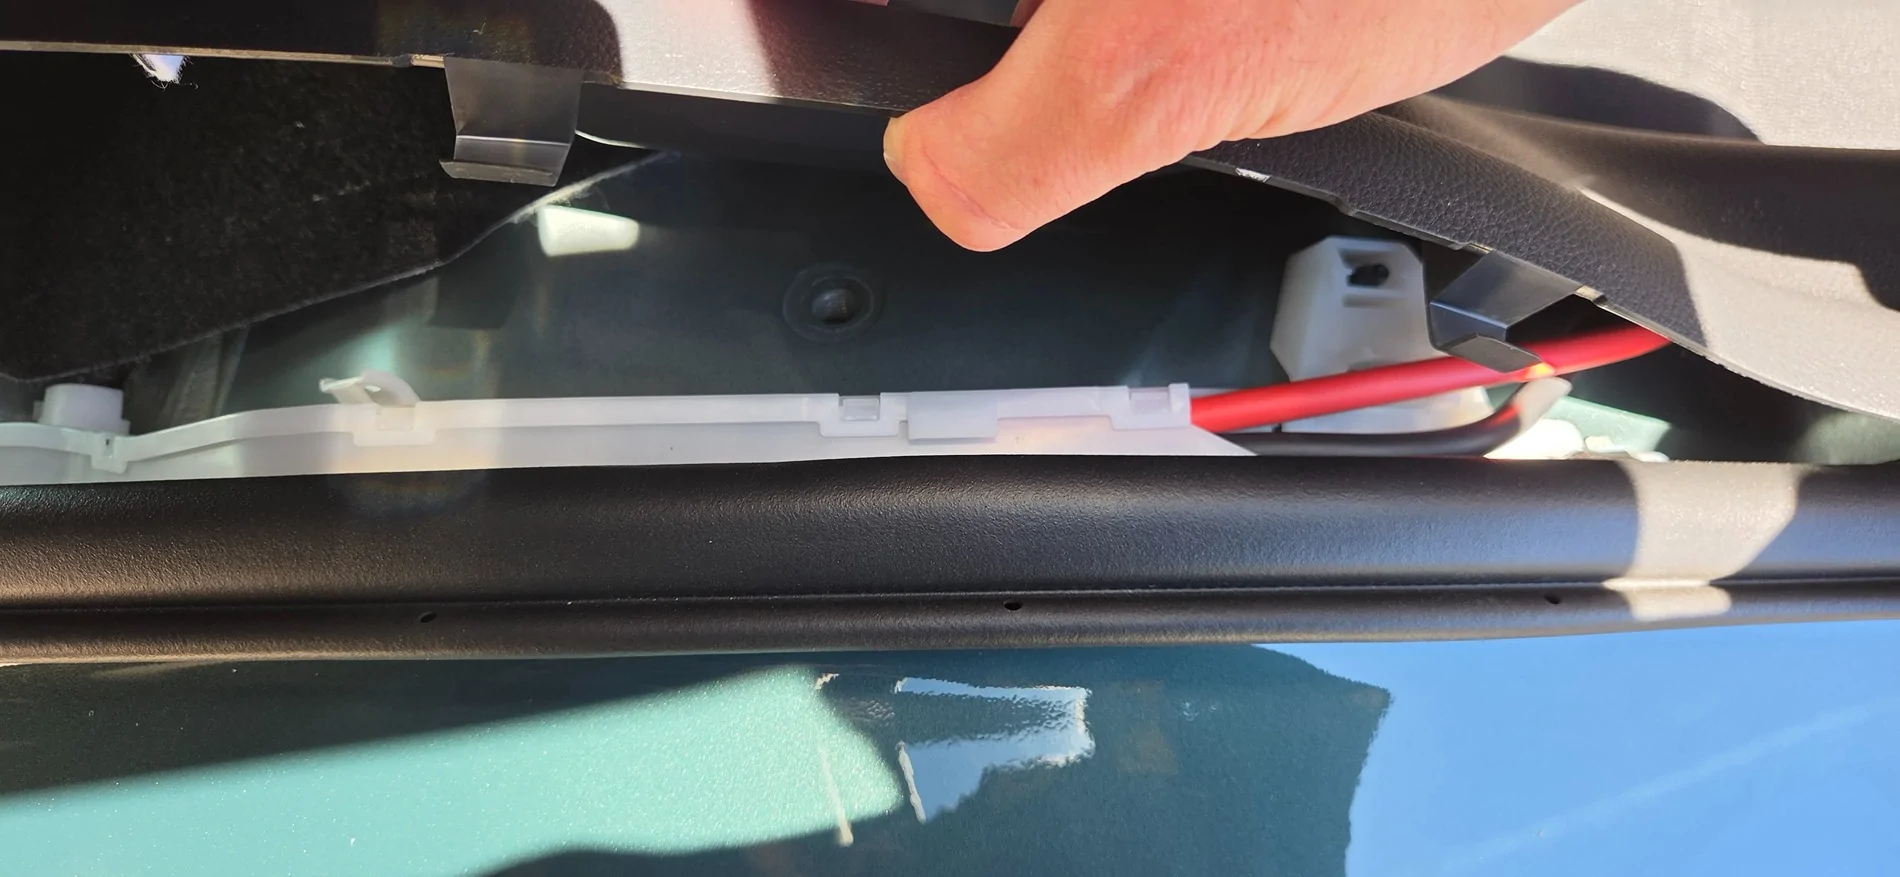
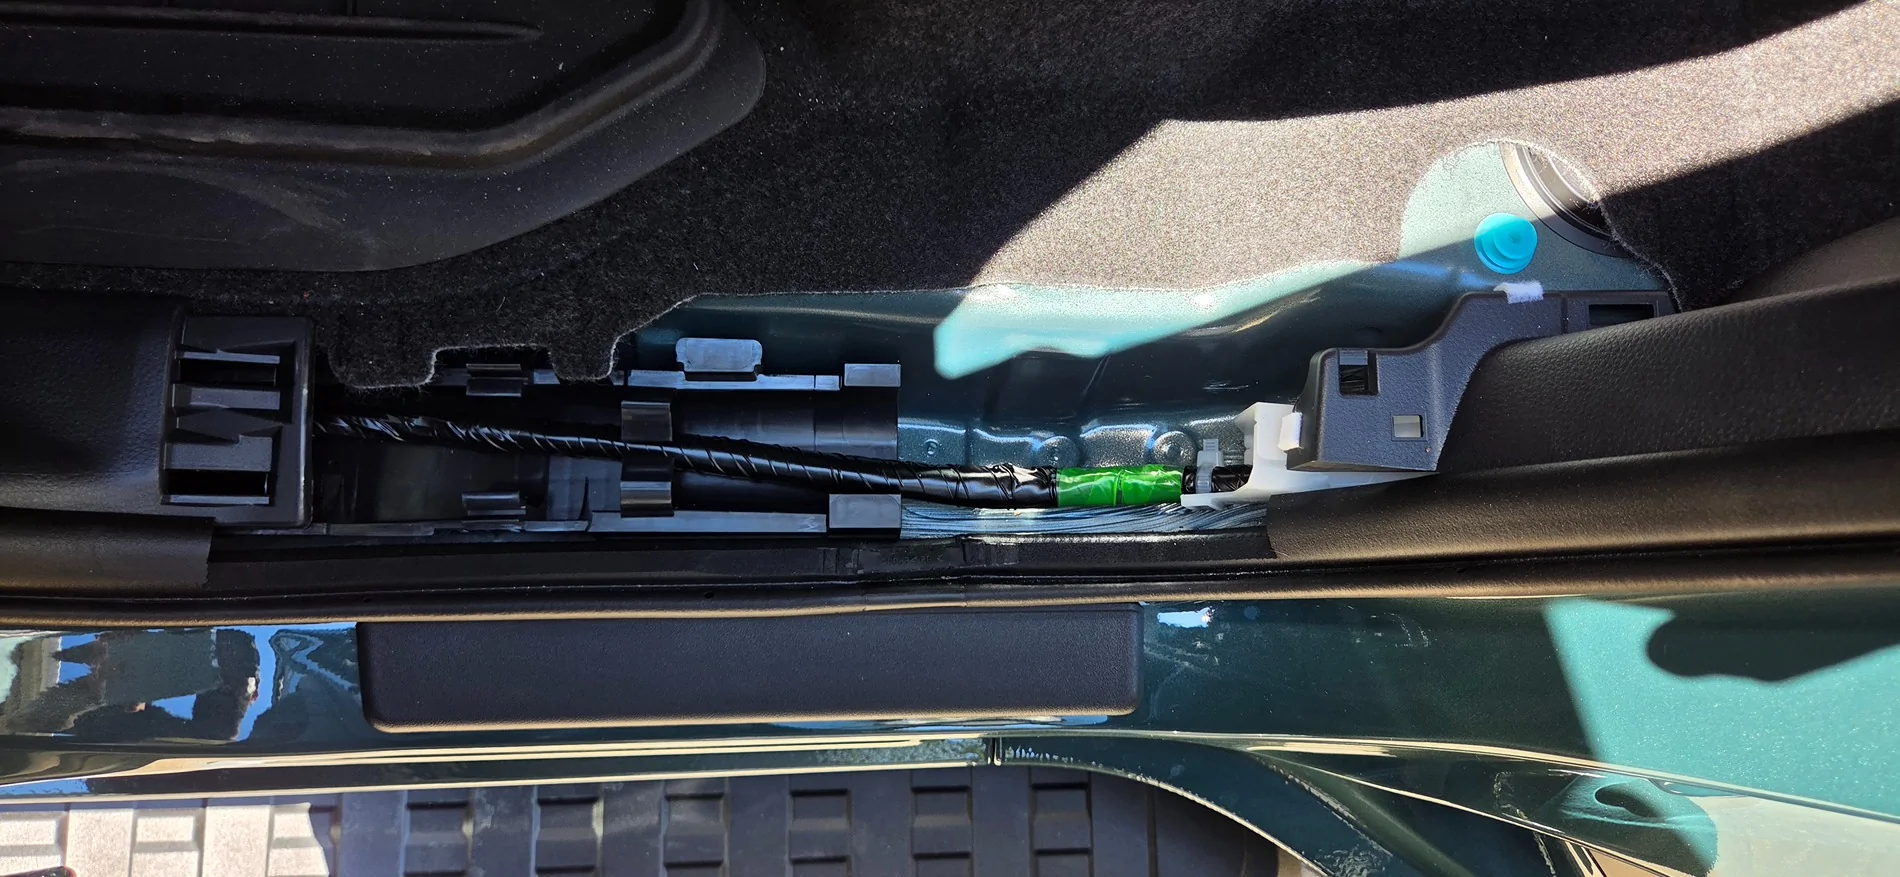
I couldn't find my fish tape so I used a piece of weed wacker line to help feed the battery cable through the vehicle. I fed it through the existing white plastic tray in the rear seat area since I was an electrician in a past life and want things as clean as possible but it probably isn't necessary and running it next to it would be perfectly fine.
Feed the battery cable forward following the existing cable run under the floor trim.
To get the cable through the firewall I chopped off a part of the rubber grommet that the main harness goes through. It was pretty tight fit so I don't think any additional sealant is needed to keep moisture out of the cabin.
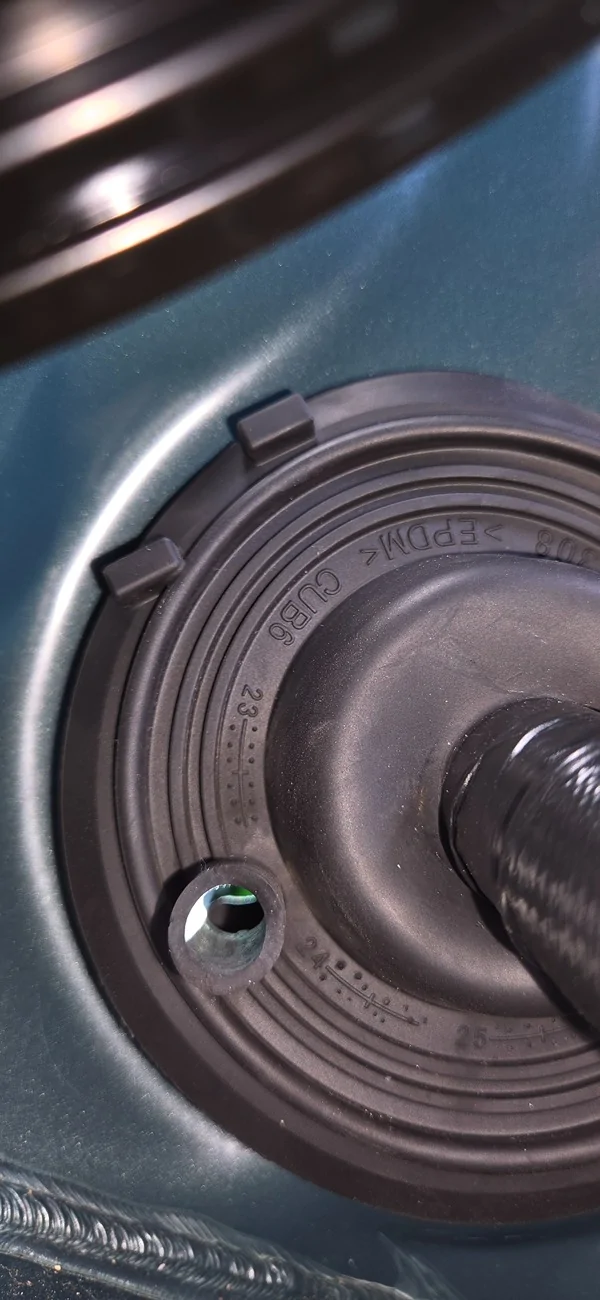
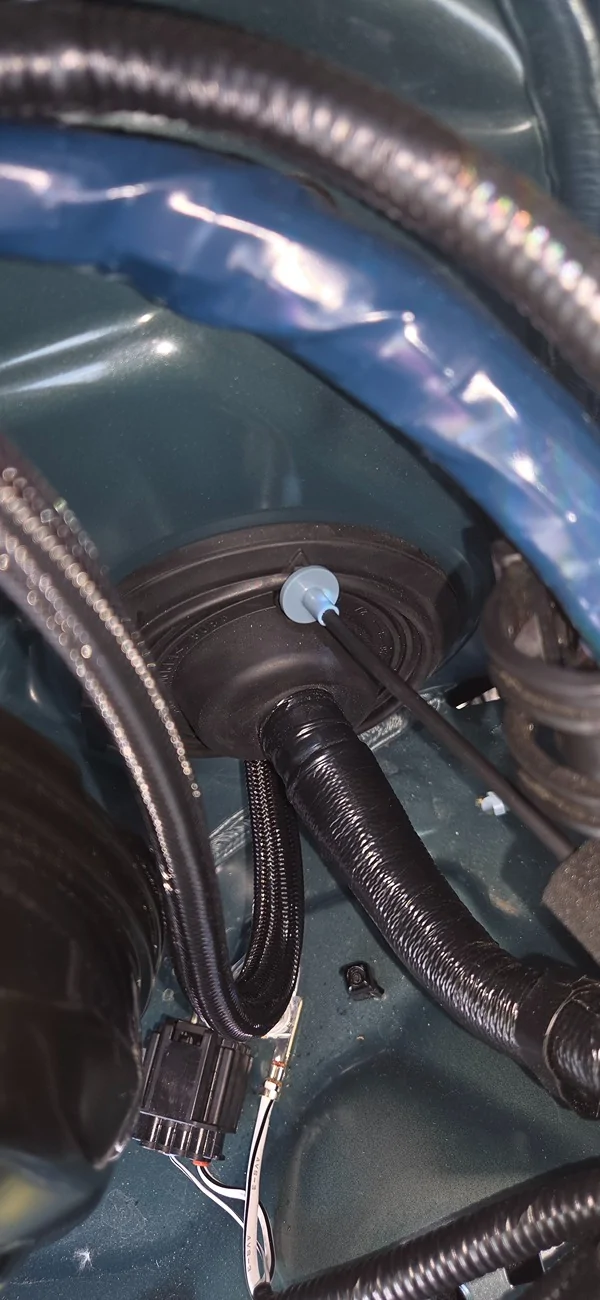
I routed the battery cable up and over the brake booster and tucked/zip tied it along some of the existing vacuum lines in the engine bay over to the battery.
Any extra cable can be folded onto itself(not coiled) and stashed in the rear wheel well area.
I did a goof and didn't run the cable under the plastic trim piece where I made my pass through so I had to chop it and gorilla glue it back together
I wasn't about to pull the whole cable back out to fix it.Pop all the trim pieces back on and reconnect the rear seat belt 14mm bolt that we removed.
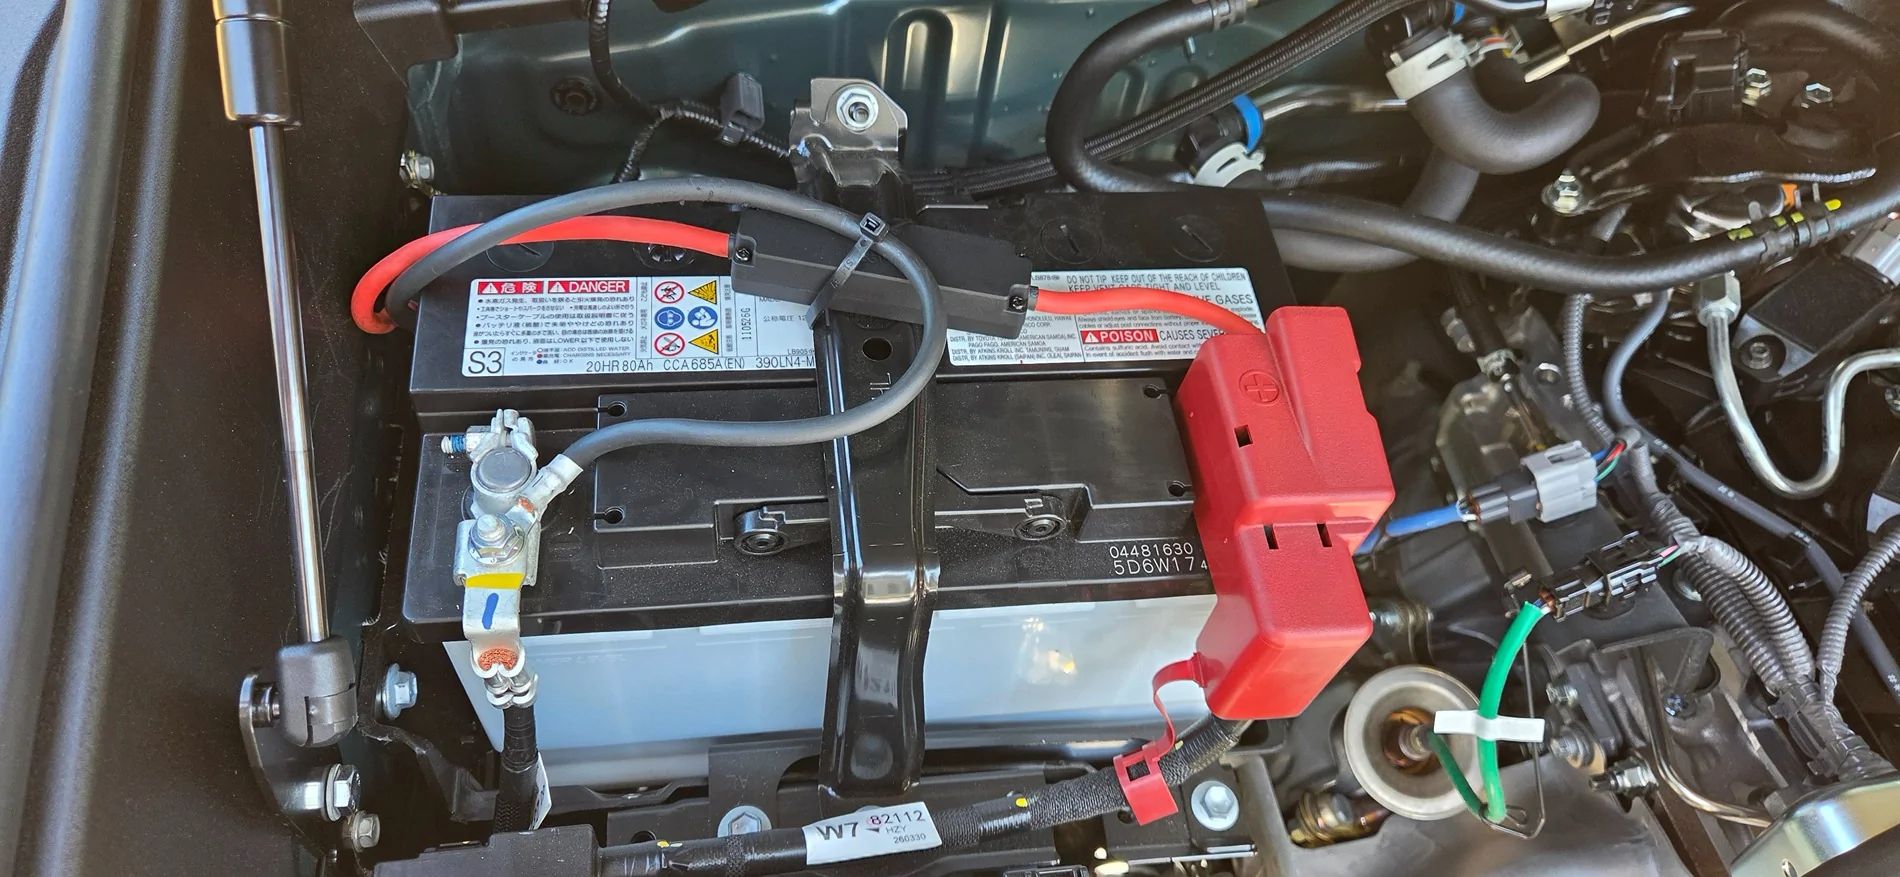
Reconnect the battery and charger cables and enjoy your new quick charger. I have a Non-hybrid so the power station didn't like the dirty rear AC outlet signal and the 12v DC outlet only puts out ~100 Watts. This will charge the power station much faster and I believe can also be used to reverse flow and charge the trucks battery if it happens to drain.
Cheers! -Pete
Sponsored