- First Name
- Jason
- Joined
- Jul 7, 2025
- Threads
- 6
- Messages
- 41
- Reaction score
- 23
- Location
- Franklin Square, NY
- Vehicle(s)
- Honda CRV
- Thread starter
- #1
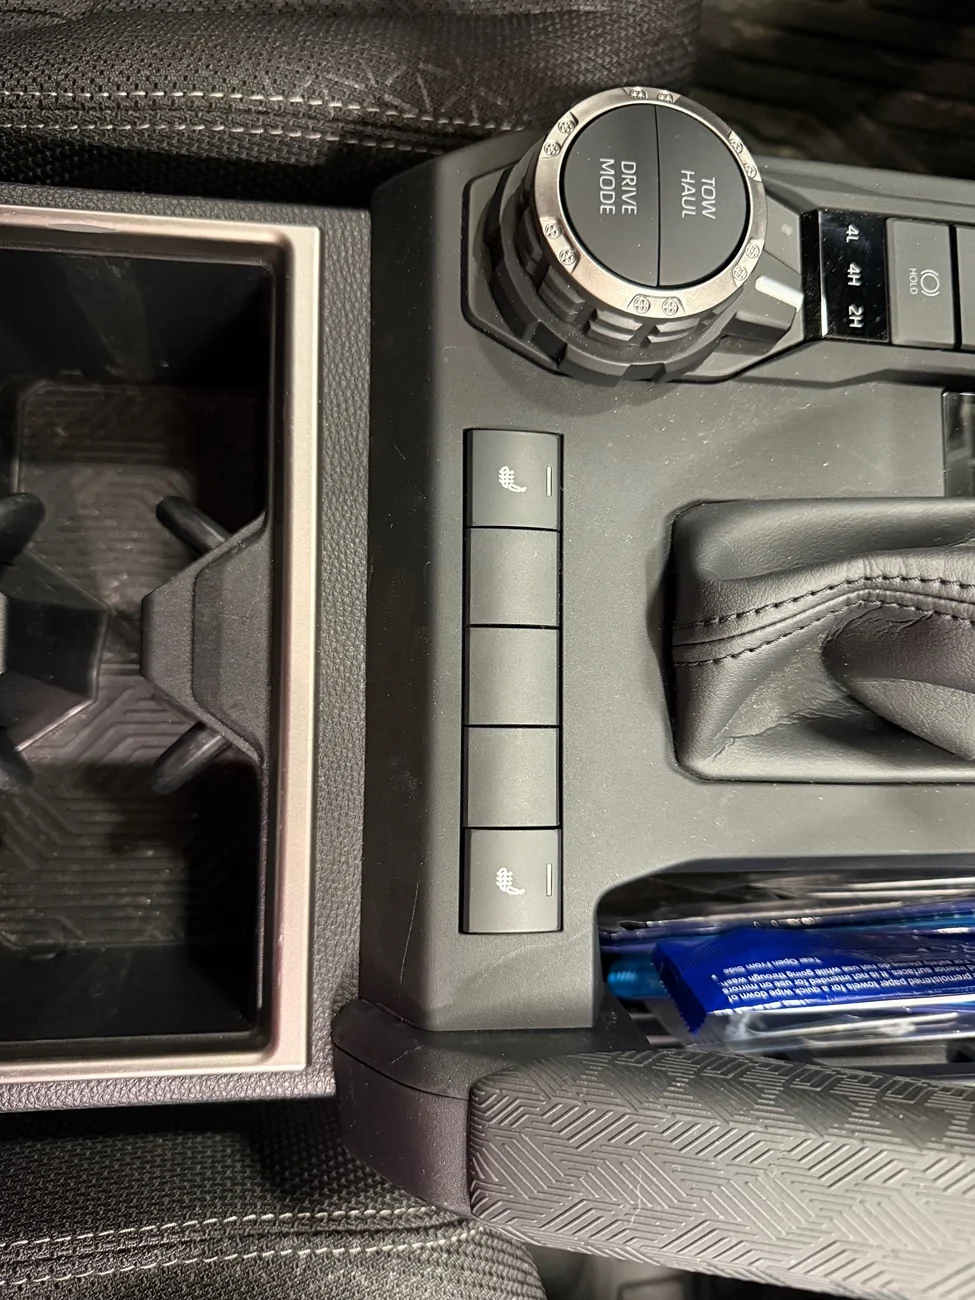
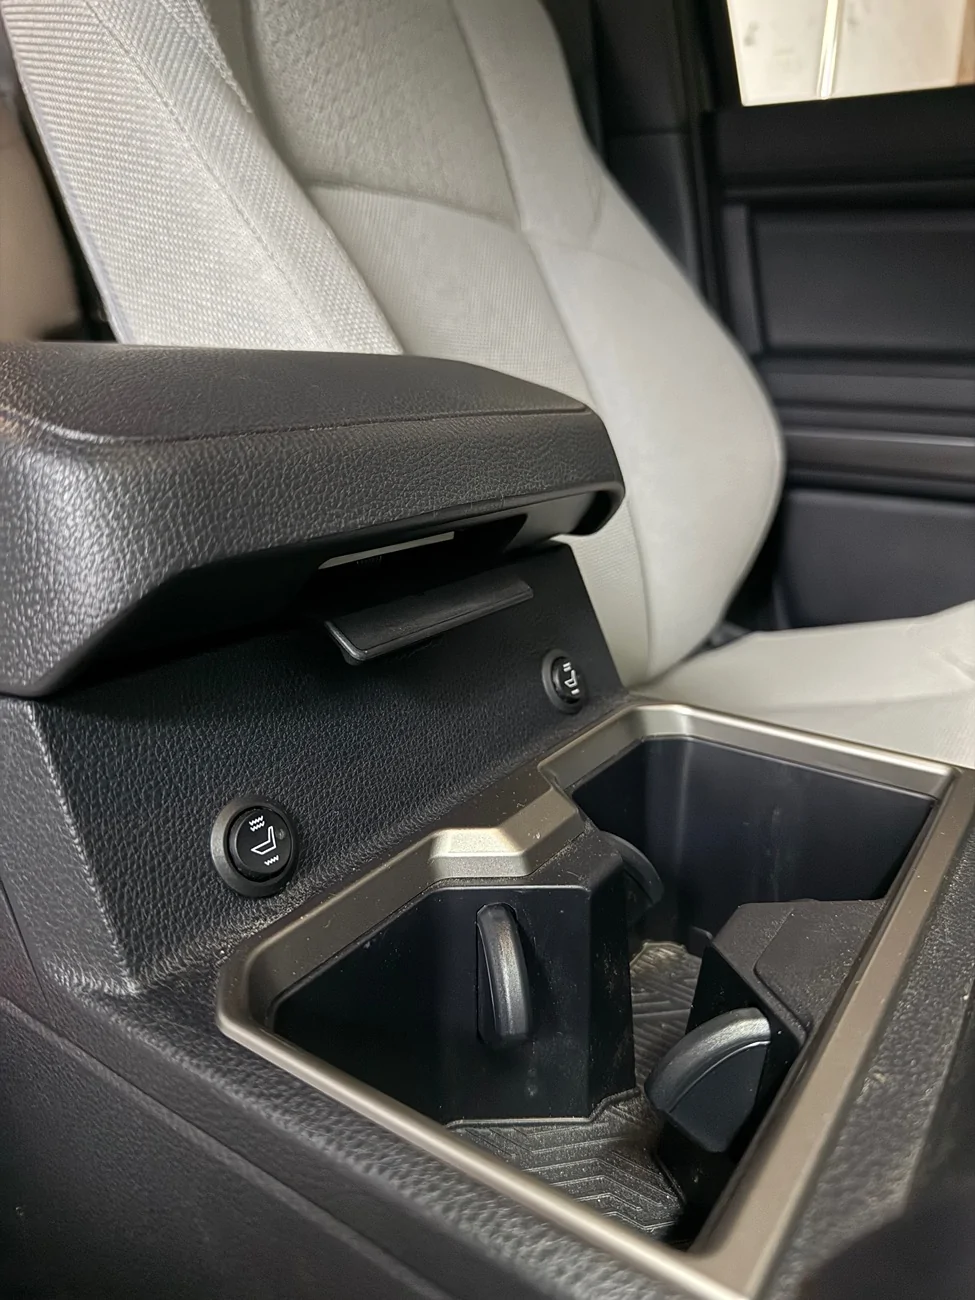
This was one feature I really wanted and the dealer was asking $1,000 for an aftermarket installation. Besides the ridiculous price, the installer placed a rocker switch on the seat bottoms facing the doors. If I were to go this route, I wanted the switches in the center console.
Long story short, I came across a company call Clazzio. They sell a kit that comes with 22mm square switches. I believe this is same size switches for both the dash and center console.
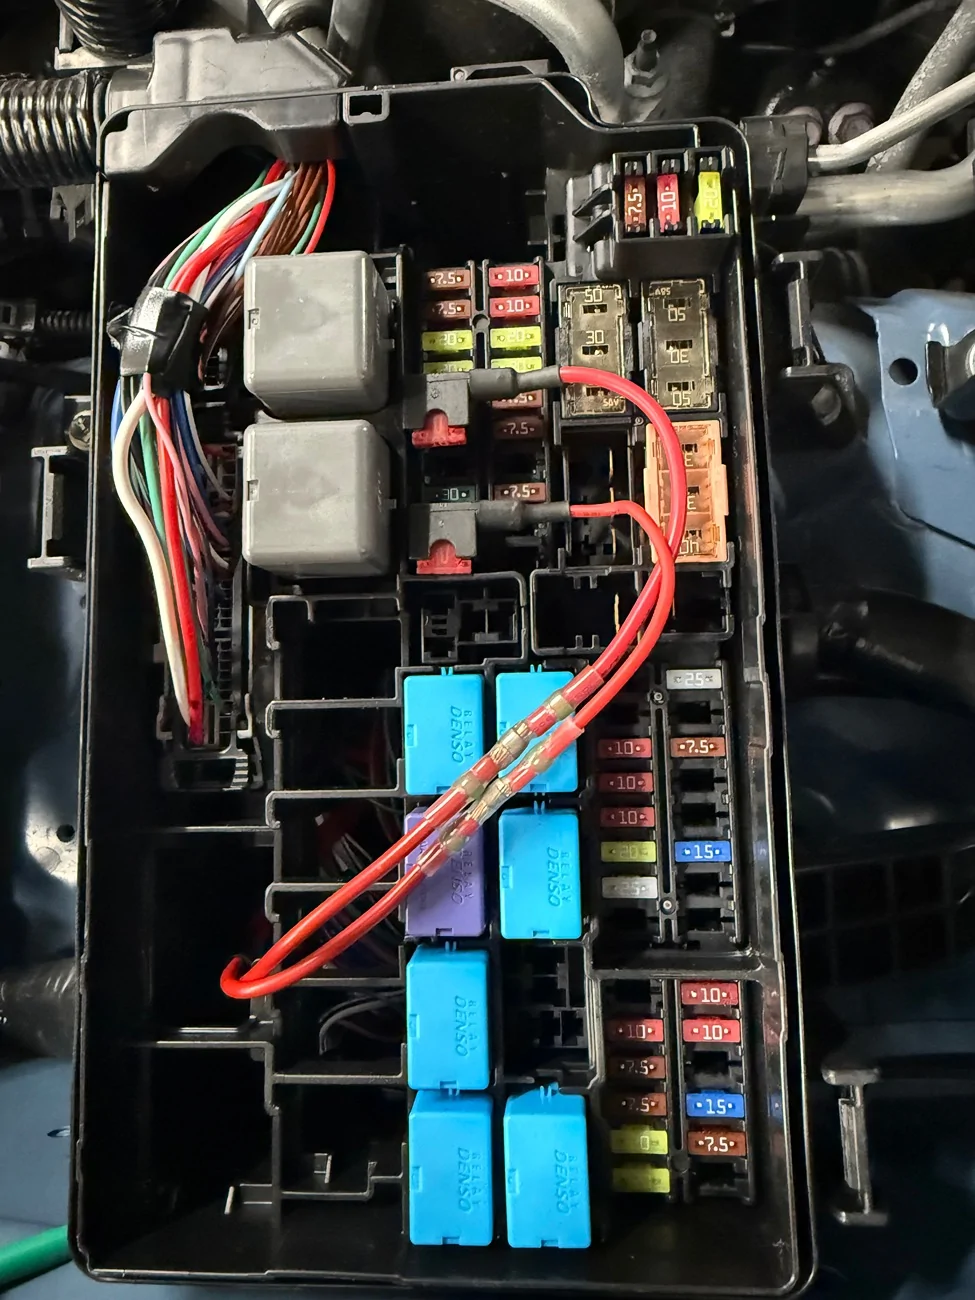
Anyone have experience installing heated seats? I searched for both 6th gen 4Rs and 4th gen Tacos with no luck. Wondering how hard is it DIY? How do I wire it into the truck? I'm very handy but also do not want to damage my truck.
Link to vendor: https://www.clazzio.com/heated-seats.php
Long story short, I came across a company call Clazzio. They sell a kit that comes with 22mm square switches. I believe this is same size switches for both the dash and center console.
Anyone have experience installing heated seats? I searched for both 6th gen 4Rs and 4th gen Tacos with no luck. Wondering how hard is it DIY? How do I wire it into the truck? I'm very handy but also do not want to damage my truck.
Link to vendor: https://www.clazzio.com/heated-seats.php
Sponsored
") . I think IF I were to do this, I would go with the kit in the link above. I like the idea of factory looking switches. Thanks for sharing.
. I think IF I were to do this, I would go with the kit in the link above. I like the idea of factory looking switches. Thanks for sharing.