

Sponsored

ropdykex11

TRD Off-Road
Well-known member
First Name
Rich
Joined
Jun 26, 2025
Threads
7
Messages
114
Reaction score
51
Location
Portland, OR
Vehicle(s)
2025 4Runner TRD Off-Road
I don't have a power lift gate either. SR5.

It is possible to run the wires through the large boot, then down the drivers side. There is a large black plastic cover to remove to access that area. No tricks to that just unscrew & remove. I used that big zip tie to help pull the wire through the area you can't reach. Inside the gate I taped the new wire to an existing harness at several points along the way from the boot down the driver side (well as far as I could reach through the opening) to keep it clear of the widow when it retracts. I actuated the window to verify before closing it all back up. The wire can feed from the drivers side over to the middle of the door safely by going right along that other existing harness.

To get the boot apart first just pull the rubber away where it meets the body. It doesn't extend into the body, it's just held by a plastic retainer ring on the inside. You can just pull it off. Then there is a white plastic retainer oval ring left behind in the hole. It's just held in by 4 clips that you can work loose with a spudger. The boot and the retaining ring stays on the bundle, don't bother trying to disassemble the ring evennthough it looks like it comes apart. Just work the rubber back onto the ring, and then later it just snaps back into the hole

Only real problem is you can't get through the flex boot at the hinge on the vehicle side without damage. The boot has a membrane that is tightly strapped around the wire bundle and seals from the bundle to the outer shell. You cannot insert *anything* new into the middle with the wires. I even tried greasing up a big zip tie with conduit pull lube and poking it down the middle. Not a chance.

You have to pierce the membrane. The area is inside the body so it should never be wet there in theory but you know with automotive there is no such thing as too much sealing or too many layers of barrier. That membrane is there for a reason.

Power (in my case) comes from the plug for the optional extra cargo lights in the pillar next to the jack storage. I have those lights but the plug is there whether you have the lights or not. The wire goes up the pillar and over to the boot pretty easy. You have to pull a few plastic retainer buttons from the head liner and pull it down a little.

The wire was the perfect length for all this routed this way, incluing enough slack at the bends so it isn't being pulled at any time.
Love the detailed write up! Thank you so much! You didn't happen to take any pictures? I won't ask you to dismantle the whole batch to help me out, but again thank you a bunch! I'll see if I can replicate it.
Sponsored


bkw777

SR5
Well-known member
First Name
Brian
Joined
Jul 31, 2025
Threads
15
Messages
247
Reaction score
140
Location
NJ
Vehicle(s)
25 SR5, 96 SR5
Love the detailed write up! Thank you so much! You didn't happen to take any pictures? I won't ask you to dismantle the whole batch to help me out, but again thank you a bunch! I'll see if I can replicate it.
One detail off, the membrane is on the door end of the boot not the vehicle end. You can pop both ends off the same way no problem but you probably only really need to open the door end, especially if you use something half stiff as a fish tool like a ziptie that you can push through bends. You do have to help it along from the outside by manipulating the outside of the tube.

You're feeding from the vehicle out to the door, not door to vehicle. The vehicle end of the wire has larger parts and the power pass through T harness.

It's actually not too bad so maybe I will have it apart again and get some pics, because I didn't apply any rtv to the hole in the boot, and I kinda want to.

Also I want to beef up the strain relief where the wire is soldered to the pcb. It's kinda junk. wires just soldered to the pcb, nothing to stop the wire from breaking off at the solder. It could use a blob of hot glue or rtv at the very least, and some heat shrink to make a more gradual bend. The wires don't move of flex any more once installed but it just bugs me on principle. The will sill vibrate. Actually now that I think about it, just closing the door normally has to rattle them preyy hard. So yeah, it's fine probably for some time but I definitely want to immobilize that wire a lot more against slamming the door, and glue the solder point.

Also I want to put some silicone grease on the connector at the light end.

Actually even though you have take the entire door panel off and another piece under that besides, I actually found the interior panel by the jack storage to be the most annoying, and the wasn't honestly that bad. I did drop a plastic clip down in the tail light area and it was a bitch to reach, so do be on the lookout for that. You don't want to drop anything in there, because it goes waaay down. You almost need a borescope with a grabber on the end. stiff wire with exposed tape on the end if you can at least see it to poke a wire at it.
 

mush

SR5
Member
First Name
Q
Joined
Dec 19, 2025
Threads
0
Messages
21
Reaction score
10
Location
Houston, TX
Vehicle(s)
2025 4Runner 2007 Tacoma
I don't have a power lift gate either. SR5.

It is possible to run the wires through the large boot, then down the drivers side. There is a large black plastic cover to remove to access that area. No tricks to that just unscrew & remove. I used that big zip tie to help pull the wire through the area you can't reach. Inside the gate I taped the new wire to an existing harness at several points along the way from the boot down the driver side (well as far as I could reach through the opening) to keep it clear of the widow when it retracts. I actuated the window to verify before closing it all back up. The wire can feed from the drivers side over to the middle of the door safely by going right along that other existing harness.

To get the boot apart first just pull the rubber away where it meets the body. It doesn't extend into the body, it's just held by a plastic retainer ring on the inside. You can just pull it off. Then there is a white plastic retainer oval ring left behind in the hole. It's just held in by 4 clips that you can work loose with a spudger. The boot and the retaining ring stays on the bundle, don't bother trying to disassemble the ring evennthough it looks like it comes apart. Just work the rubber back onto the ring, and then later it just snaps back into the hole

Only real problem is you can't get through the flex boot at the hinge on the vehicle side without damage. The boot has a membrane that is tightly strapped around the wire bundle and seals from the bundle to the outer shell. You cannot insert *anything* new into the middle with the wires. I even tried greasing up a big zip tie with conduit pull lube and poking it down the middle. Not a chance.

You have to pierce the membrane. The area is inside the body so it should never be wet there in theory but you know with automotive there is no such thing as too much sealing or too many layers of barrier. That membrane is there for a reason.

Power (in my case) comes from the plug for the optional extra cargo lights in the pillar next to the jack storage. I have those lights but the plug is there whether you have the lights or not. The wire goes up the pillar and over to the boot pretty easy. You have to pull a few plastic retainer buttons from the head liner and pull it down a little.

The wire was the perfect length for all this routed this way, incluing enough slack at the bends so it isn't being pulled at any time.
Is that plug hidden? I dont think 4runners with the 3rd row has that plug. I did look around but didnt see that plug

Edit
searched, someone else installed the cargo lights and had to tap because the female connector wasnt there with 3rd row
 
Last edited:

ropdykex11

TRD Off-Road
Well-known member
First Name
Rich
Joined
Jun 26, 2025
Threads
7
Messages
114
Reaction score
51
Location
Portland, OR
Vehicle(s)
2025 4Runner TRD Off-Road
One detail off, the membrane is on the door end of the boot not the vehicle end. You can pop both ends off the same way no problem but you probably only really need to open the door end, especially if you use something half stiff as a fish tool like a ziptie that you can push through bends. You do have to help it along from the outside by manipulating the outside of the tube.

You're feeding from the vehicle out to the door, not door to vehicle. The vehicle end of the wire has larger parts and the power pass through T harness.

It's actually not too bad so maybe I will have it apart again and get some pics, because I didn't apply any rtv to the hole in the boot, and I kinda want to.

Also I want to beef up the strain relief where the wire is soldered to the pcb. It's kinda junk. wires just soldered to the pcb, nothing to stop the wire from breaking off at the solder. It could use a blob of hot glue or rtv at the very least, and some heat shrink to make a more gradual bend. The wires don't move of flex any more once installed but it just bugs me on principle. The will sill vibrate. Actually now that I think about it, just closing the door normally has to rattle them preyy hard. So yeah, it's fine probably for some time but I definitely want to immobilize that wire a lot more against slamming the door, and glue the solder point.

Also I want to put some silicone grease on the connector at the light end.

Actually even though you have take the entire door panel off and another piece under that besides, I actually found the interior panel by the jack storage to be the most annoying, and the wasn't honestly that bad. I did drop a plastic clip down in the tail light area and it was a bitch to reach, so do be on the lookout for that. You don't want to drop anything in there, because it goes waaay down. You almost need a borescope with a grabber on the end. stiff wire with exposed tape on the end if you can at least see it to poke a wire at it.
your writeup helped me immensely, managed to get it done!
 

bkw777

SR5
Well-known member
First Name
Brian
Joined
Jul 31, 2025
Threads
15
Messages
247
Reaction score
140
Location
NJ
Vehicle(s)
25 SR5, 96 SR5
Is that plug hidden? I dont think 4runners with the 3rd row has that plug. I did look around but didnt see that plug

Edit
searched, someone else installed the cargo lights and had to tap because the female connector wasnt there with 3rd row
It's behind an interior panel. The cargo lights replaces the whole panel between the jack and the door.
 

BobCape

TRD Off-Road Premium
Member
First Name
Bob
Joined
Jun 15, 2026
Threads
1
Messages
10
Reaction score
14
Location
Black Hills South Dakota
Website
bobcape.myportfolio.com
Vehicle(s)
2026 4Runner Off Road Premium iForceMAX
Great write-up! It really helped. I probably spent 8 minutes installing mine on my TRD ORP. I wasn't in a rush. 😁 It is such a simple install if you have the power tailgate. I don't know anything about the install if you have a manual tailgate. It is well worth the price. I'm a wildlife photographer and am always loading or unloading my gear in the dark. This gives a good amount of bright white light.


 

Garrett_A

TRD Off-Road Premium
Member
First Name
Garrett
Joined
May 3, 2026
Threads
1
Messages
11
Reaction score
9
Location
San Antonio, TX
Vehicle(s)
2025 4 Runner - TRD Off Road Premium
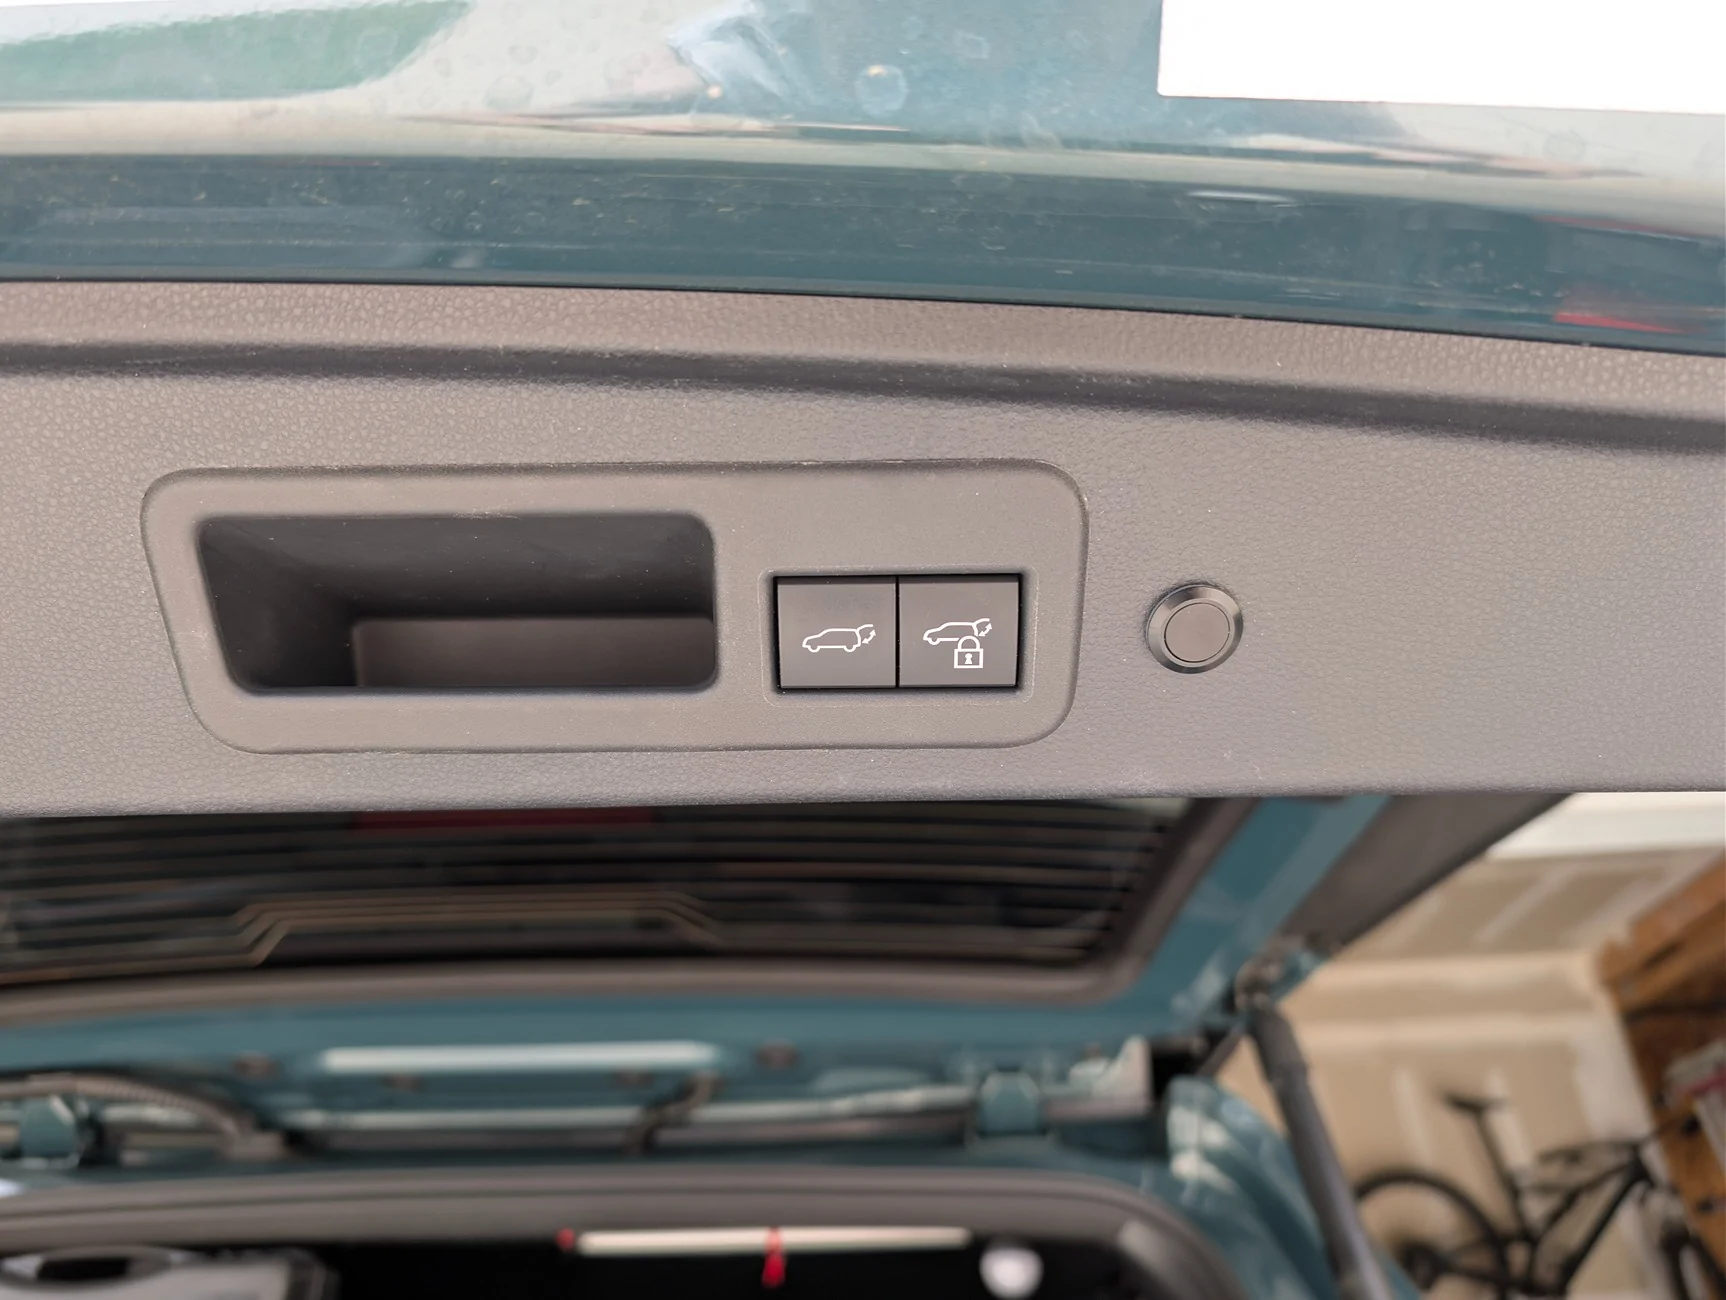
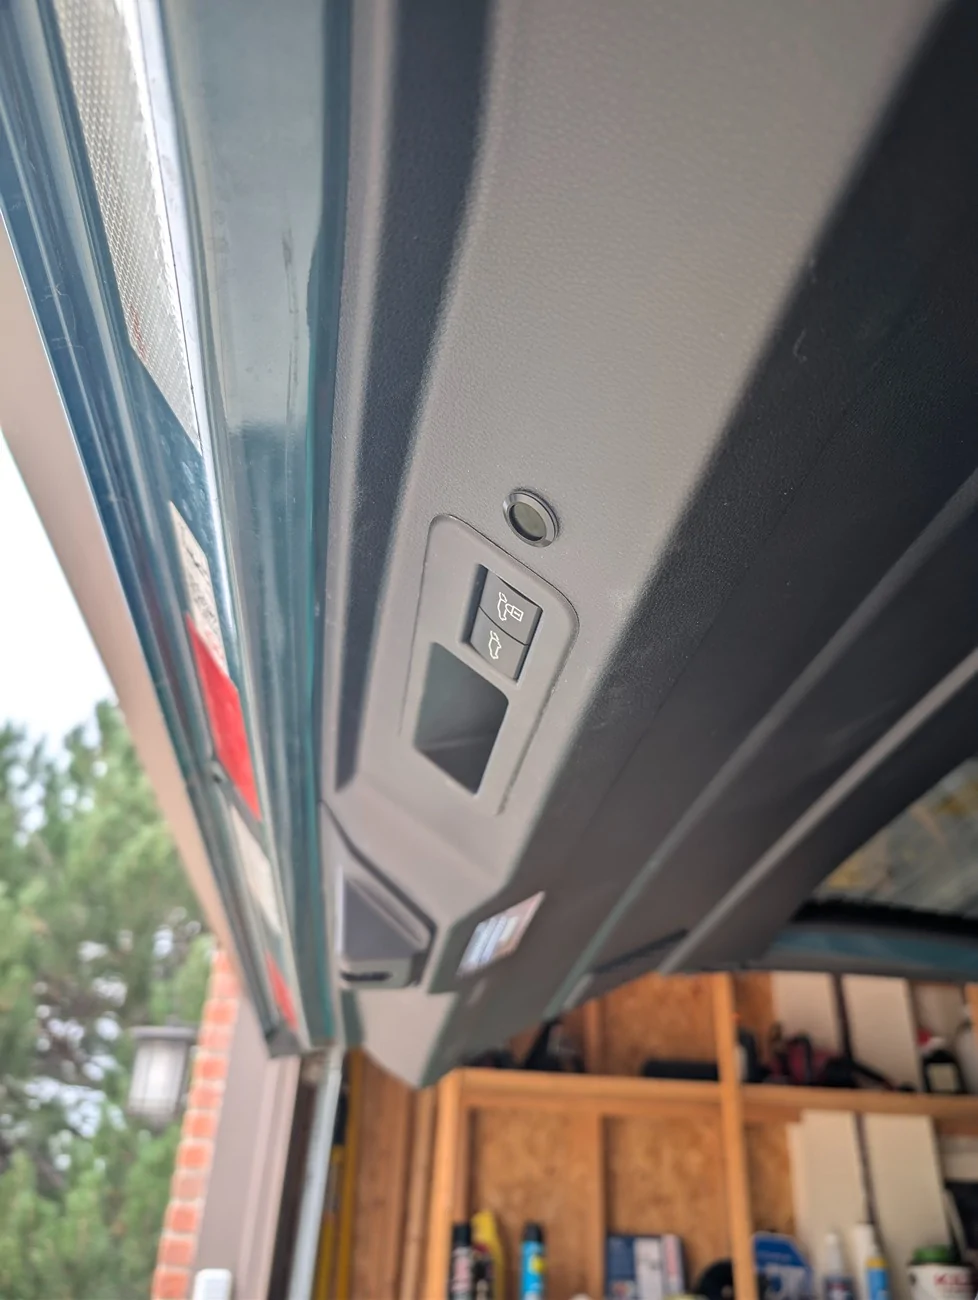
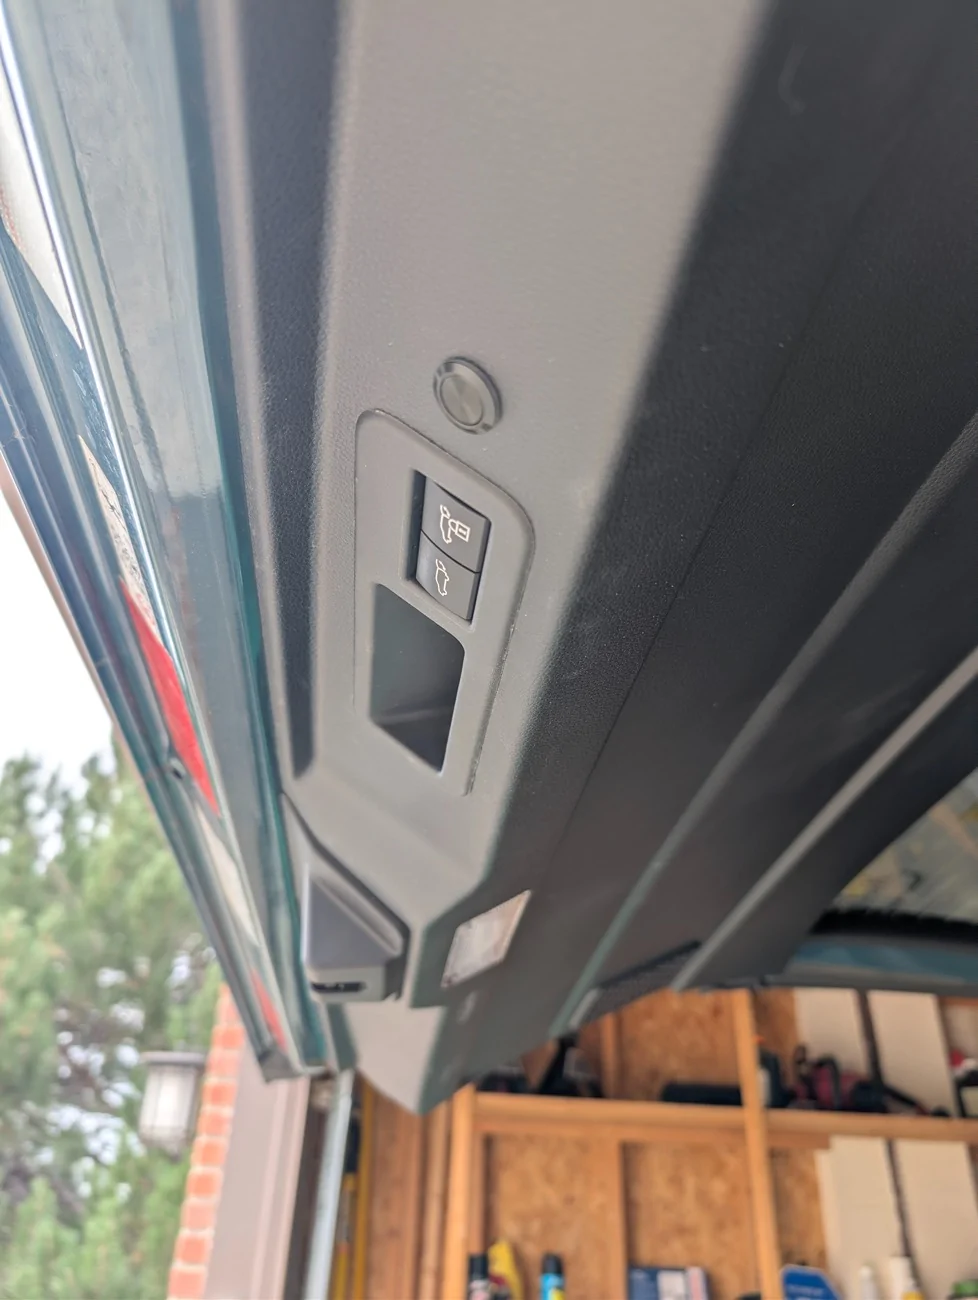
Currently at Overland Expo West in Flagstaff AZ and I spoke to the folks at Diode Dynamics about this light because I really want a dual color option (white/red) that I can switch between. From the sounds of it they weren’t aware of this lighting spot on the hatch but fingers crossed a manufacturer comes out with a dual color option.

At the time of my original post I shot an email to the folks at Meso Customs which do a lot of customer LED retrofits. They got back to me a couple days ago and said they are working on a light for the hatch and are expecting it to hit the market next year.
 

bkw777

SR5
Well-known member
First Name
Brian
Joined
Jul 31, 2025
Threads
15
Messages
247
Reaction score
140
Location
NJ
Vehicle(s)
25 SR5, 96 SR5
You can just touch the light to turn it off. It's not bulletproof like a real switch but if you just want to be able to shut it off, it already has that built in. It's touch sensitive. Dimmable too.
 

n2mp60

TRD Off-Road Premium
Member
Joined
Mar 4, 2026
Threads
3
Messages
9
Reaction score
38
Location
Denver, Colorado
Vehicle(s)
2026 4Runner
You can just touch the light to turn it off. It's not bulletproof like a real switch but if you just want to be able to shut it off, it already has that built in. It's touch sensitive. Dimmable too.
Yes, I understand that, but there are occasions when I don't want the light to come on at all when liftgate raises.
Sponsored


Top