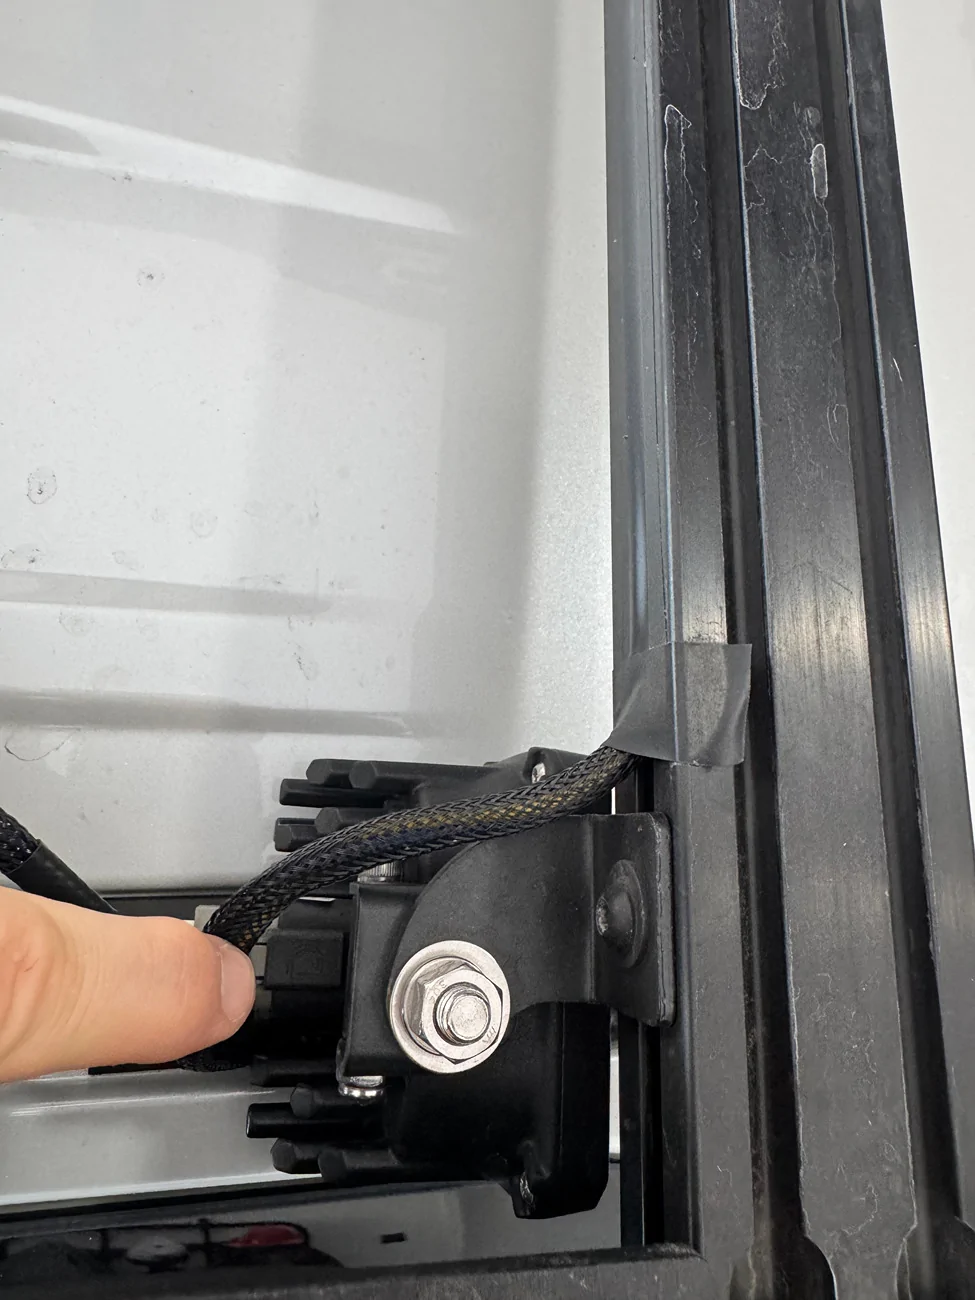
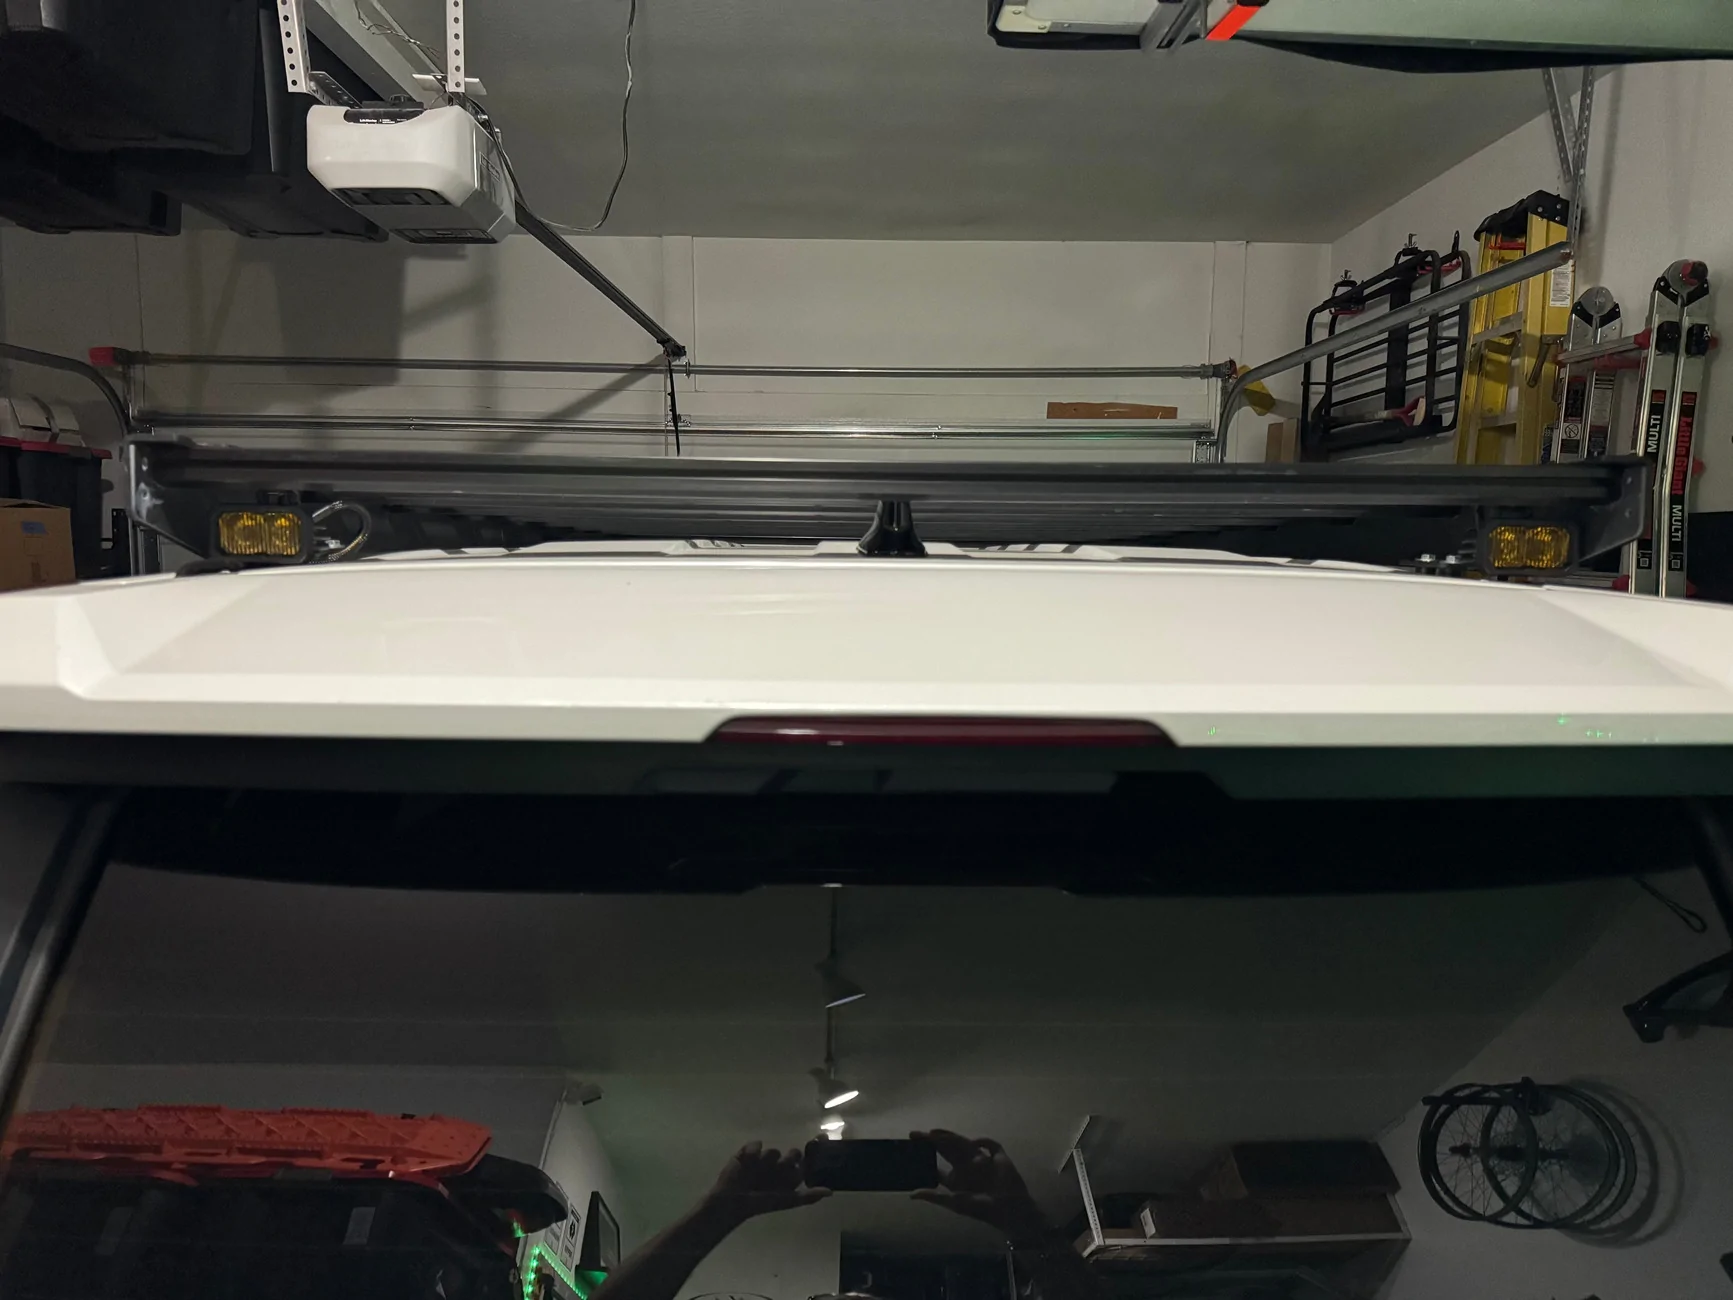
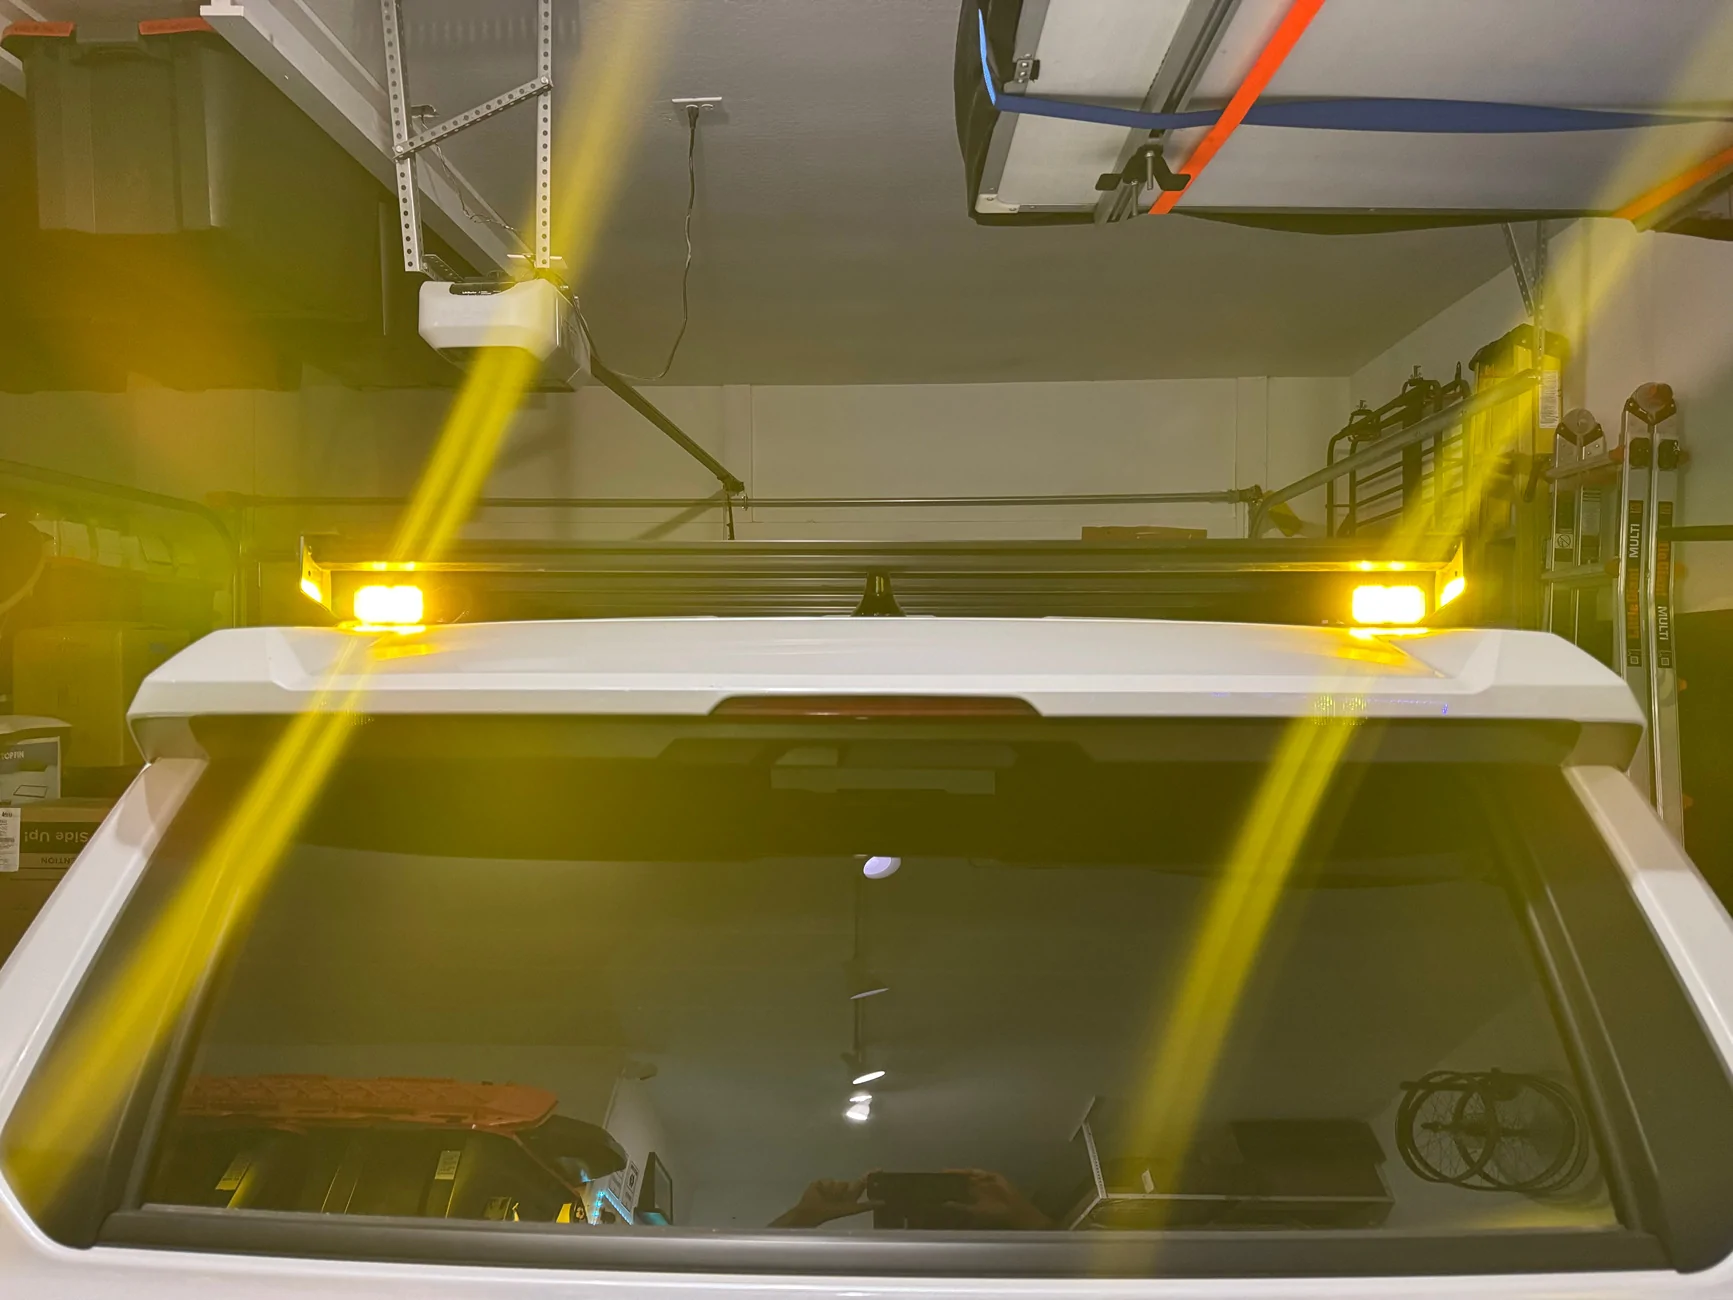
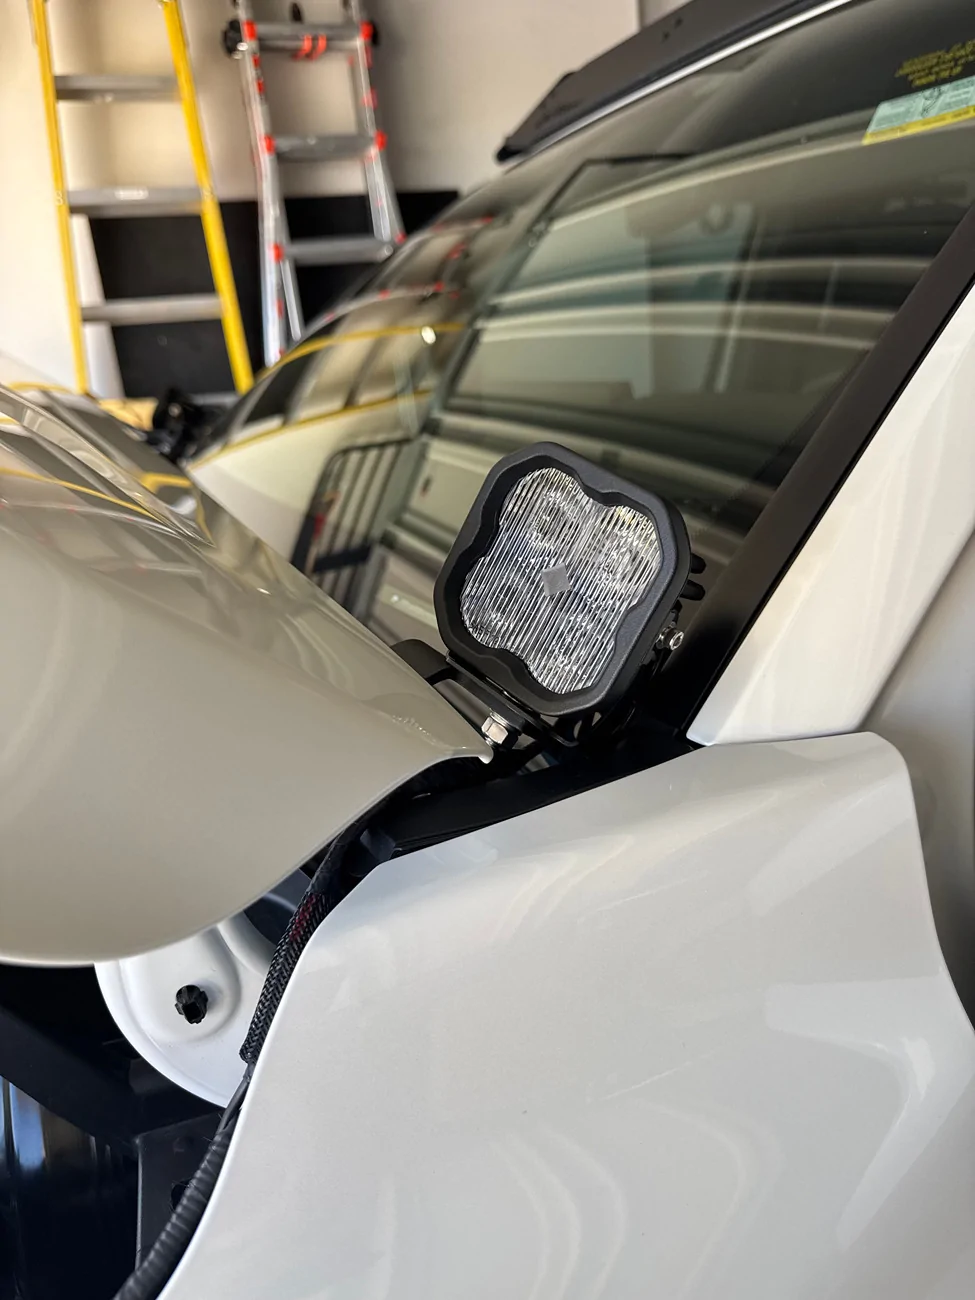
Awesome build! Looks clean. Did you ever get a switch panel for all the lighting? Also where did you run the wires to all the lights on the roof rack? How is it without the AVS? Was looking to getting a proper lift but wasnt sure about replacing the entire AVS to accomplish that. I apologize in advance, first time 4runner owner and first time modding. Thank you
Sponsored