Sponsored

TRD Pro Lift / Level Strut Mount Reclocking

C's6G4RTRDPro

TRD Pro
Member
First Name
Chuck
Joined
Aug 13, 2025
Threads
2
Messages
19
Reaction score
12
Location
NE Ohio
Vehicle(s)
2025 Ice Cap 4Runner TRD Pro
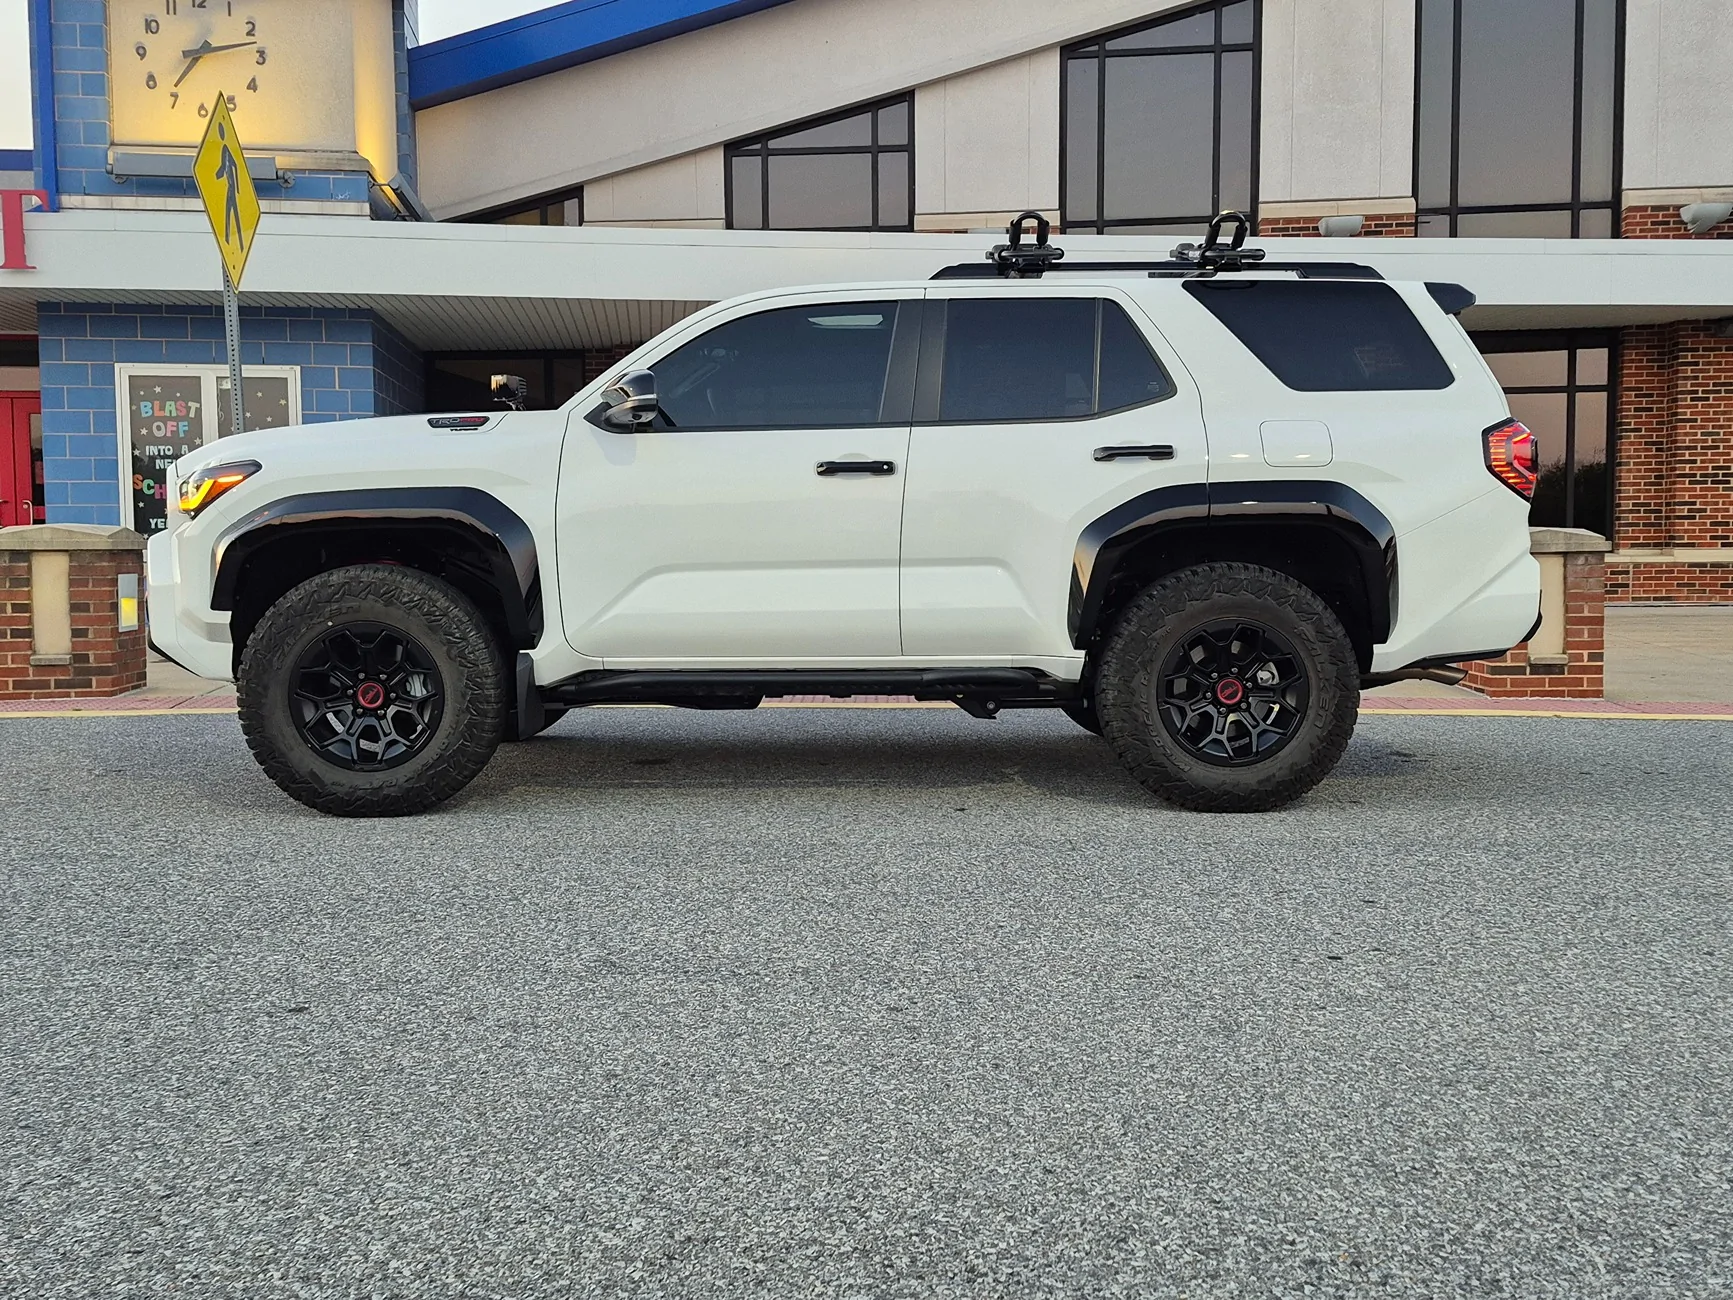
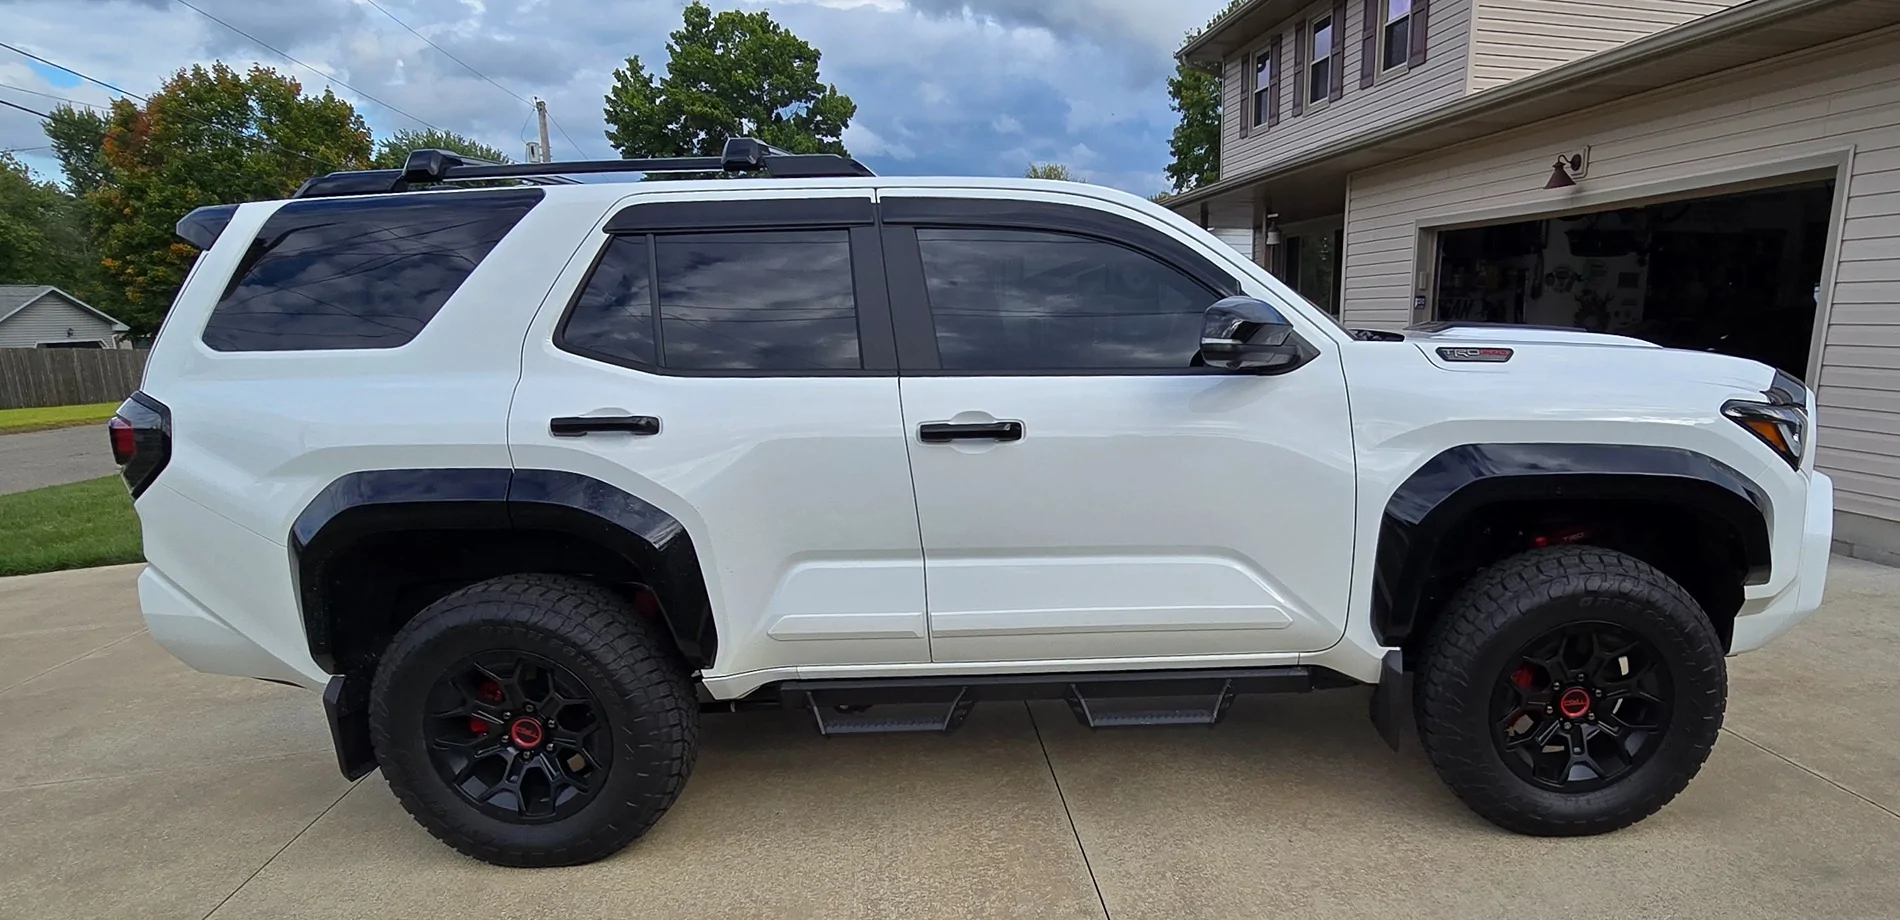
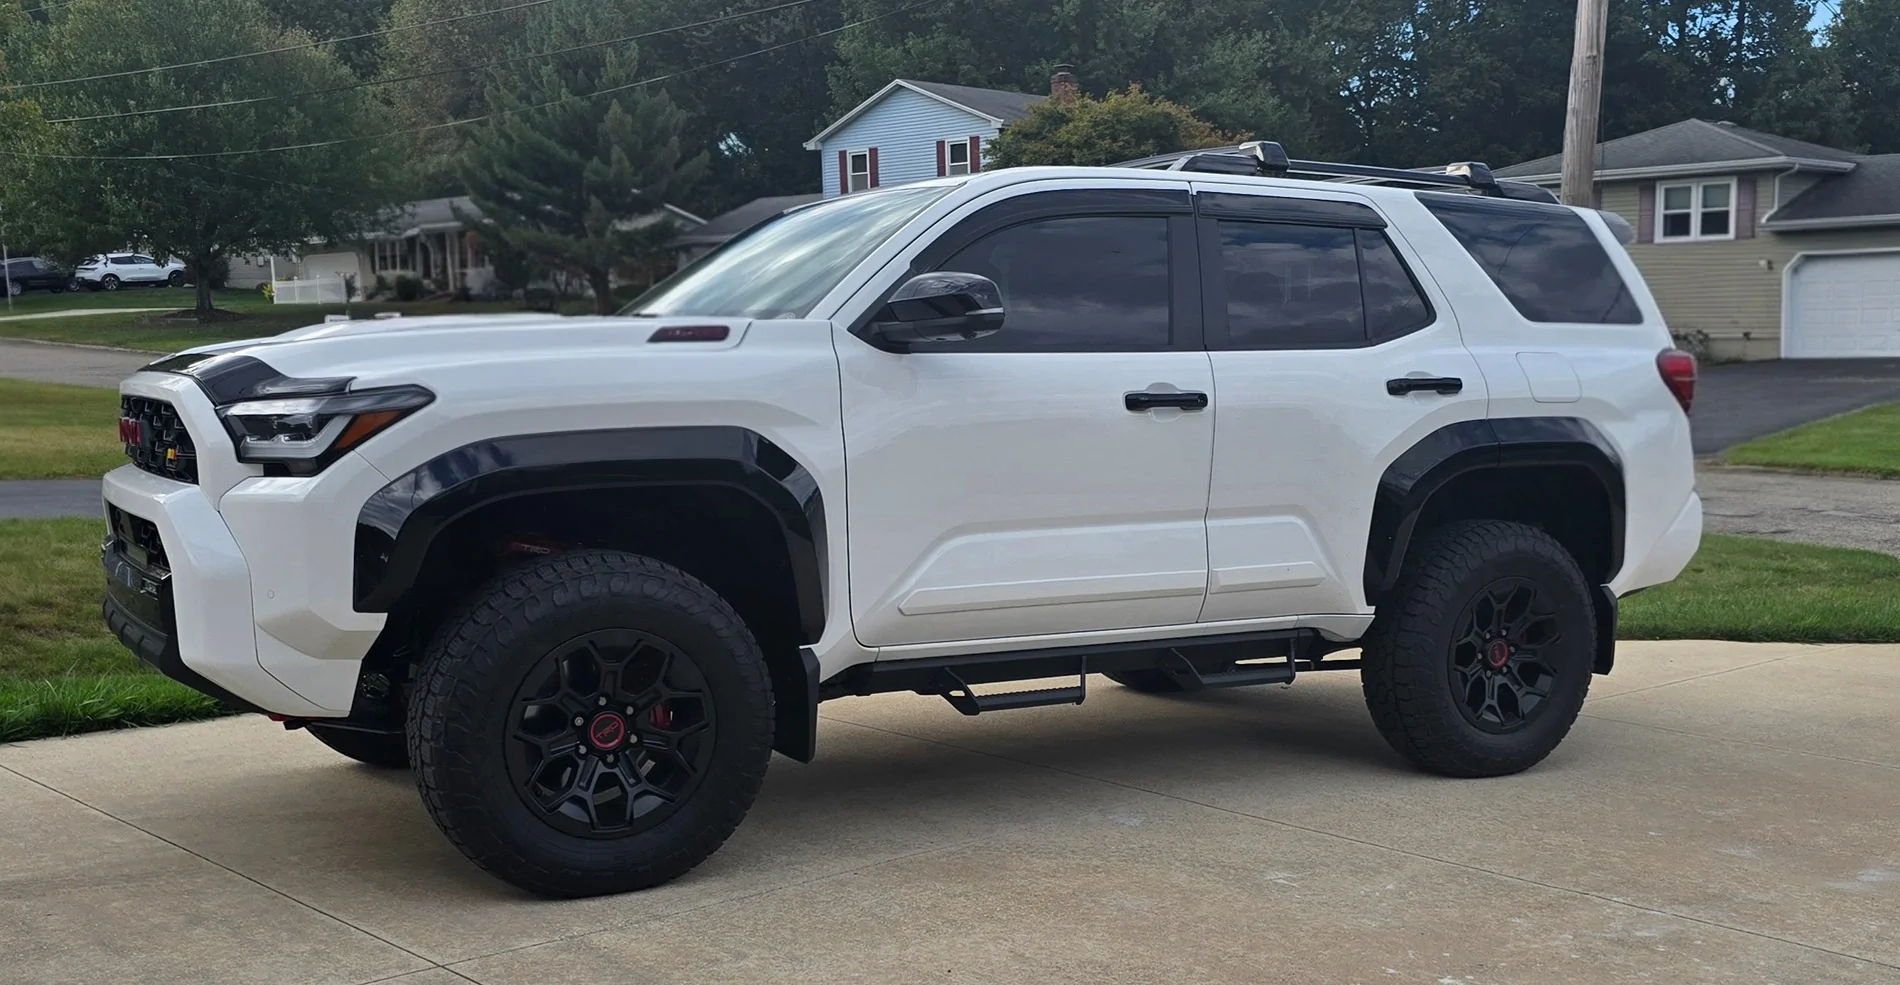
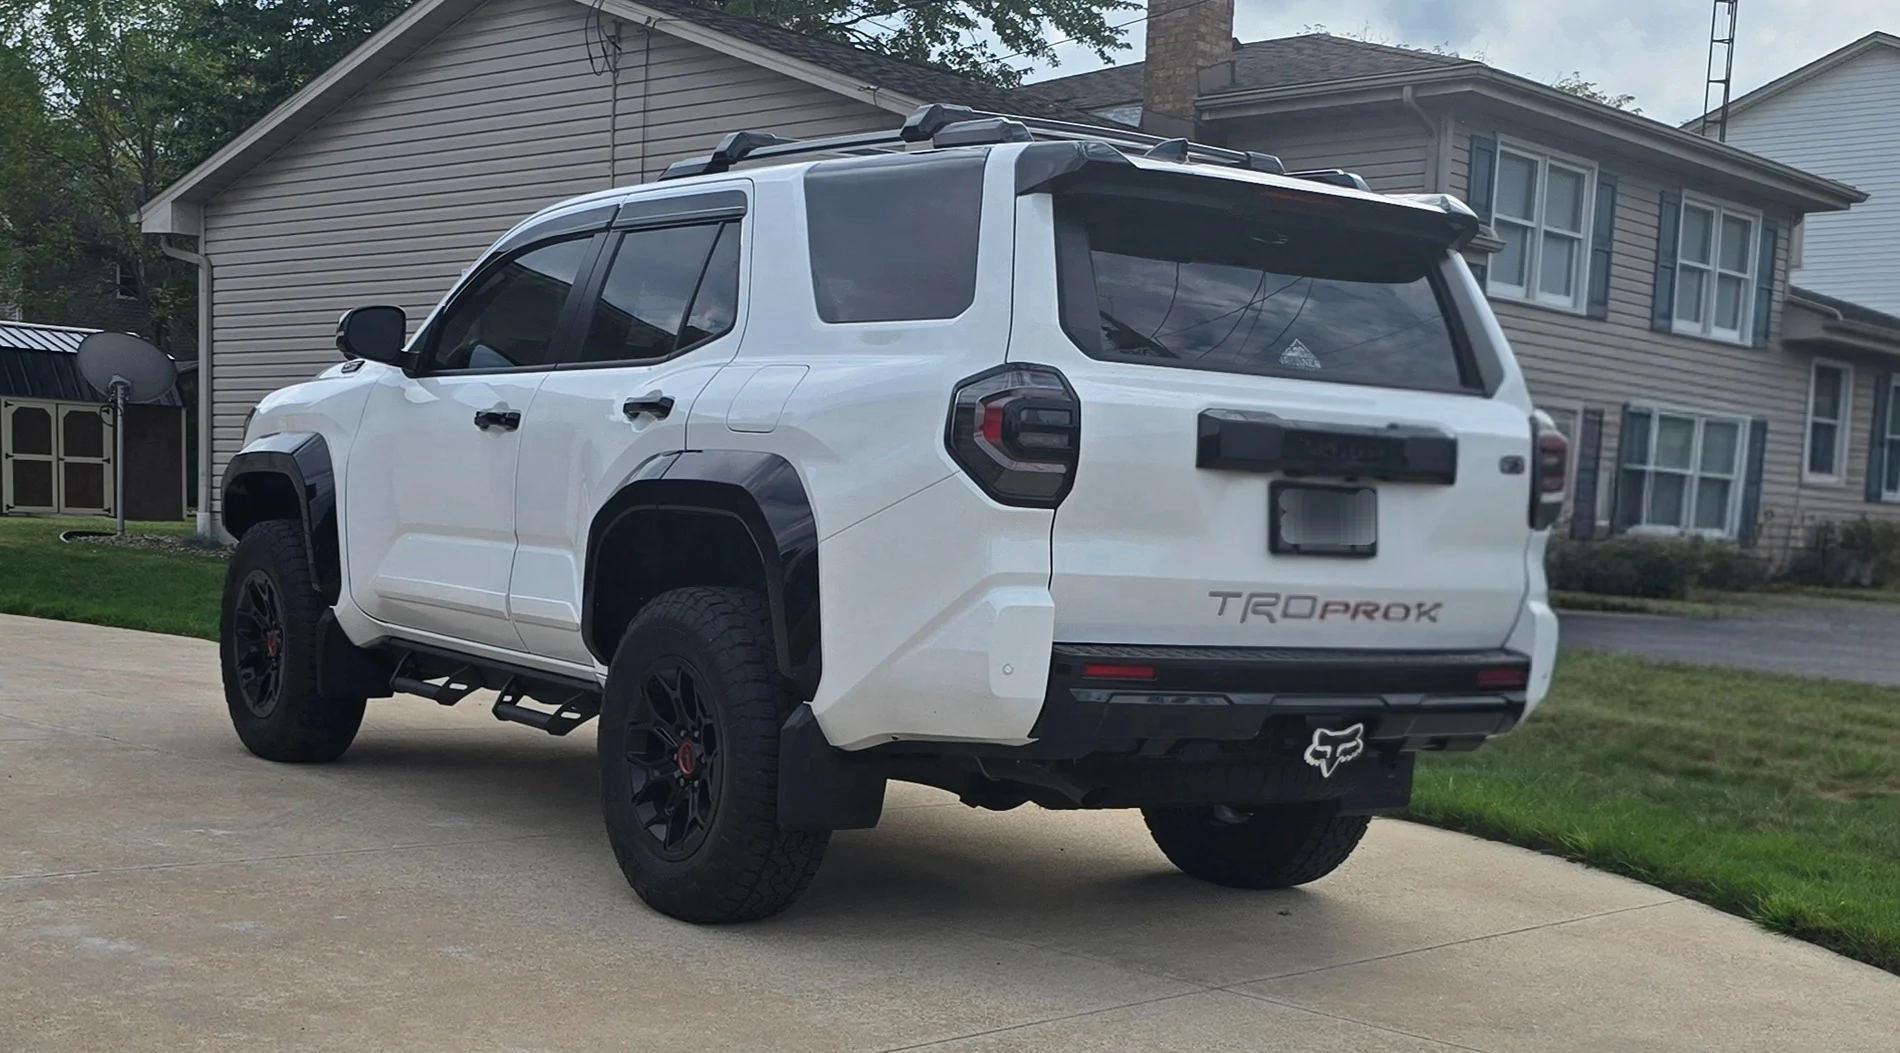
Has anyone lifted or leveled their TRD Pro yet? I bought a kit that said "No spring compression tools needed" which is not the case. I'm waiting on word from the company to see if they sent the wrong spacers, which I don't believe they did becausetheyblooknjust like the pics. I've installed similar kits on multiple Rams and Chevys, so have to tools and know what I'm doing. This is my 1st Toyota, and the QS3's have to be installed as they are from factory because of the damper switch, and the springs are STRONG! I searched to see about Reclocking these strut mounts to be sure I wouldn't mess anything up...fear of the unknown...and found nothing so proceeded to break my spring compressor.
Before I continue with the work, I'd like to know if anyone else has done this yet, and if so did you run into any trouble Reclocking and reinstalling? Also, what kit did you use. I don't want to post the company name until I hear back from them to ensure I've got the correct parts. Their site says to view the 5th gen 4R for install, but it's a different spacer type, which would work on the Pro.
Thanks, and sorry for being wordy!
Sponsored


Archer

TRD Pro
Well-known member
First Name
Mike
Joined
Apr 23, 2025
Threads
31
Messages
371
Reaction score
371
Location
Orwigsburg, Pa.
Vehicle(s)
2025 4 Runner TRD Pro
I installed the PEAK 1" front leveling kit and did not have to completely remove the springs. Before I shut the 4R off I disengaged the front swaybar, it will stay disengaged until you push the button to engage it or go over 17 mph. Jack side up so you have the ability to push down on tire without touching the ground. Disconnect the top 4 bolts, remove the bottom bolt and slide off pin and lower spring/coil enough to put the collar on, it is clocked so first test fit before you drop the spring/coil and mark the way it goes on. Put the collar on, push spring/coil up and reinstall on bottom pin, install bottom bolt and tighten install top 4 nuts and tighten. Get an alignment.

I believe the top 4 bolts are torqued to 35 and bottom bolt is 197. Double check, I don't have the exact info in front of me.

Should be less than 10 minutes per side for install.
.
 
Last edited:
OP
OP
C's6G4RTRDPro

C's6G4RTRDPro

TRD Pro
Member
First Name
Chuck
Joined
Aug 13, 2025
Threads
2
Messages
19
Reaction score
12
Location
NE Ohio
Vehicle(s)
2025 Ice Cap 4Runner TRD Pro
Thank you for the information! I wish I could've done that, but I bought the Torq Engineering 2" Level/Lift kit, which although advertises #2 Key Feature as "Direct Bolt-On Installation: No spring compressor needed, installs over stock struts" Will (from Torq...excellent with responses) did inform me the top hat needs reclocked because of how they mount. The 5G 4R 3/1 kit they sell slides on like the Peak kit with bolt extenders.
I've never disengaged the swaybar, but that's outstanding advise! I wouldn't have thought if that due to never having the feature until now.
I advised Torq to change product description so customers know what to expect when purchasing the kit. The link for install takes you to the 5G slip-on kit, so I expected it to be quick job, then thought I received wrong parts.
 

geooutfitters

TRD Pro
Member
First Name
Shawn
Joined
Sep 7, 2025
Threads
1
Messages
8
Reaction score
15
Location
Delaware, Ohio
Vehicle(s)
2025 4runner TRD Pro, 2022 Tundra TRD ORP
I installed the PEAK 1" front leveling kit and did not have to completely remove the springs. Before I shut the 4R off I disengaged the front swaybar, it will stay disengaged until you push the button to engage it or go over 17 mph. Jack side up so you have the ability to push down on tire without touching the ground. Disconnect the top 4 bolts, remove the bottom bolt and slide off pin and lower spring/coil enough to put the collar on, it is clocked so first test fit before you drop the spring/coil and mark the way it goes on. Put the collar on, push spring/coil up and reinstall on bottom pin, install bottom bolt and tighten install top 4 nuts and tighten. Get an alignment.

I believe the top 4 bolts are torqued to 35 and bottom bolt is 197. Double check, I don't have the exact info in front of me.

Should be less than 10 minutes per side for install.
.
Do you have a picture of the final result? Really trying to determine if 1'' is the size we want for my wife's pro.
 
OP
OP
C's6G4RTRDPro

C's6G4RTRDPro

TRD Pro
Member
First Name
Chuck
Joined
Aug 13, 2025
Threads
2
Messages
19
Reaction score
12
Location
NE Ohio
Vehicle(s)
2025 Ice Cap 4Runner TRD Pro
Here's mine with the 2" Torq Lift / Leveling kit, so you have reference for different heights. I'll post pics later today with ProComp Rockwell 18x9 0OS installed.

2025 4runner 6th gen TRD Pro Lift / Level Strut Mount Reclocking 20250925_171656


2025 4runner 6th gen TRD Pro Lift / Level Strut Mount Reclocking 20250925_171612(1)


2025 4runner 6th gen TRD Pro Lift / Level Strut Mount Reclocking 20250925_171556(1)
 

Turbo8

SR5
Member
Joined
Jul 13, 2025
Threads
1
Messages
23
Reaction score
21
Location
Las Vegas
Vehicle(s)
LX570, 250, GX550 ot, 3rd gen 4runner
Not sure if you have done this yet, but there is an arrow on the upper strut mount. The arrow should point to the outside of the vehicle. The QS3 adjustment knob should be facing towards the vehicle.
 
OP
OP
C's6G4RTRDPro

C's6G4RTRDPro

TRD Pro
Member
First Name
Chuck
Joined
Aug 13, 2025
Threads
2
Messages
19
Reaction score
12
Location
NE Ohio
Vehicle(s)
2025 Ice Cap 4Runner TRD Pro
Thank you for the info! I've already reclocked it but didn't see an arrow. I made my own marks and ensured the knob pointed in the OEM position. The knob is the reason it needed reclocked. If that wasn't on it the strut could be mounted with the body in any position, just lining up the mounting bolts correctly because they only fit one way.
Sponsored


Top