

- Thread starter
- #1
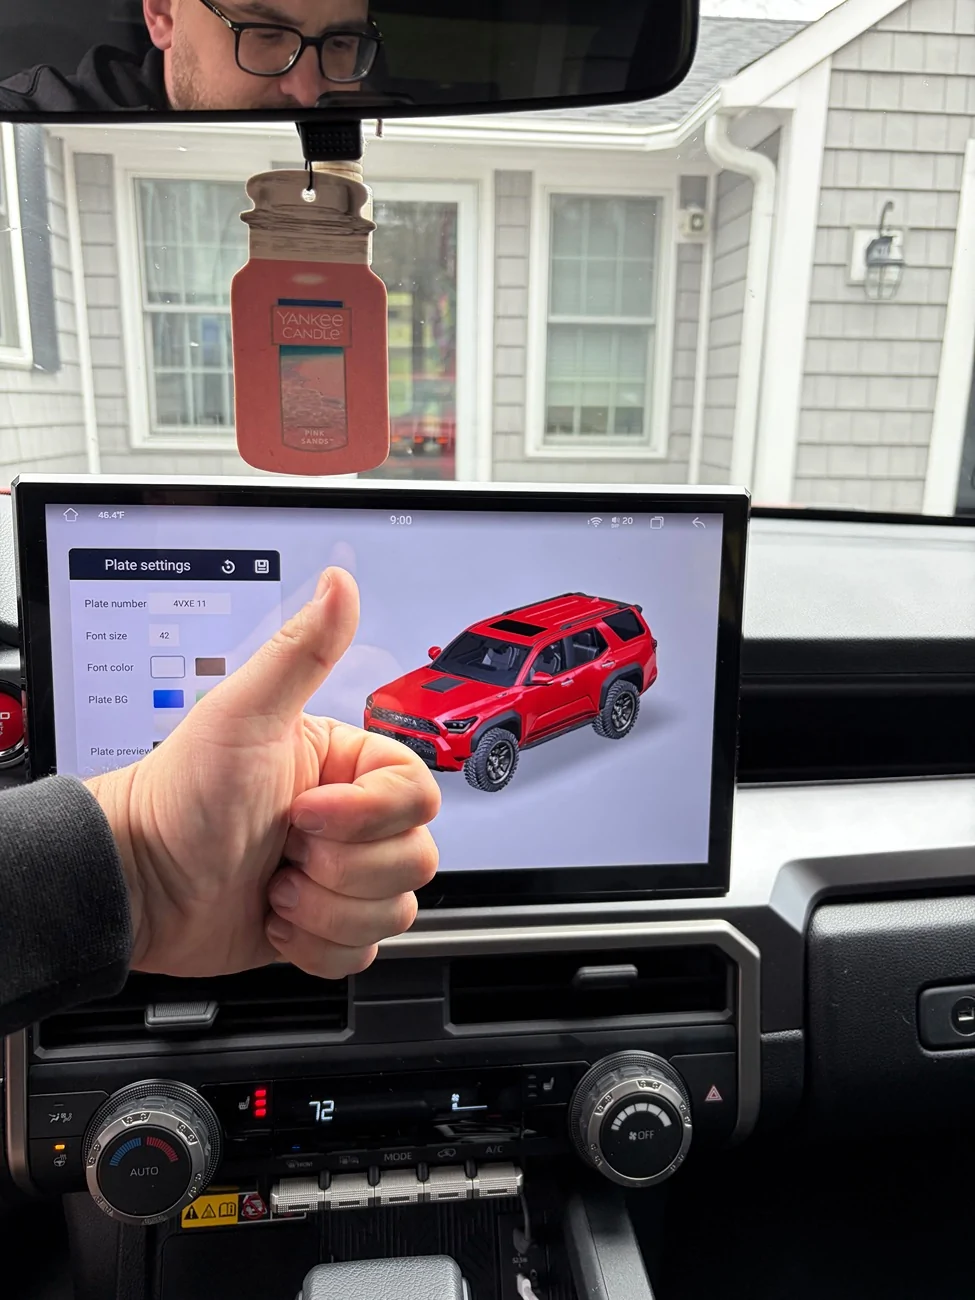
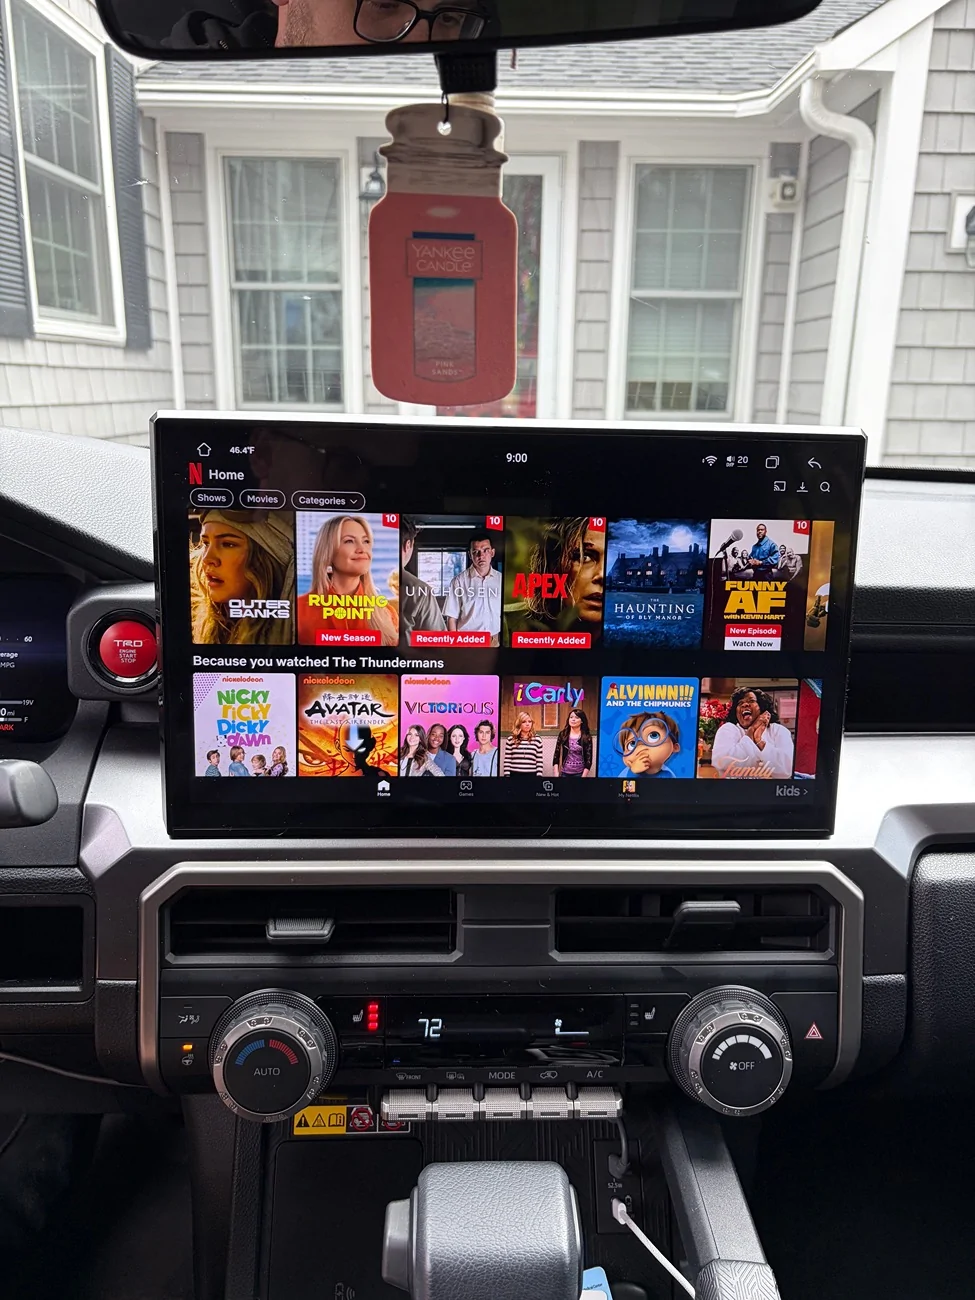
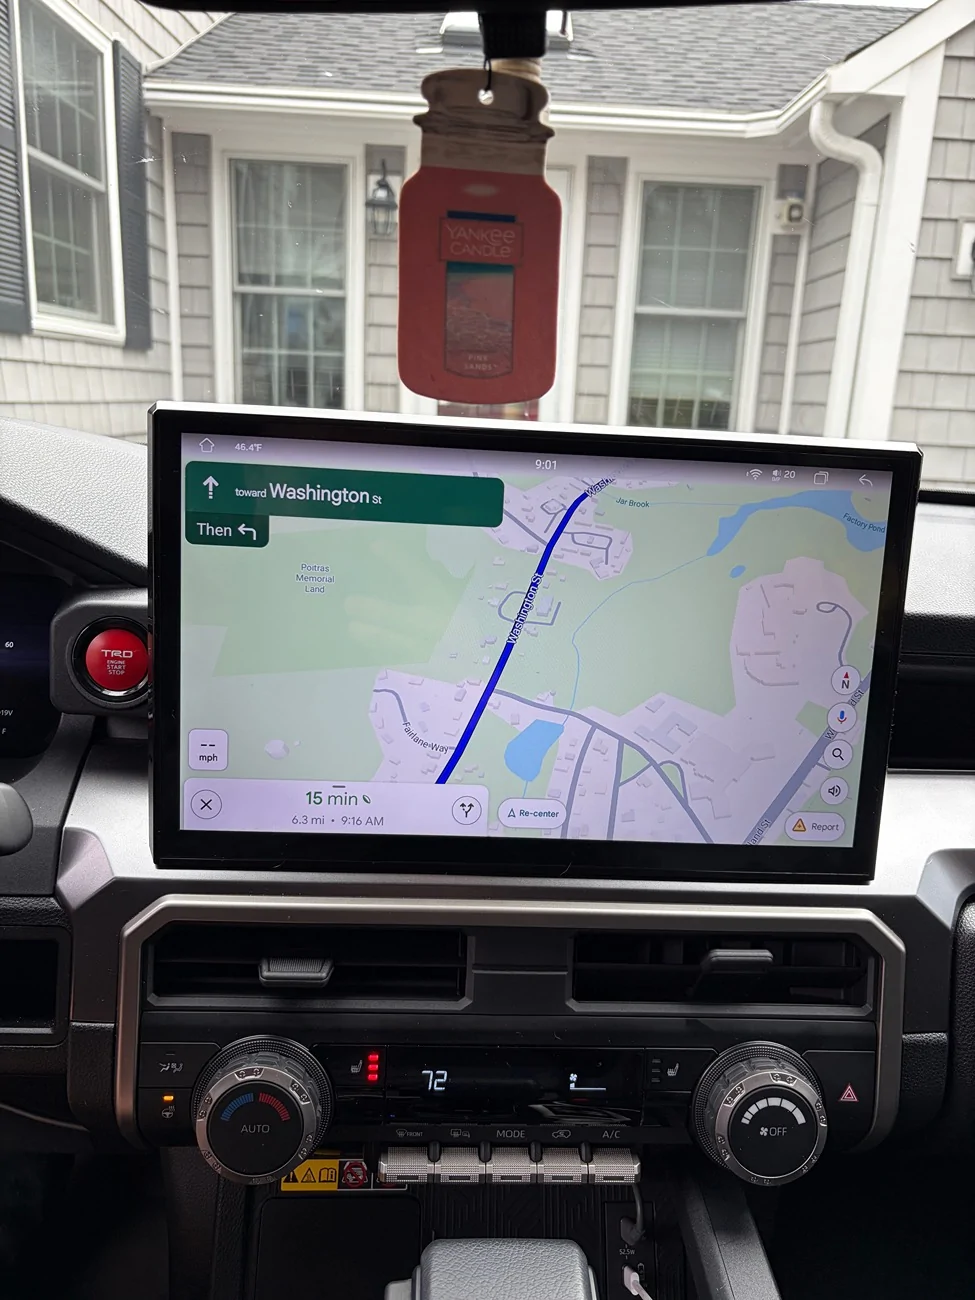
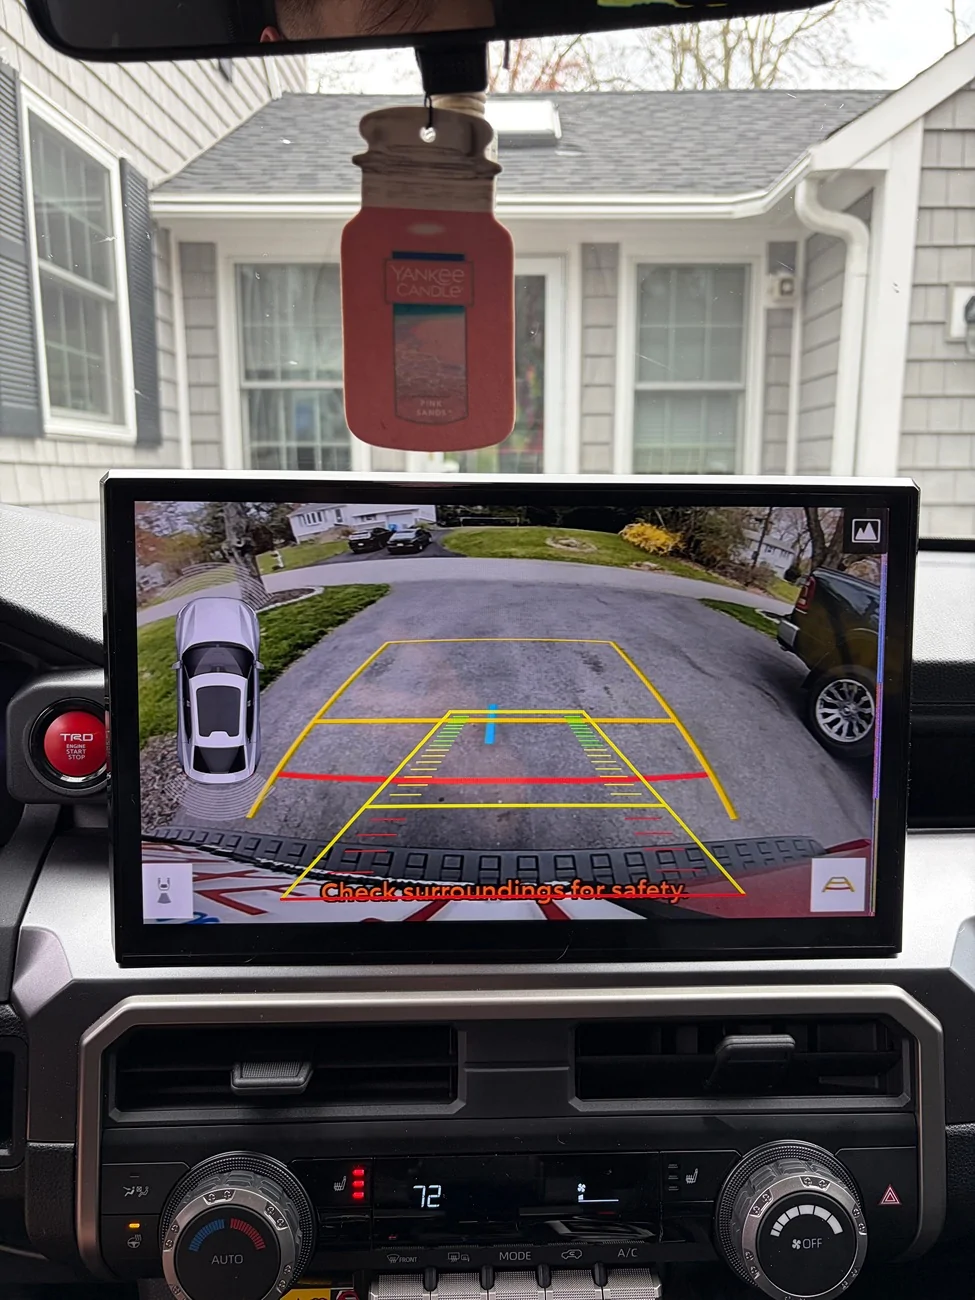
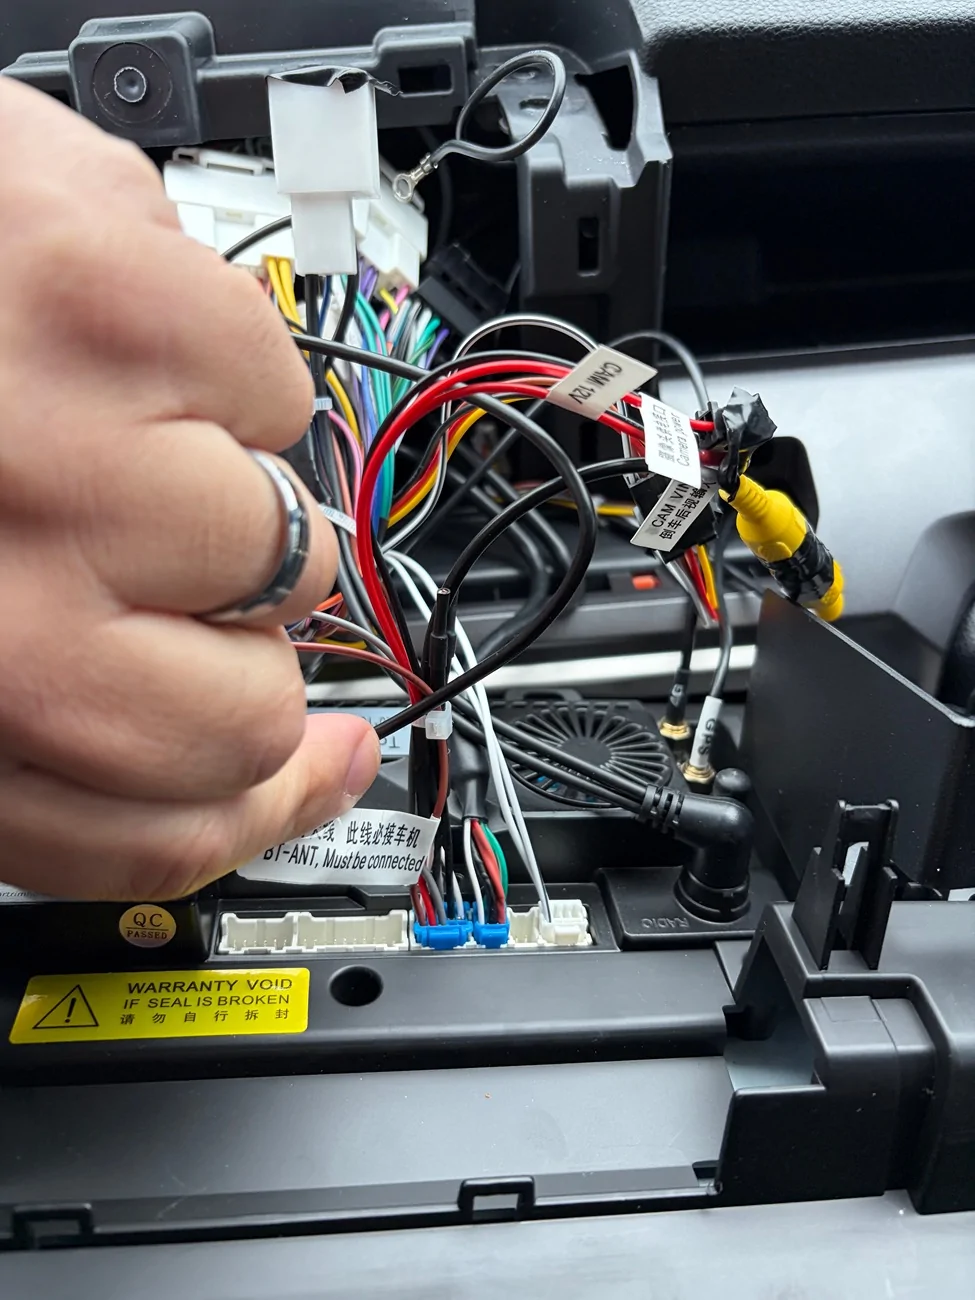
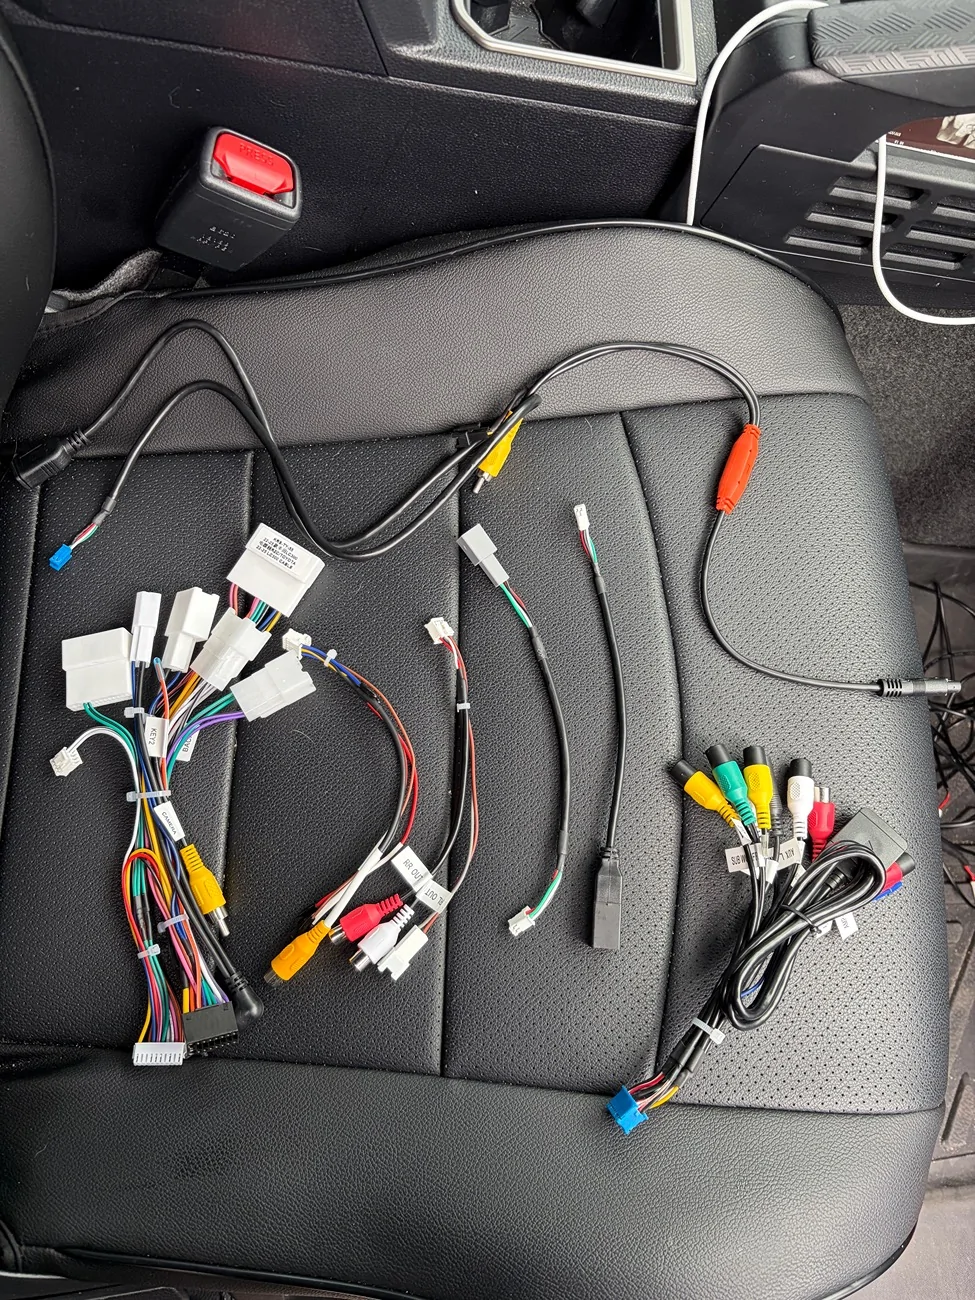
Hi everyone, I wanted to share my experience upgrading my factory screen from the 7 inch non-premium screen to the Cartrimhome 14 inch C12 display. This is the 12 gb/256 gb version. Overall, it was a fairly straightforward installation, but the instruction video that is provided is for a 4th gen Toyota Tacoma so it doesn’t match up perfectly with the way you would need to install it on the 6th gen 4Runner. I was able to take some photos of the install to make it easier for anyone else who is thinking about installing this in their non-premium trim 6th gen 4Runner. I ended up only using three of the wiring harnesses that they provided, and I believe they provided about 7 or 8. Attached is a photo of the ones I DID NOT use on the passenger seat of the vehicle. The primary wiring harness has a label on it that says 2025 Camry, and that is the one that fits my vehicle, not the one labeled LC300. They also provide a harness that has a number of different red, white and yellow connectors, but I believe that is one for people who have an aftermarket amplifier, subwoofer, or the factory JBL sound system. The unit I purchased came with a front facing camera, but I did not install it. I had some difficulty figuring out how to wire it, and will reach out to the vendor for clarity. Will also reach out about a thin pink line that appears on the right edge of the screen in reverse. Final warning, don’t connect the male connector with one black and one gray wire with the female connector that appears to match. Ask me how I know  . Overall, a worthy upgrade, in my opinion, and wanted to share with anyone else who would like to upgrade their factory 7 inch screen.
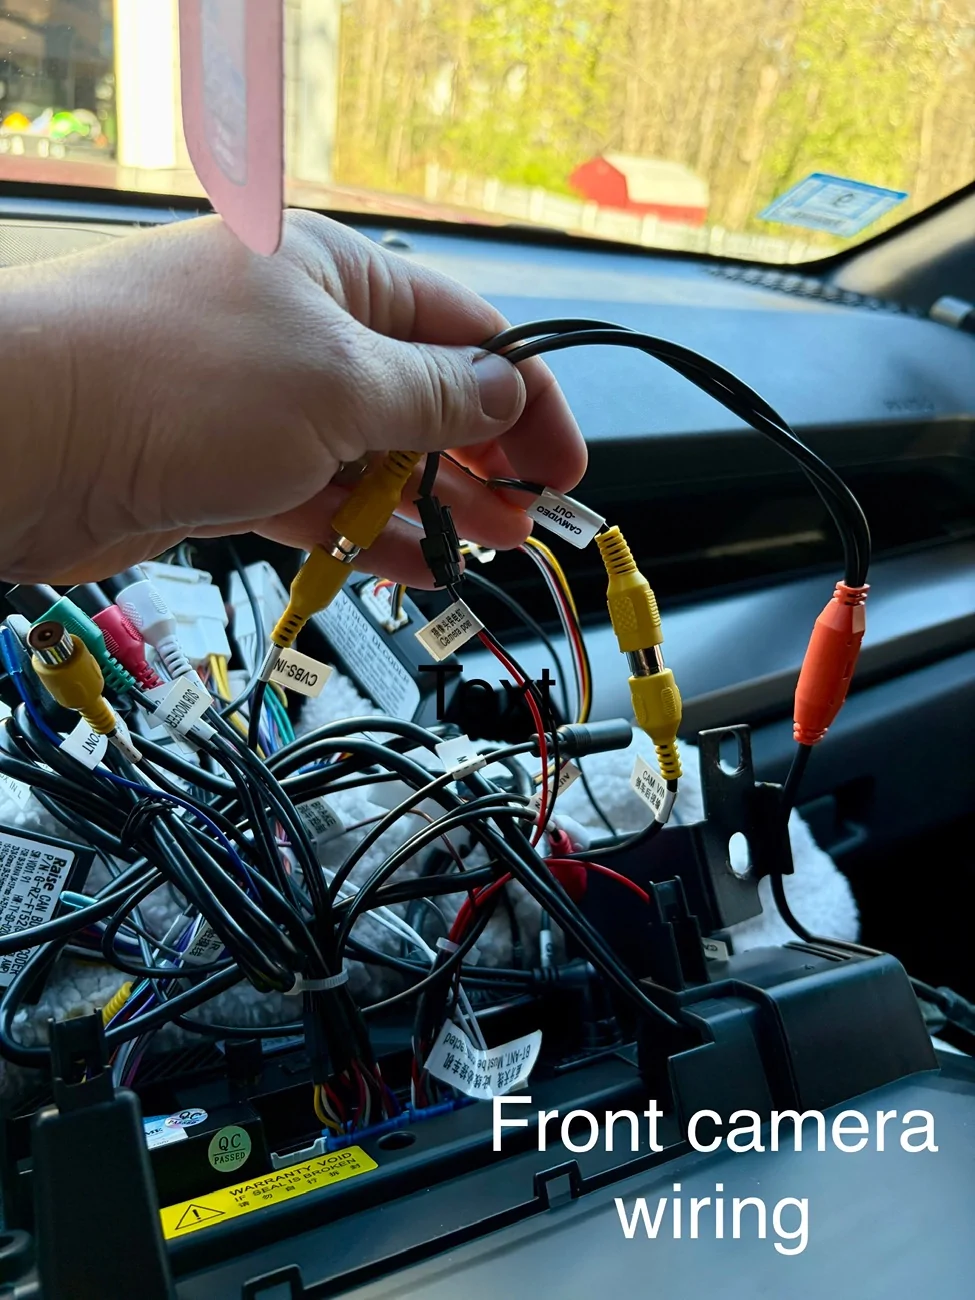
update: front camera wiring (see last photo) - To wire the front camera, attach the jbl harness (this is what I’m calling the one with all the RCA inputs), run the yellow CVBS-IN cable to the yellow connector on the camera wiring, insert the “camera power” wire (from the harness that has the CAM VIN yellow RCA cable) to the black receiver on the camera wiring, then attach the CAM VIN to the CAM/VIDEO OUT coming from the Video Converter. If you don’t have an upgraded sound system and are not running any additional cameras, you don’t need to connect the jbl harness at all.

. Overall, a worthy upgrade, in my opinion, and wanted to share with anyone else who would like to upgrade their factory 7 inch screen.update: front camera wiring (see last photo) - To wire the front camera, attach the jbl harness (this is what I’m calling the one with all the RCA inputs), run the yellow CVBS-IN cable to the yellow connector on the camera wiring, insert the “camera power” wire (from the harness that has the CAM VIN yellow RCA cable) to the black receiver on the camera wiring, then attach the CAM VIN to the CAM/VIDEO OUT coming from the Video Converter. If you don’t have an upgraded sound system and are not running any additional cameras, you don’t need to connect the jbl harness at all.
Sponsored
Last edited:

