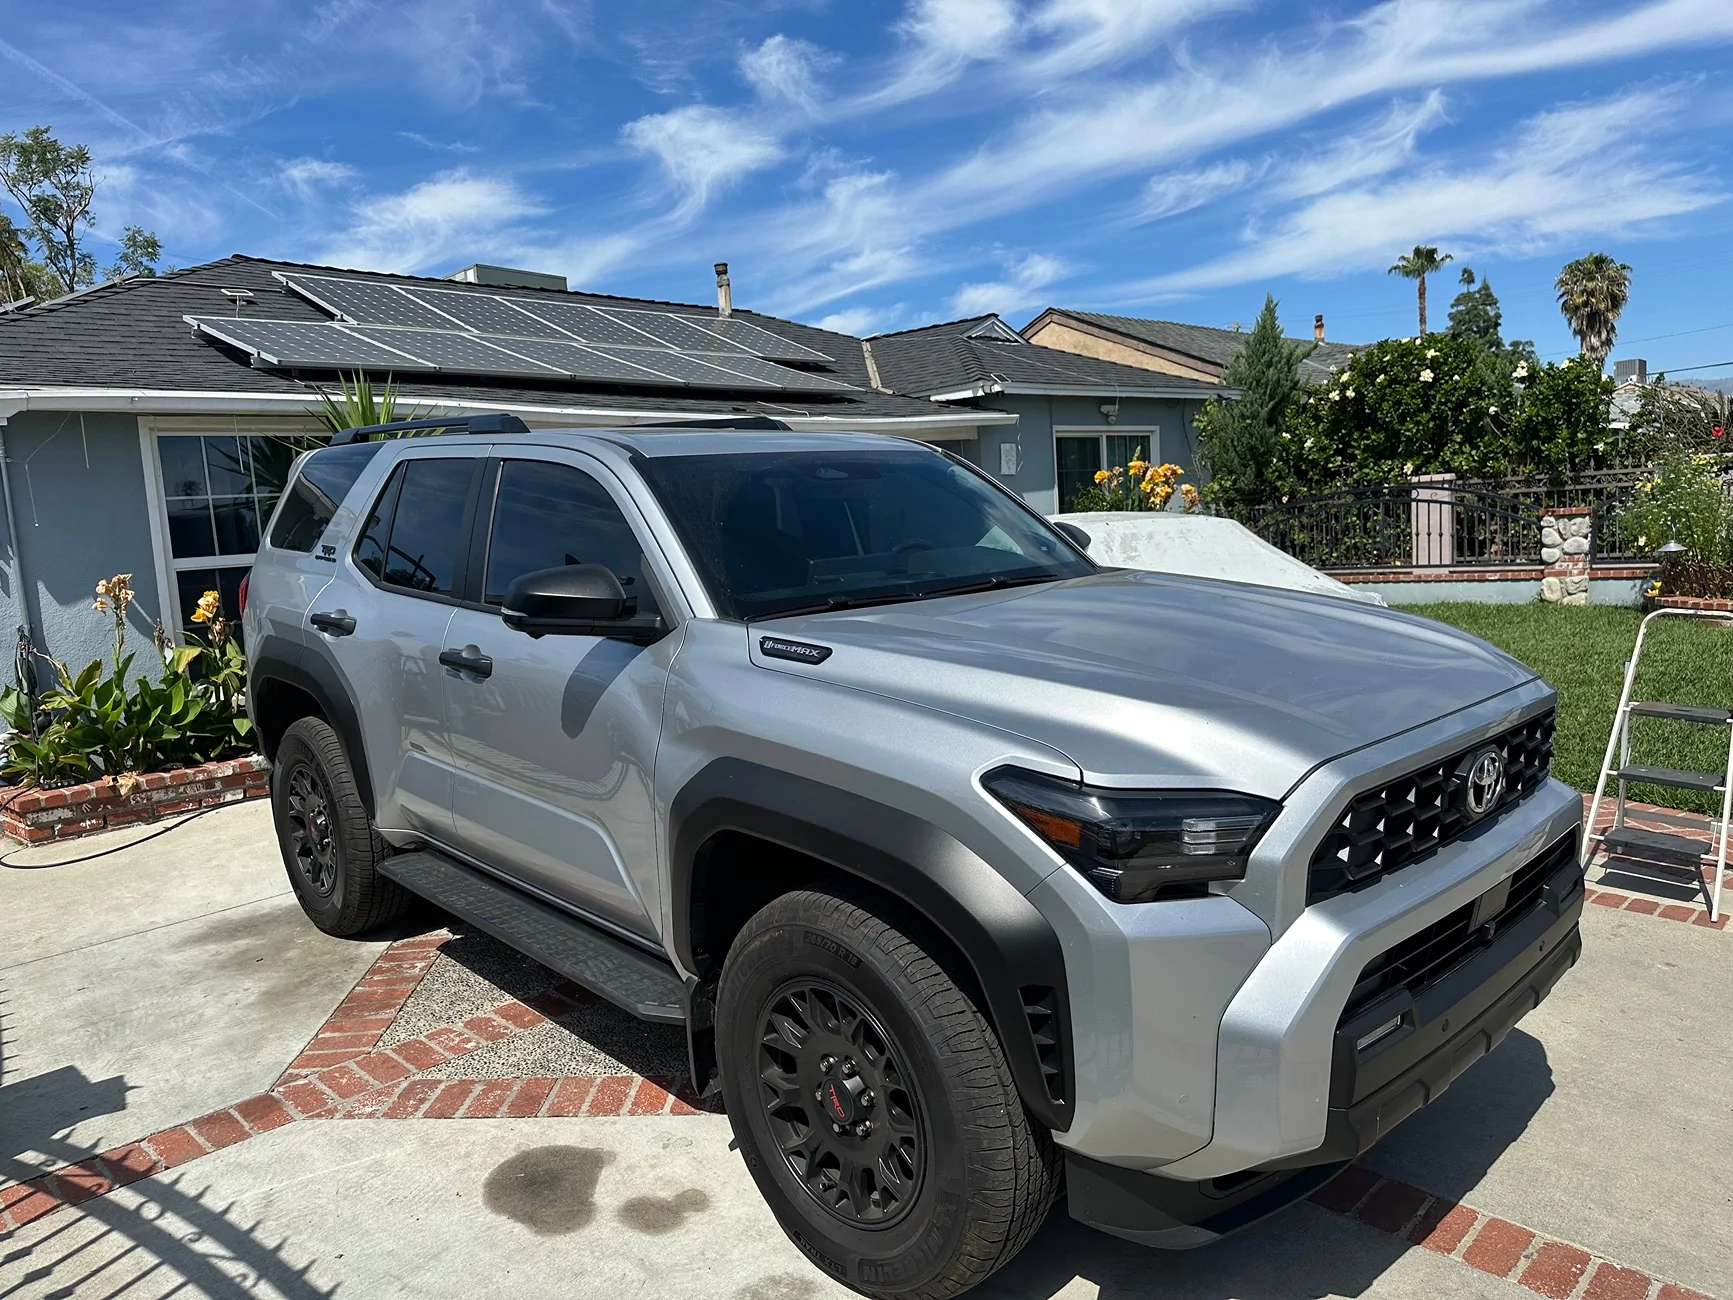
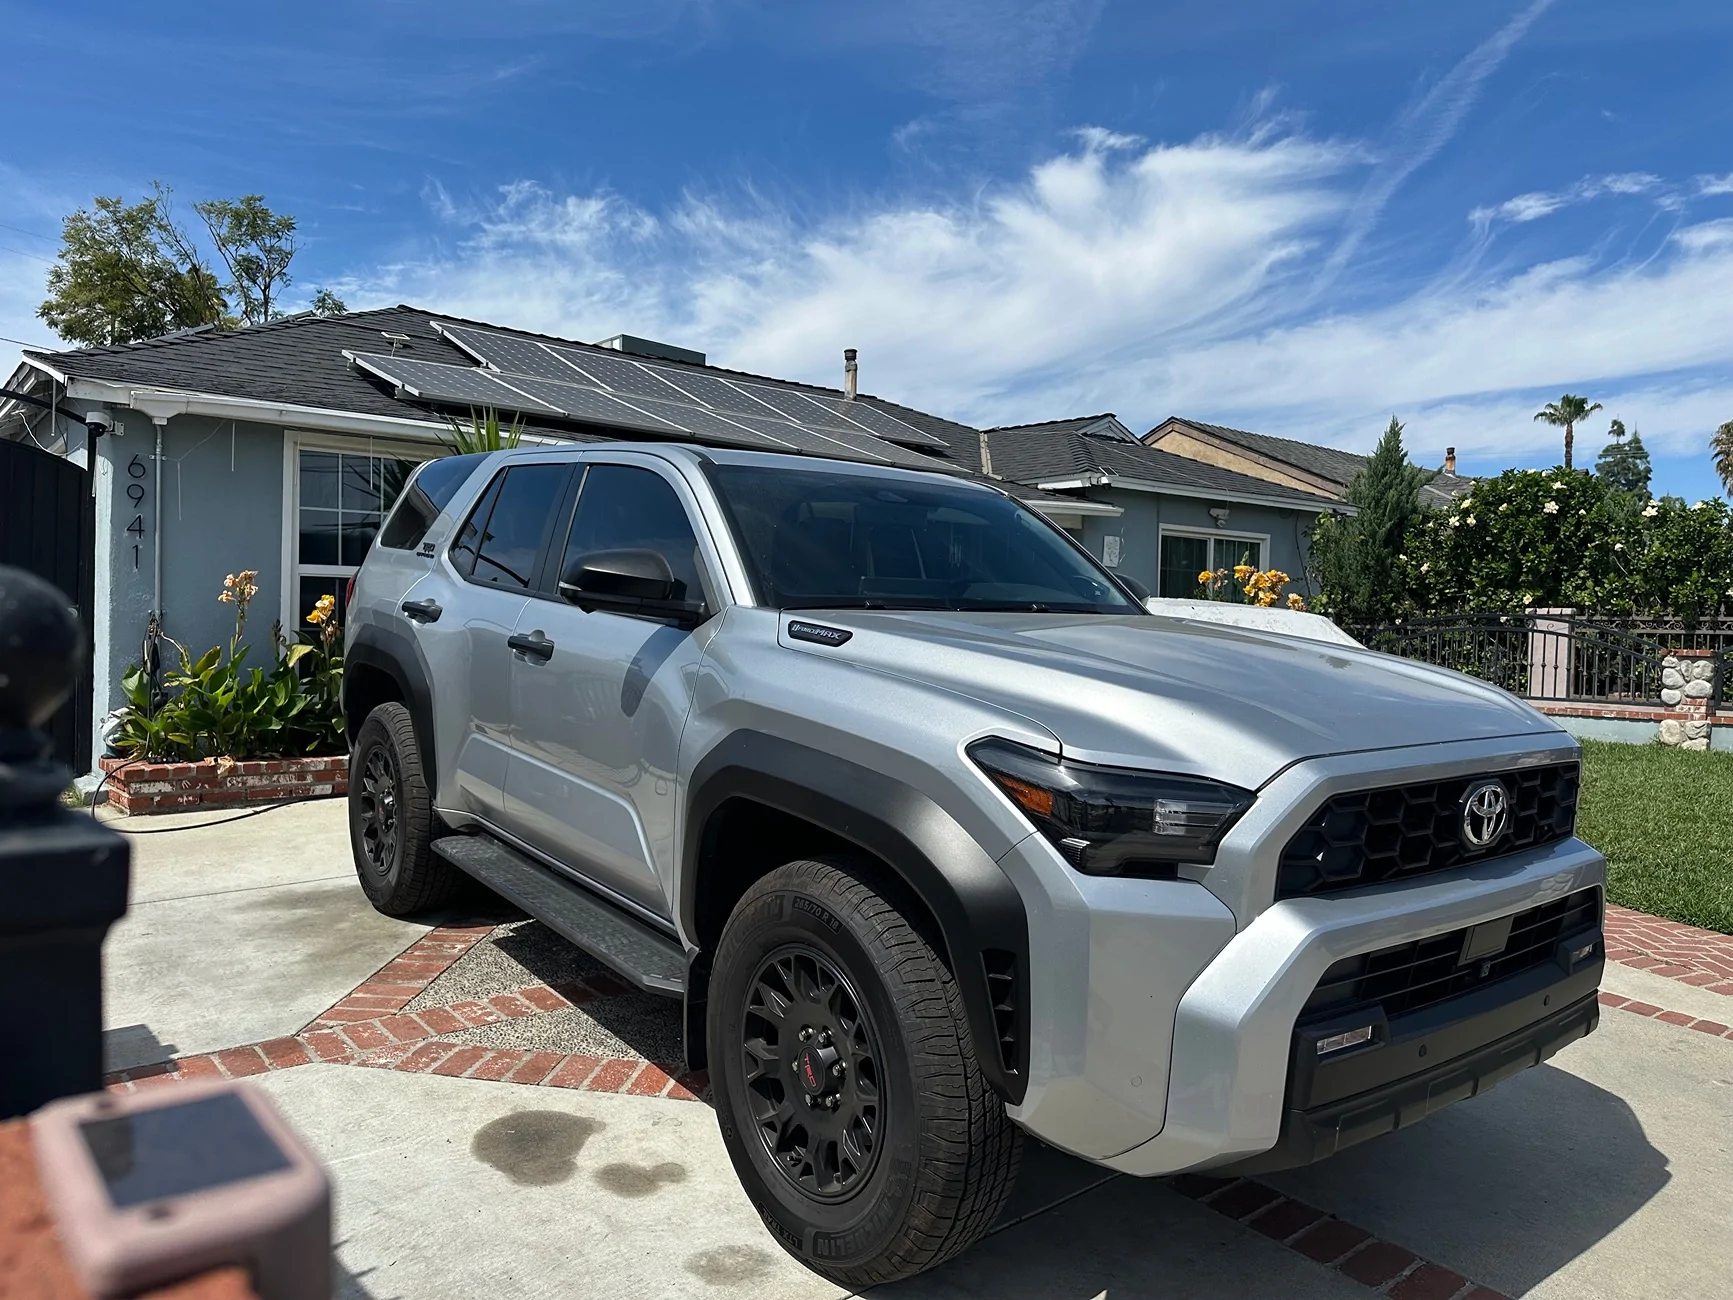
- Thread starter
- #1
I have compiled a list of parts and instructions to delete your roof rack rails below. Thanks!!
Tools needed..
Small ratchet
10 mm socket
12 mm socket
microfiber cloth
flathead screwdriver or plastic pry tools.
With a plastic pry tool or flathead screwdriver and microfiber cloth, start by gently prying the plastic cover at the base of the cover closest to the roof bar. The corner should pop and allow you to get your fingers underneath and remove the cover. Completely. Do this at all four corners to expose the bolts holding down the roof bars.
Next with a 12 mm socket gently unbolt the roof rack being sure to alternate back and forth between bolts evenly as you remove them. Leave them finger tight and move to the back side of the bar to remove the other two bolts remembering to leave them finger tight. "DO NOT PUSH DOWN ON THE BOLTS AS YOU ARE REMOVING THEM BECAUSE YOU WILL PUSH THE PLASTIC RETAINER INTO THE HEADLINER AND YOU WILL HAVE TO REMOVE THE HEADLINER TO REPLACE THIS PART"
Gently remove the four bolts with your fingers and pull the bar upwards. Make sure you clean the area around the white retainers inside the cavity. From here you will place the bracket with the tabs facing upward towards the center of the roof line. Make sure you use new bolts from the list I provided because they are much smaller compared to the ones that were removed. There is no need to add silicone to these bolts as the factory supplied OEM bolts have rubber seals built into them. Also the brackets with the tangs also have seals on the bottom to make sure that the roof will not leak.
Once the bracket has been installed and the new bolts are gently screwed in finger tight. Use a 10 mm socket on your ratchet and begin tightening. The bolts alternating left to right evenly. "ONCE AGAIN, DO NOT PUSH DOWN ON THESE BOLTS. IT WILL PUSH THE WHITE PLASTIC RETAINER INTO THE HEADLINER." When the bolts are snugged tight, and will no longer spin. You are ready to clean the surface area around where the cover will snap in. Do not over tighten these bolts. Snap the cover in place by hooking plastic end without the metal first and then pushing down on the metal tab. Be sure to have the arrows facing towards the front of the 4Runner. That's it! Easy peasy, and now you no longer have roof rack bars!
Sponsored
Last edited: