- Thread starter
- #1
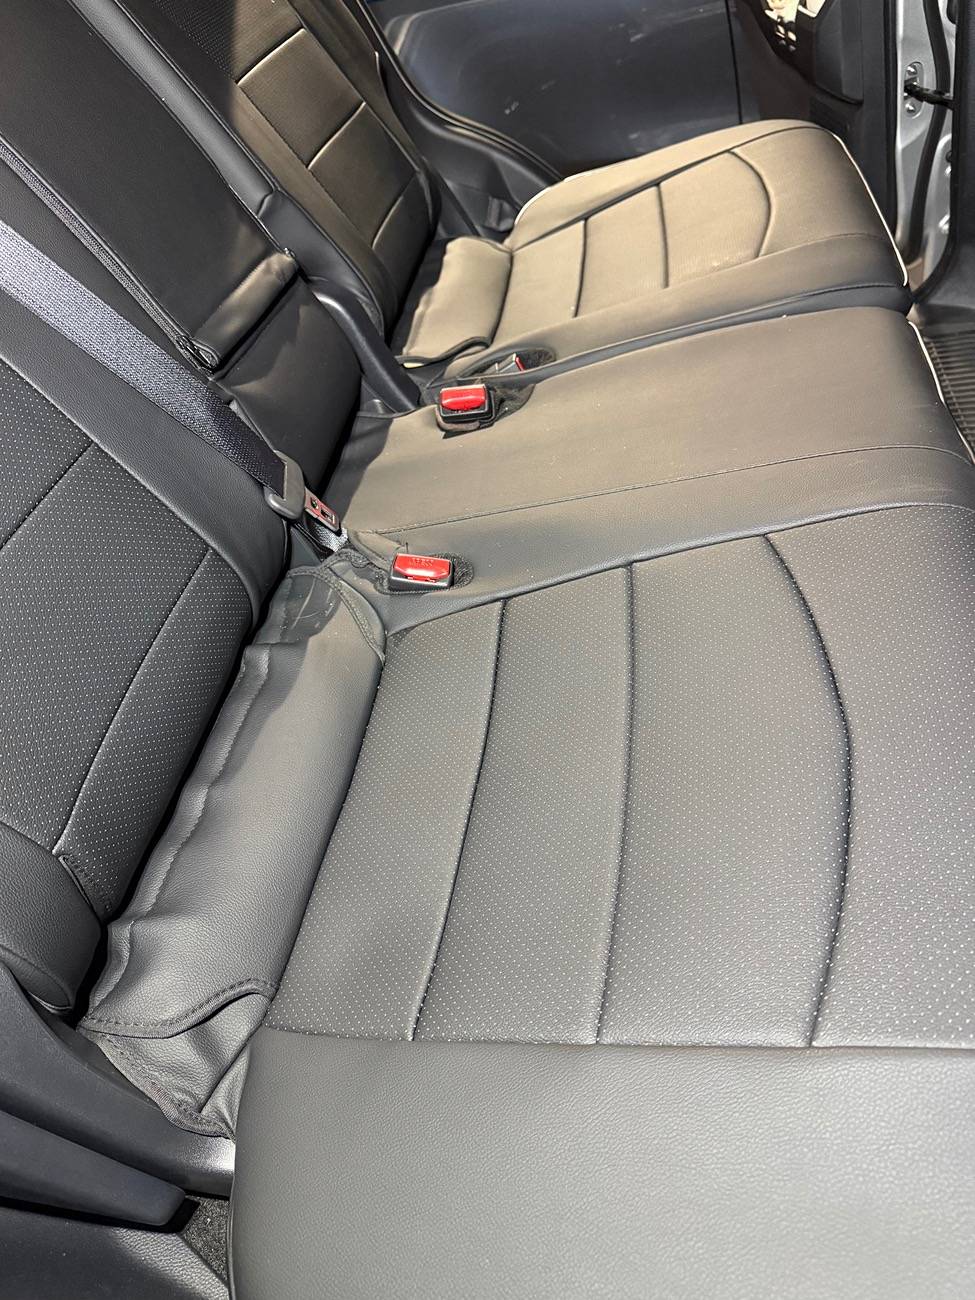
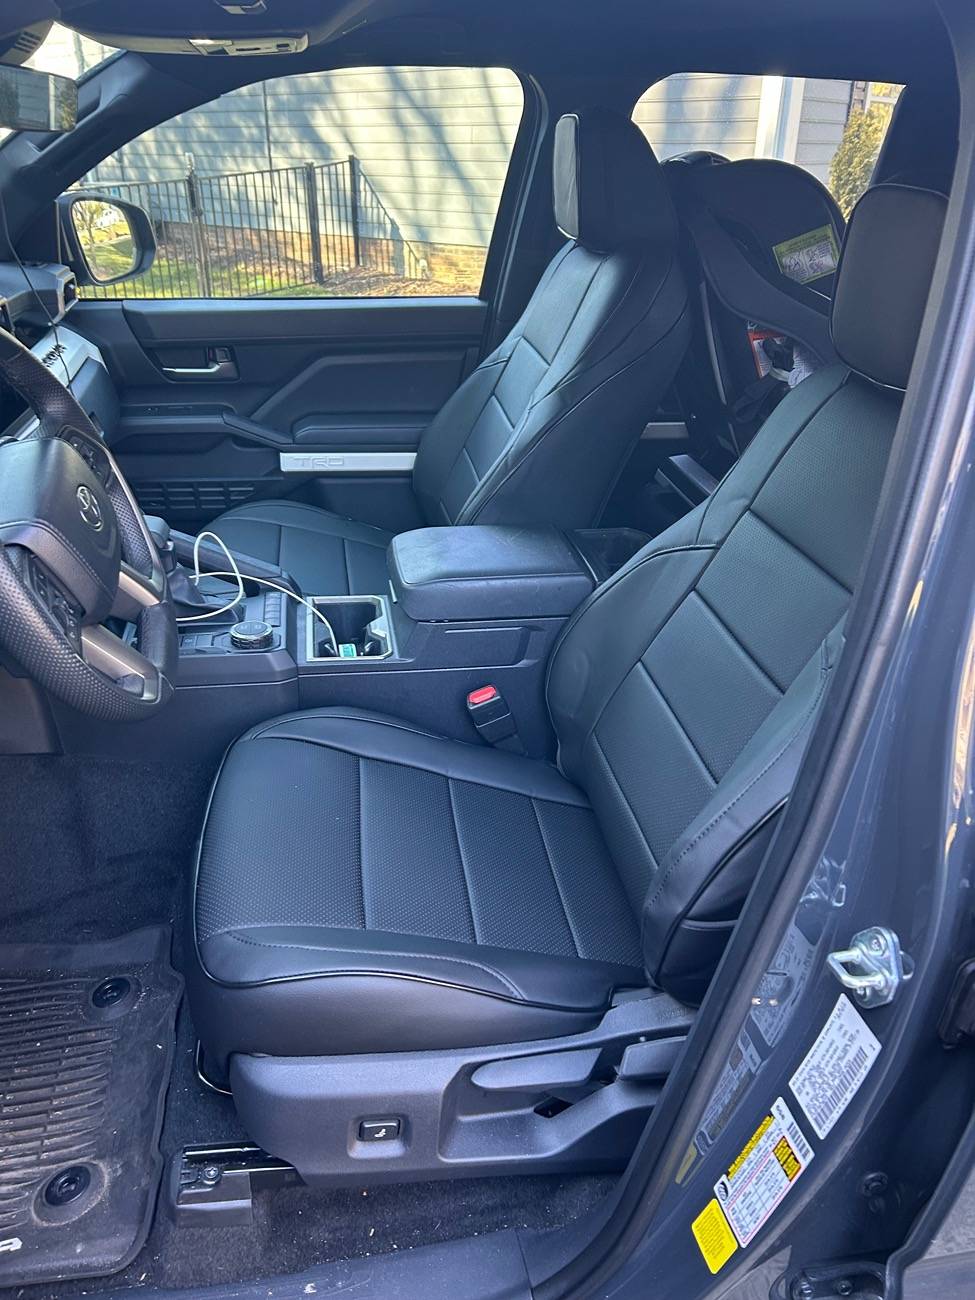
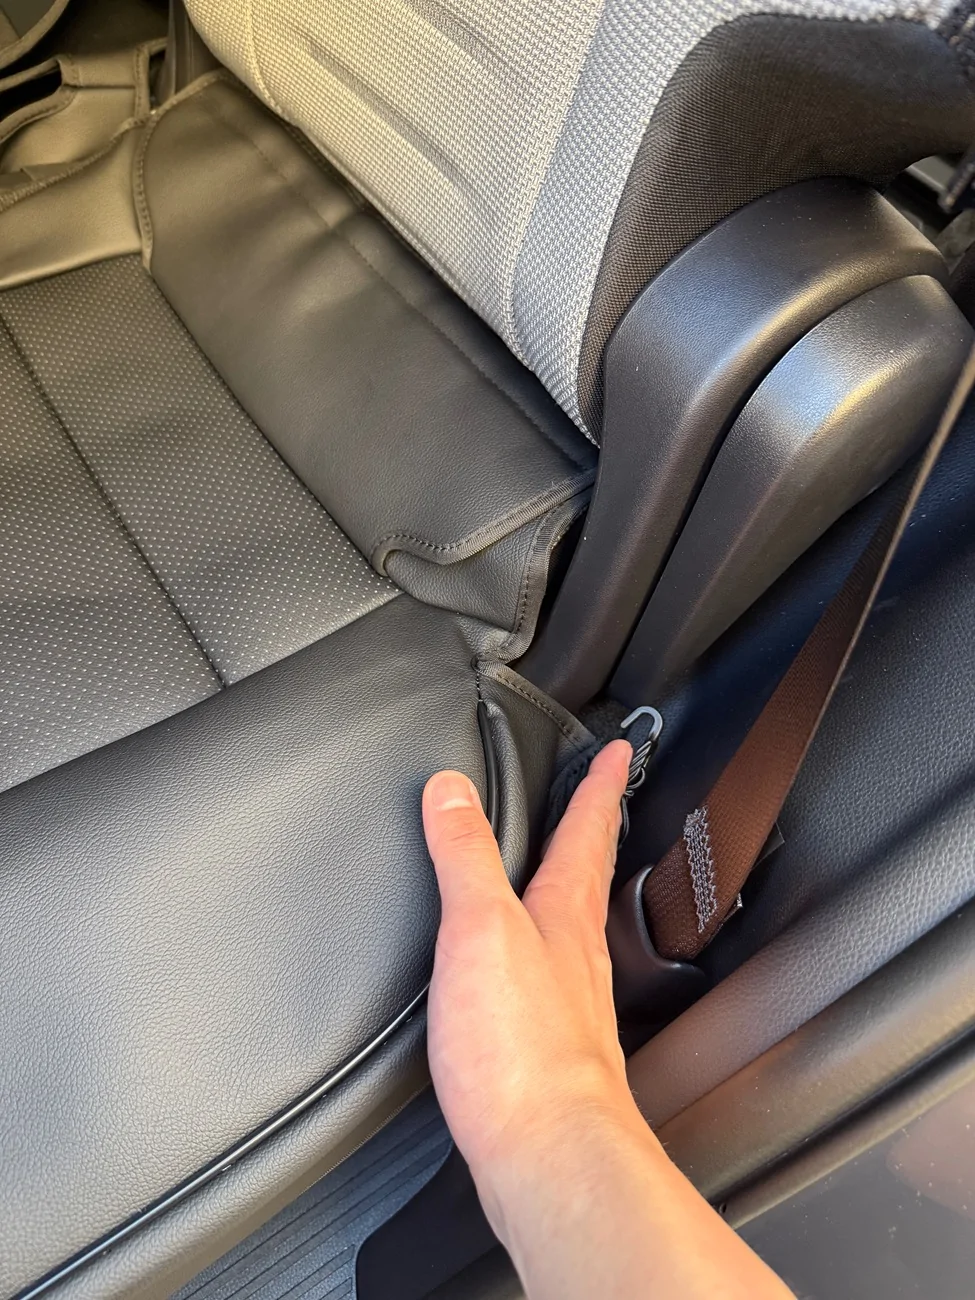
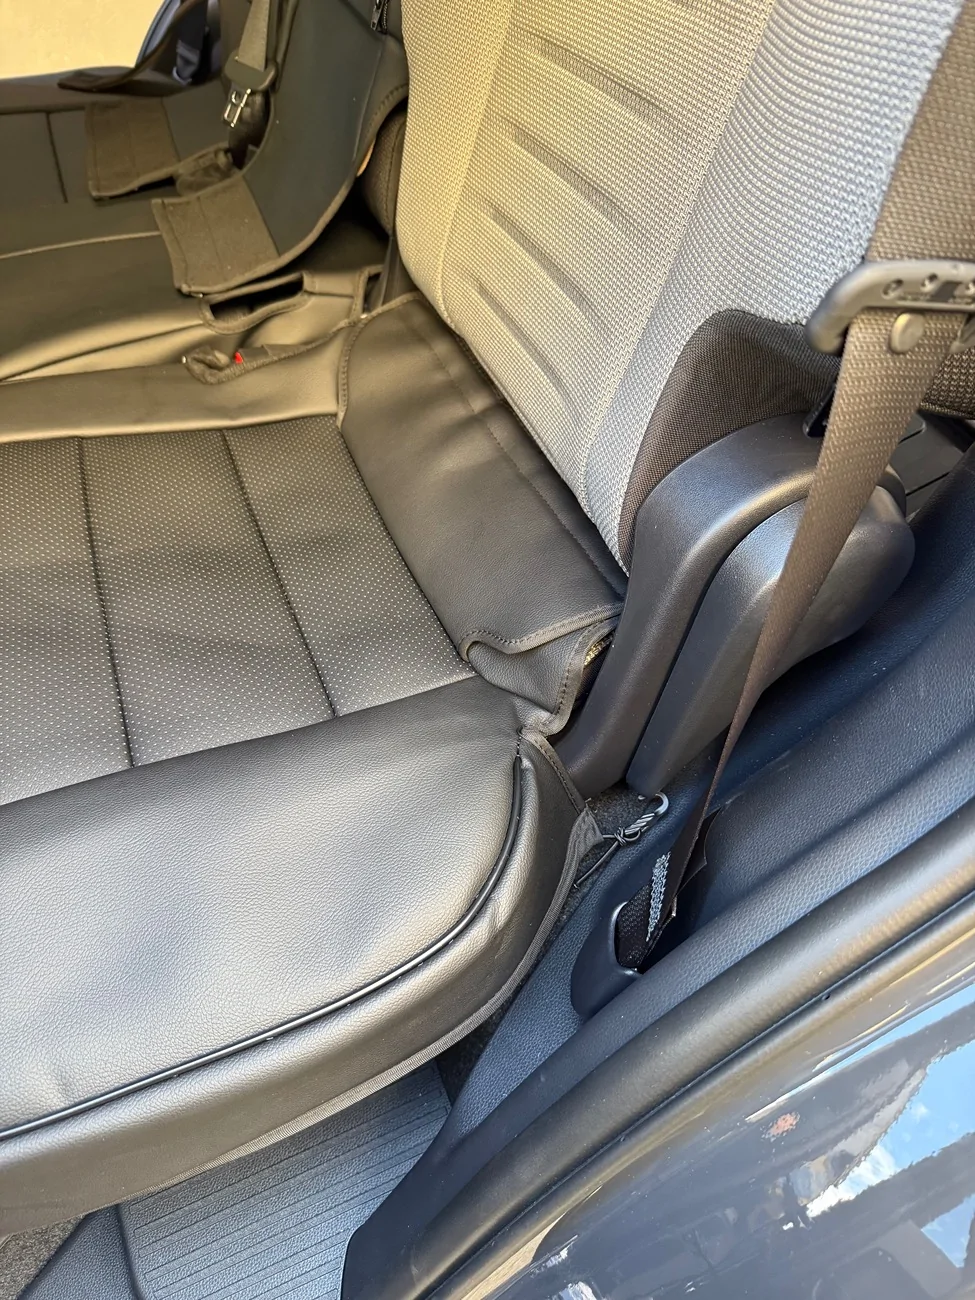
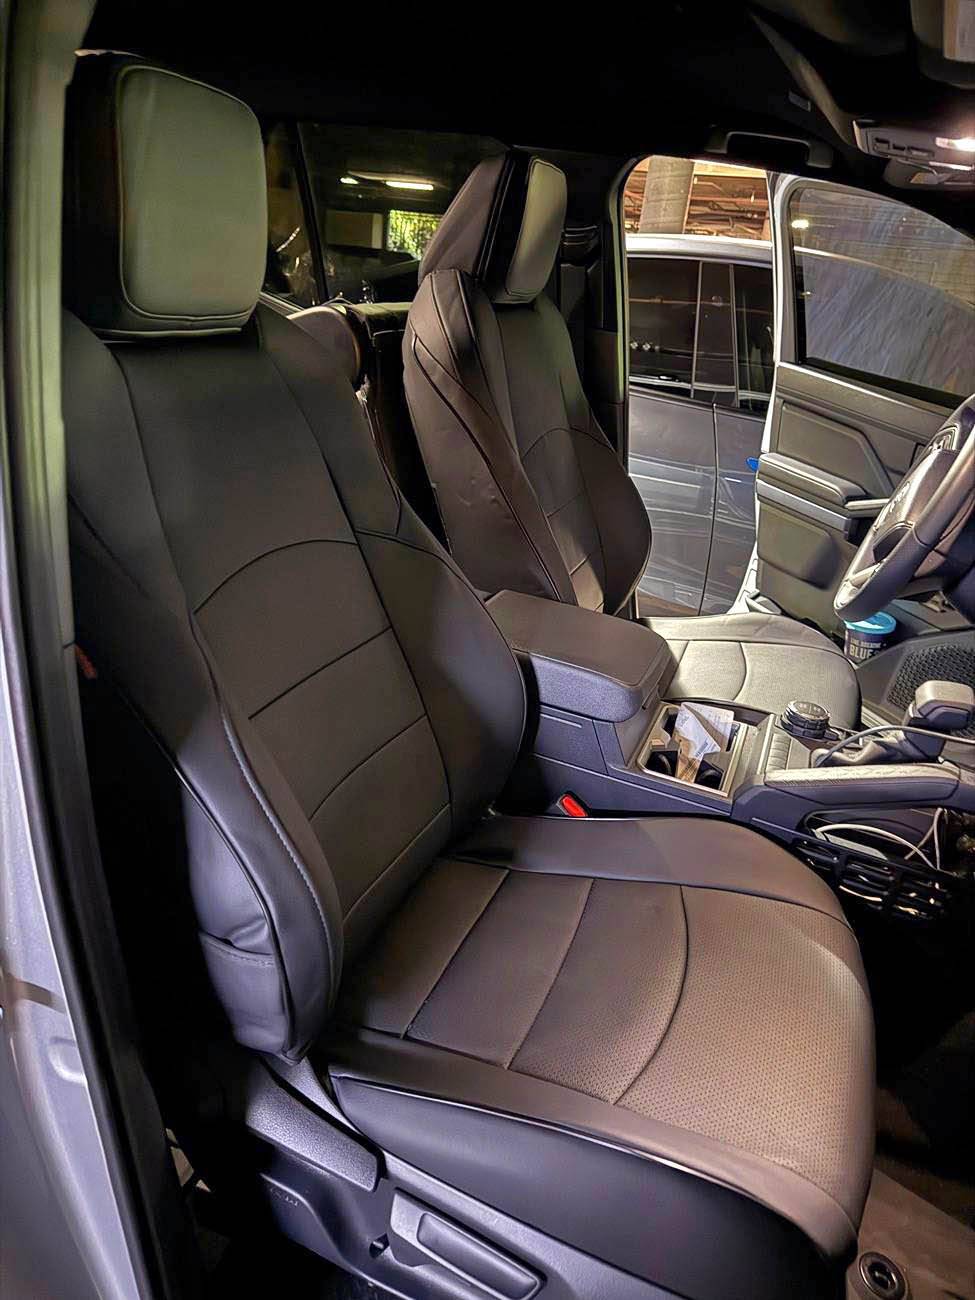
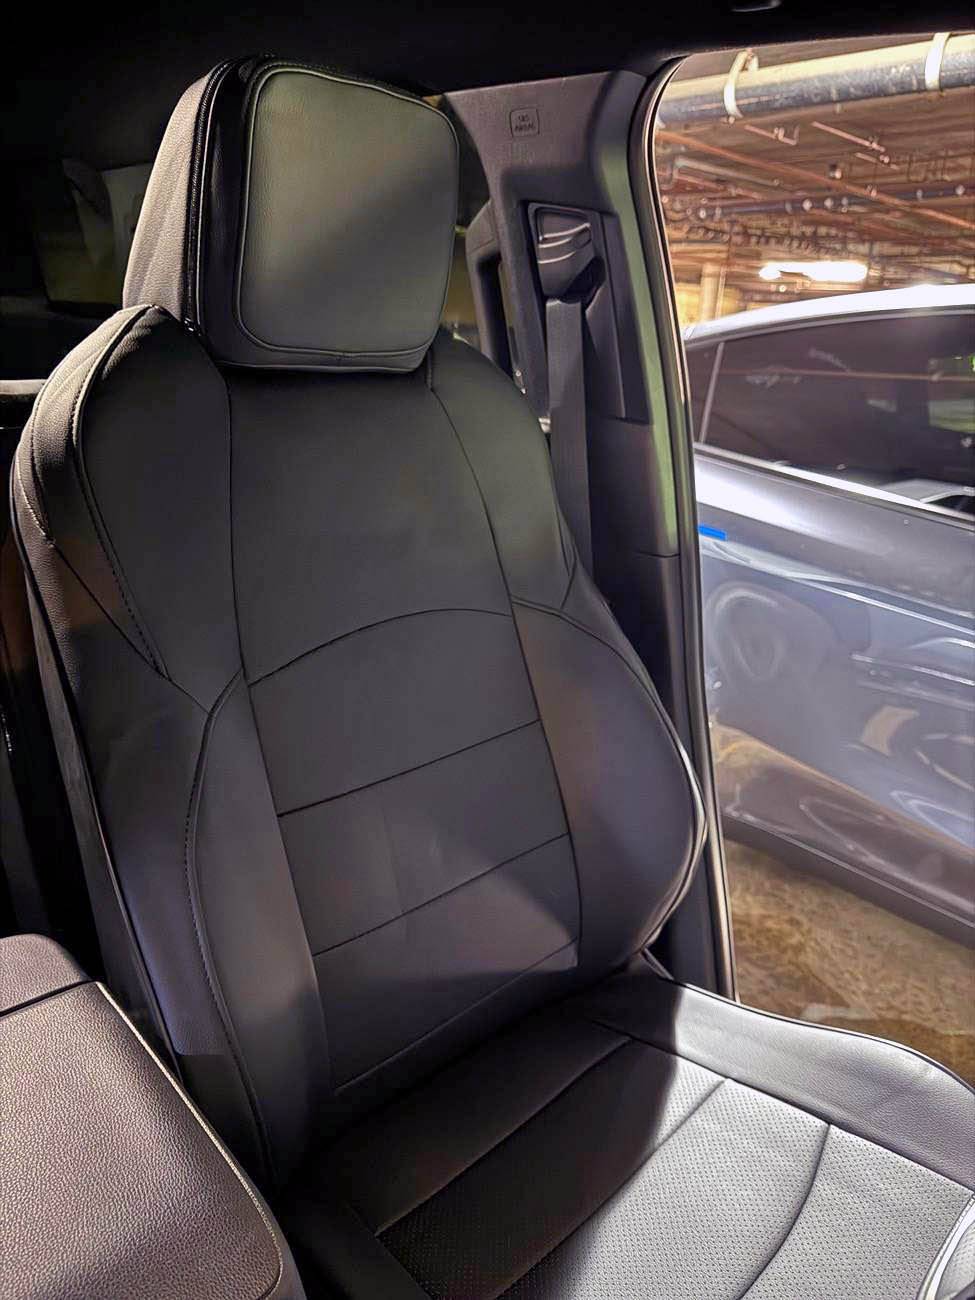
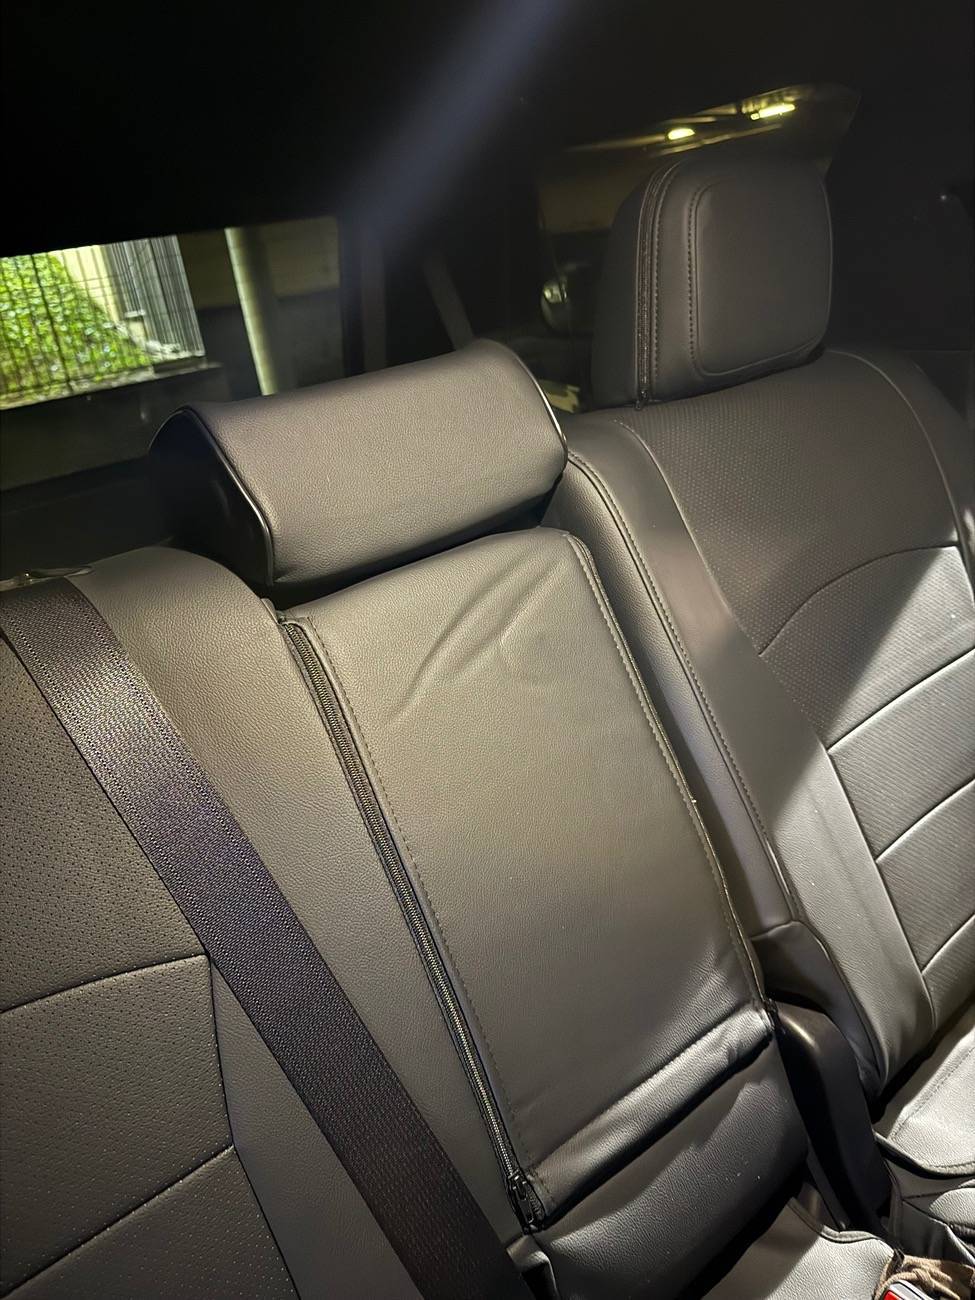
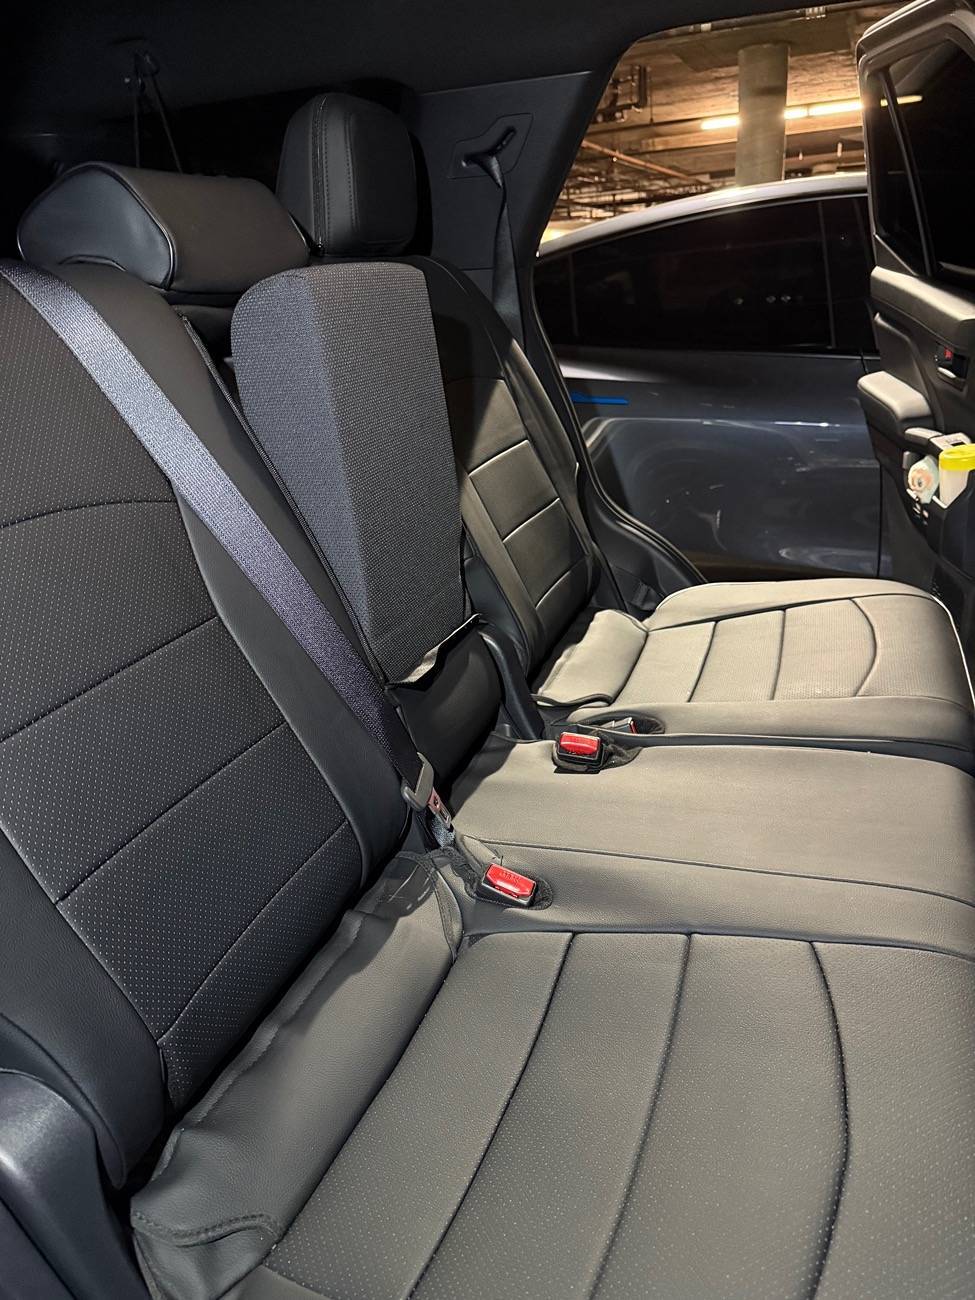
Here are some pics of the faux leather seat covers from EKR installed in my 6gen SR5.
It can be done without watching a video first or reading the instruction manual. I did both but didn’t gain any advantage from either. Maybe there is a better video out there.
Difficulty level for someone with middle to low level diy project skills: moderate.
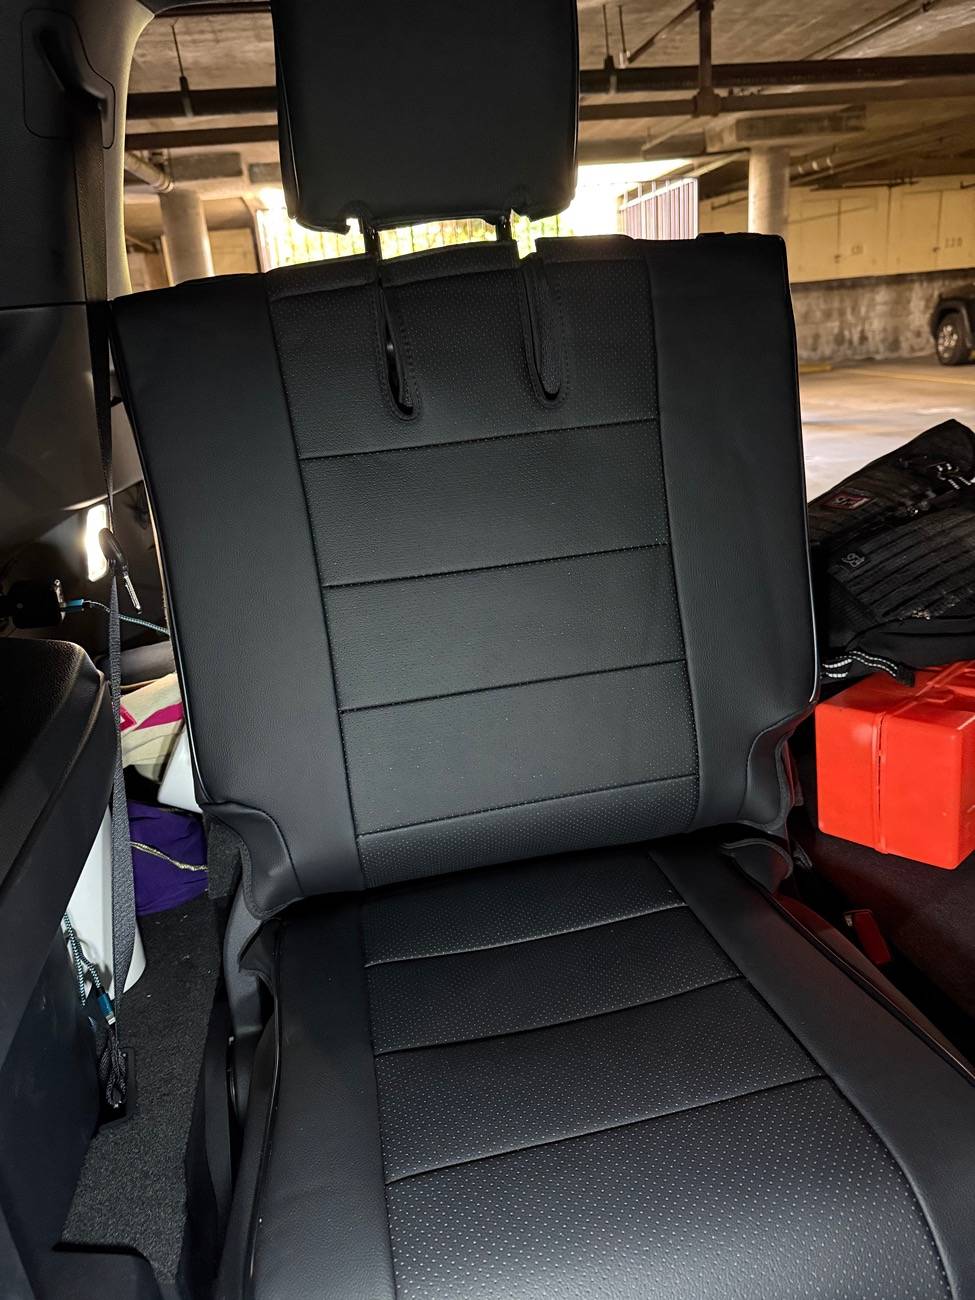
I started with the fronts and I think those came out the best. It was a hot day (90+) and I was sweating by the 3rd row install. The middle wasn’t too difficult but the buckle snaps on both bottom covers broke from being pulled too hard I guess. I tied the ends together to secure them and they haven’t come loose (it’s only been 1 day).
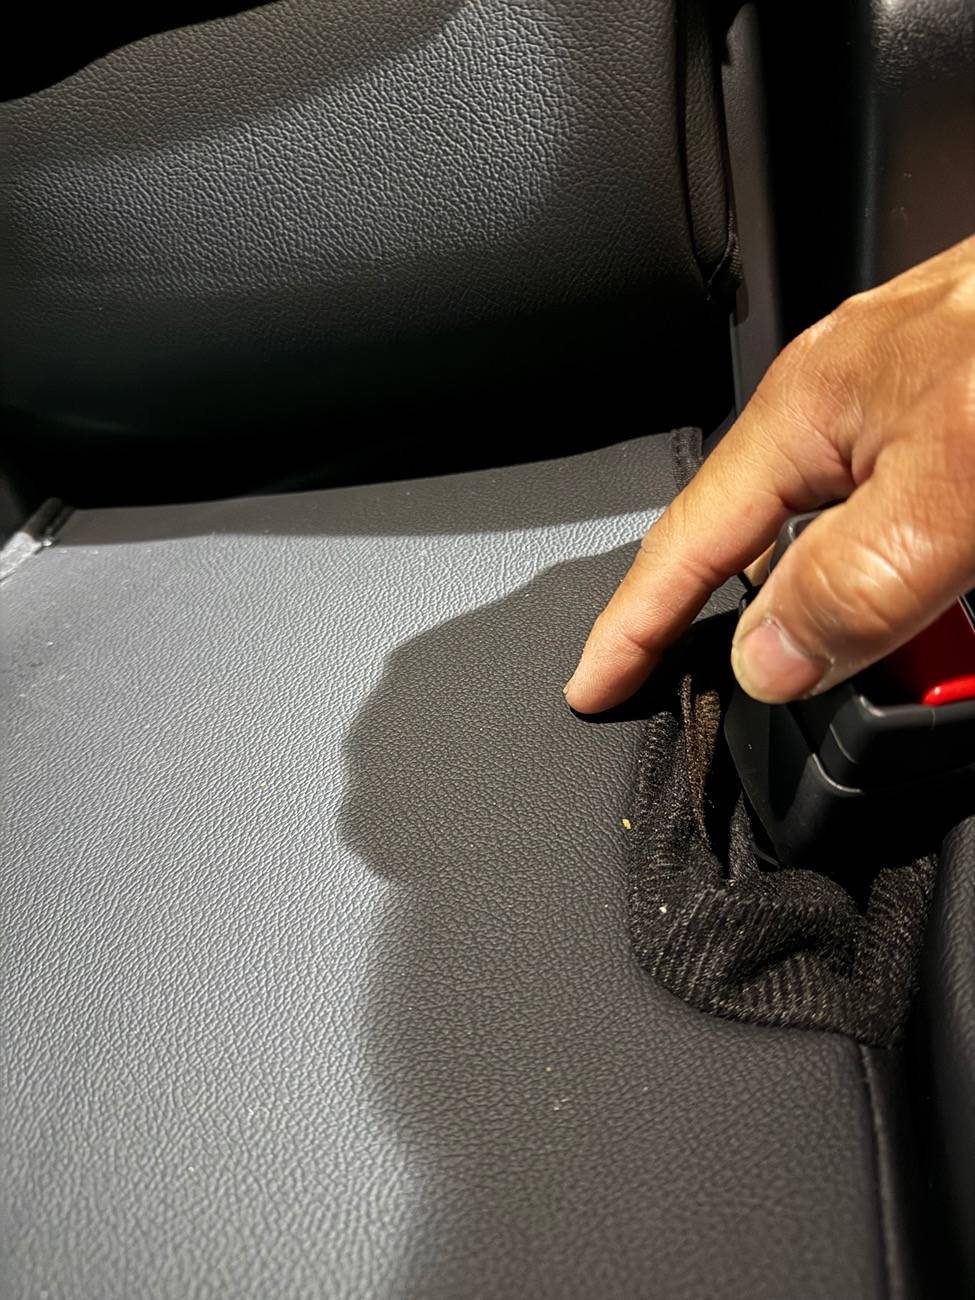
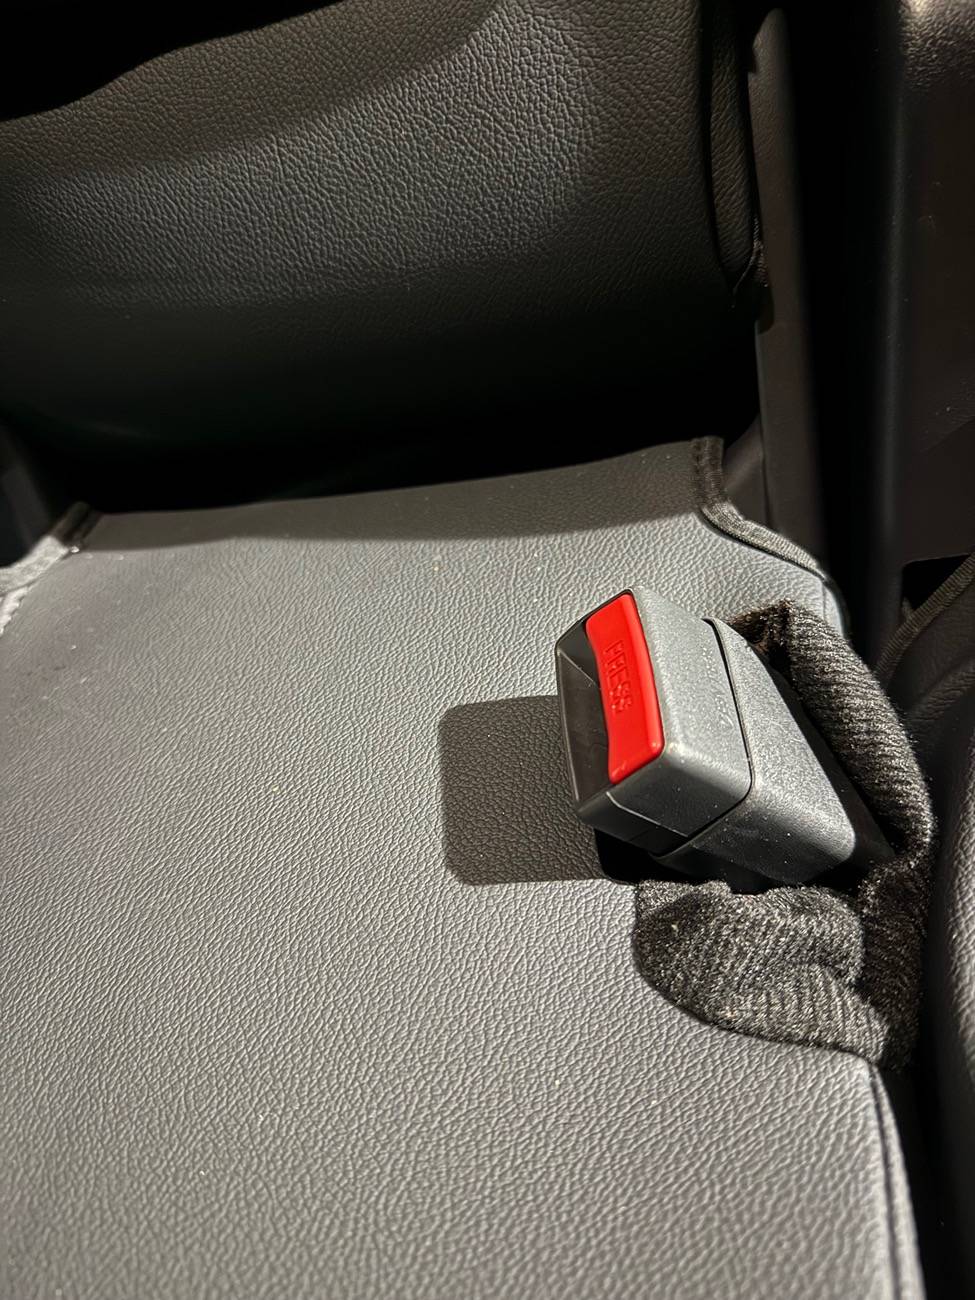
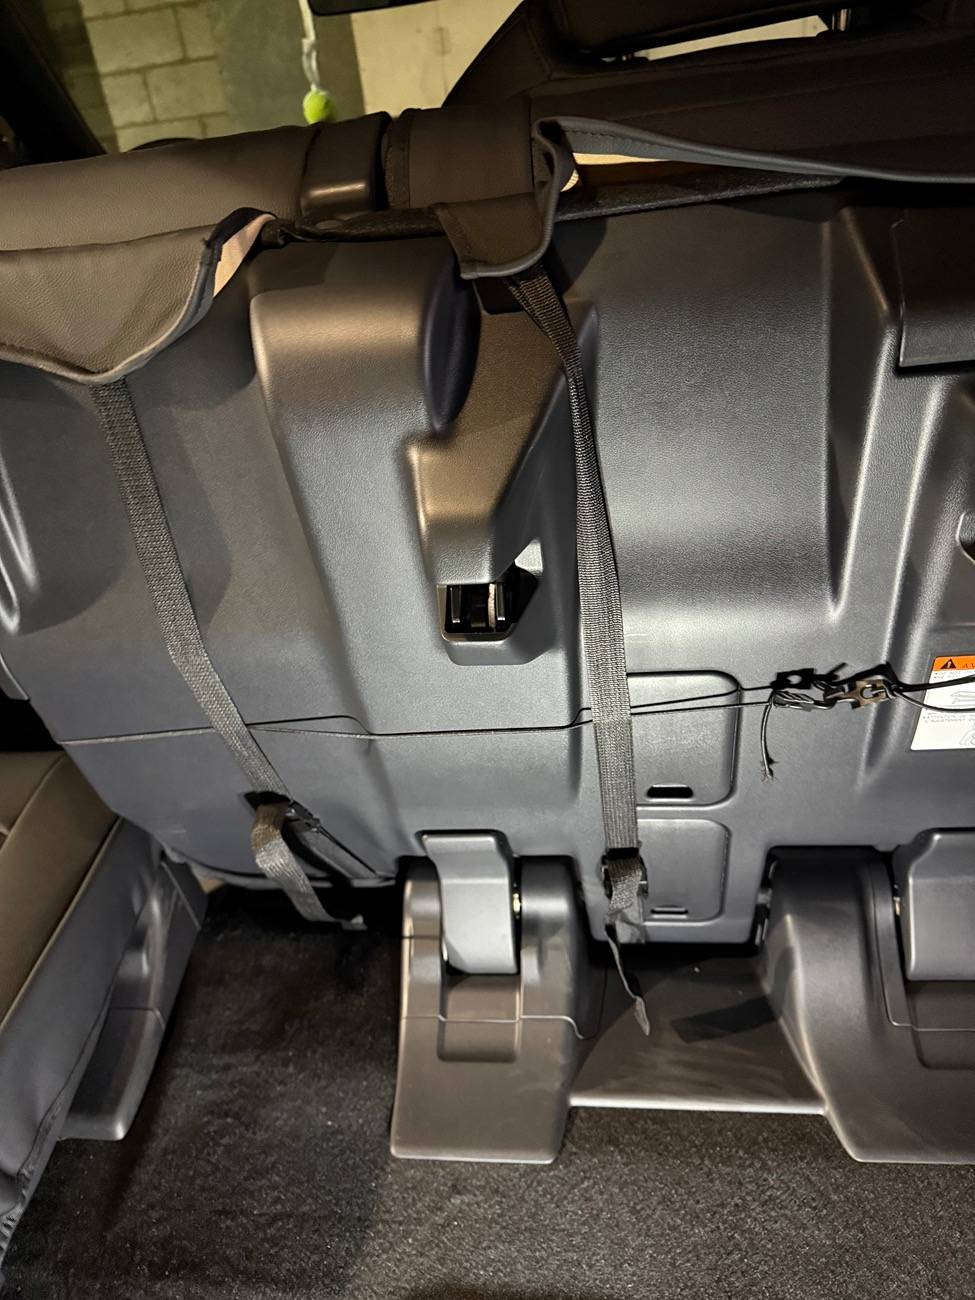
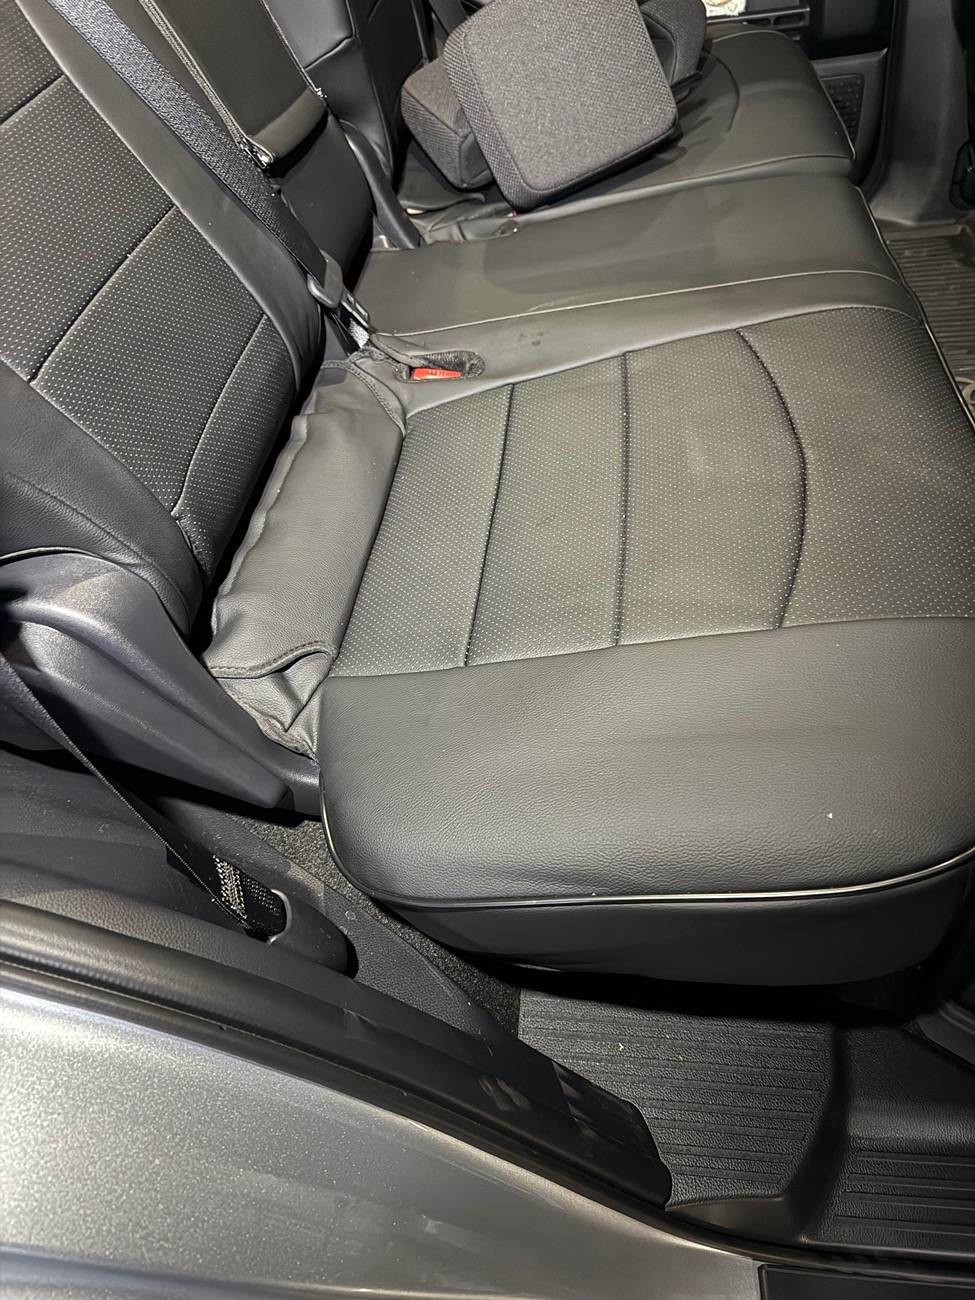
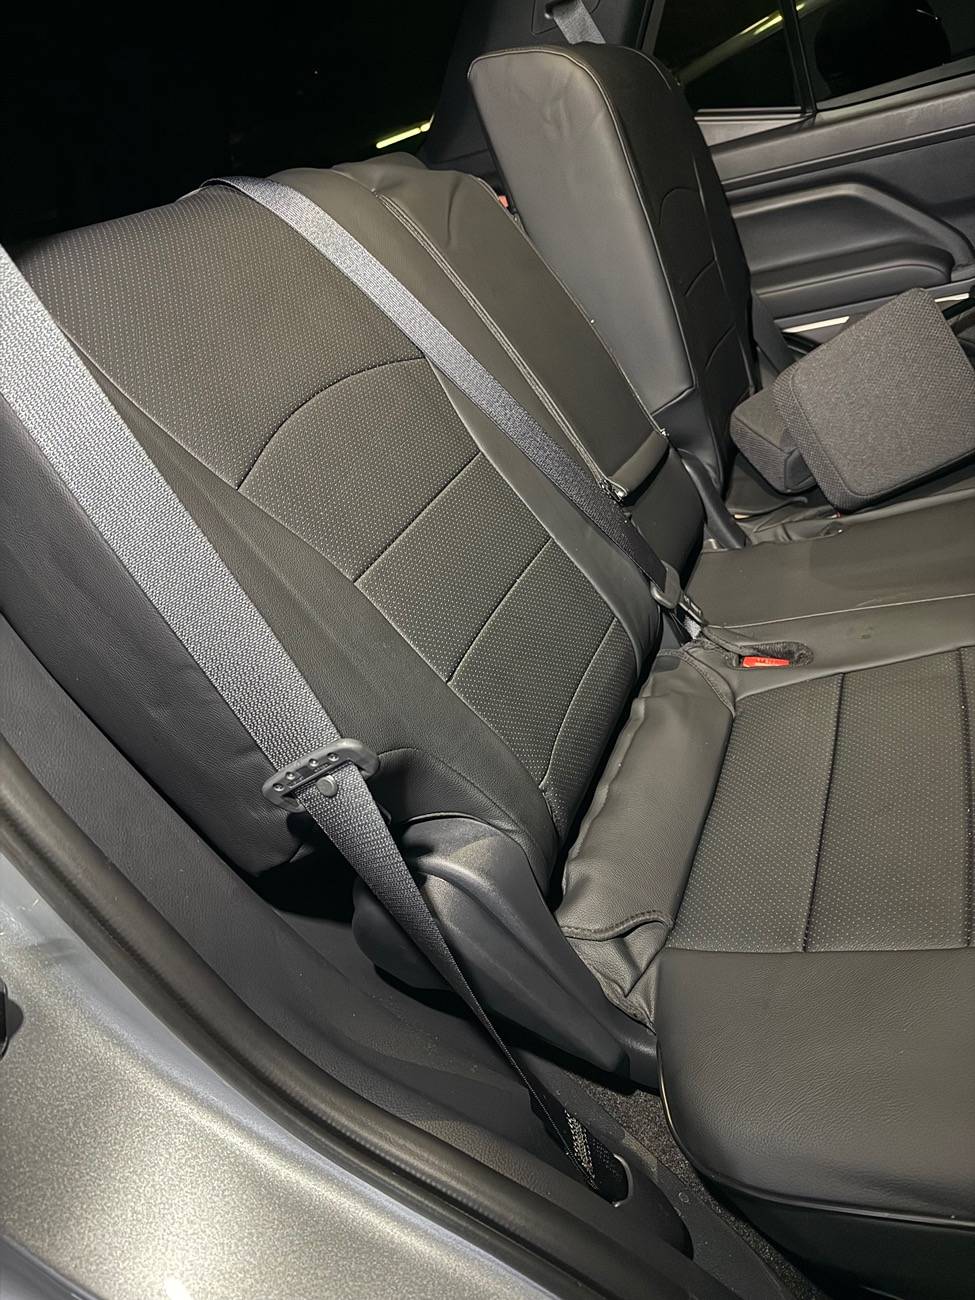
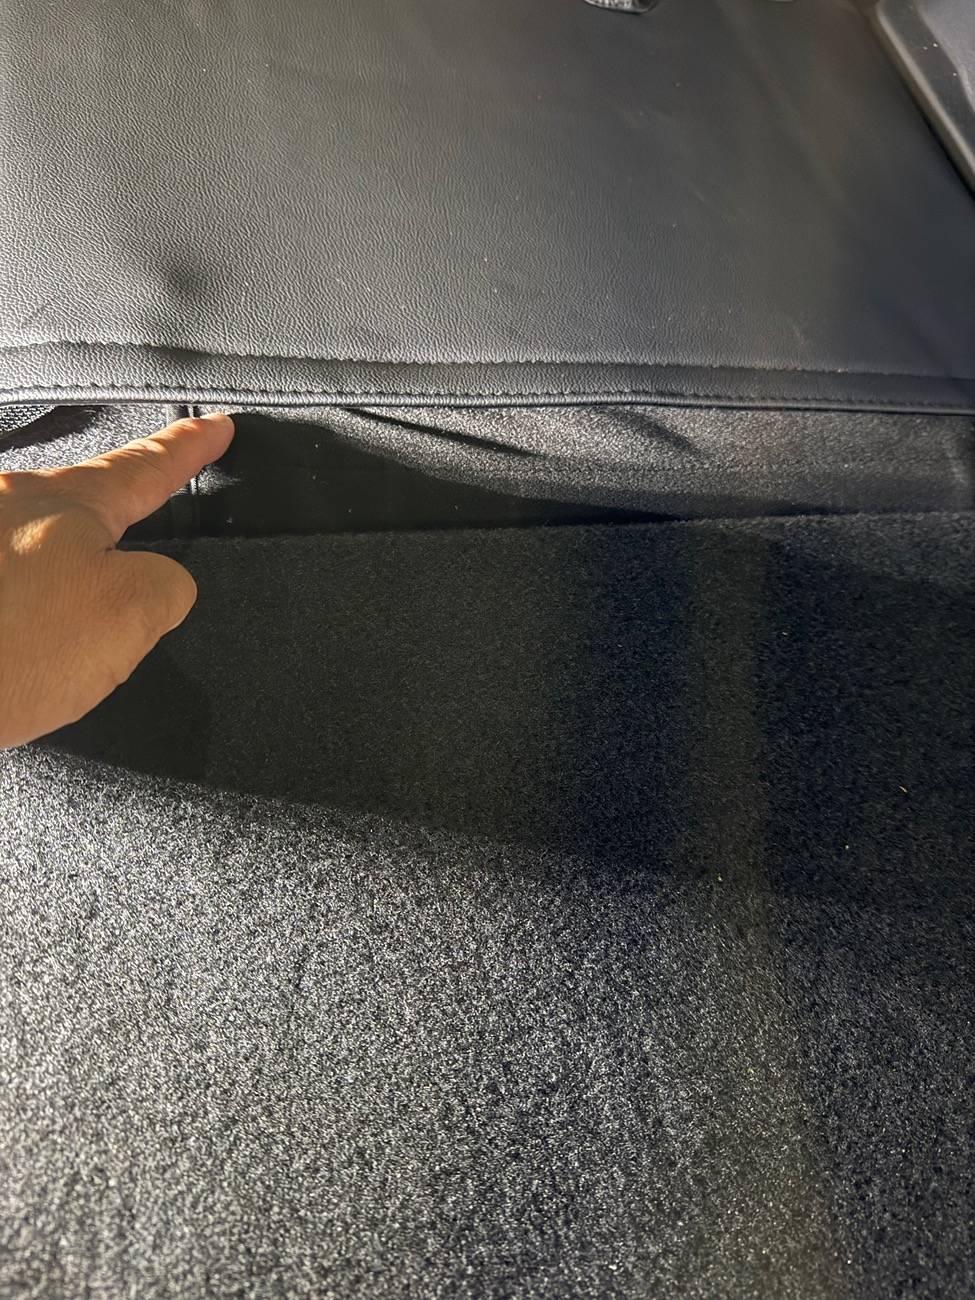
I wish the armrest in the middle row was given more attention than just zippering out of sight and not having a cover for it. The middle seatbelt buckle is also missing the indentation in the seat to stow the receiver end flat when not in use. It must be tucked under or left sticking up. I will try and get pictures of it soon. The last 2 pics show the rear of the 3rd row. You can see where I’m pointing that the cover isn’t fully taut and that cause the sliding part of the seat back to rub and get caught on the Velcro and either stop the process of raising the seat from the lowered position or cause the seat cover to come undone. Make sure the cover is pulled really tight and the Velcro secured as close to flat as possible like in the last pic.
$400+ off amazon was quite pricey but I guess the other option was Katzkin which quoted $2k+ or buying a higher trim level $$$. My wife likes them. I feel like they’re a nice touch but not necessary. I would be happier with the purchase if they were $150 cheaper but saying that, I know I will be thankful for them after they repel greasy taco bits or ketchup falling from a burger. I know it is inevitable.
Final thoughts: if you don’t mind the middle row armrest being “naked” or the seatbelt buckle thing or the price and don’t mind the effort it will need to be installed then I think you will like them.

More photos added:
It can be done without watching a video first or reading the instruction manual. I did both but didn’t gain any advantage from either. Maybe there is a better video out there.
Difficulty level for someone with middle to low level diy project skills: moderate.
I started with the fronts and I think those came out the best. It was a hot day (90+) and I was sweating by the 3rd row install. The middle wasn’t too difficult but the buckle snaps on both bottom covers broke from being pulled too hard I guess. I tied the ends together to secure them and they haven’t come loose (it’s only been 1 day).
I wish the armrest in the middle row was given more attention than just zippering out of sight and not having a cover for it. The middle seatbelt buckle is also missing the indentation in the seat to stow the receiver end flat when not in use. It must be tucked under or left sticking up. I will try and get pictures of it soon. The last 2 pics show the rear of the 3rd row. You can see where I’m pointing that the cover isn’t fully taut and that cause the sliding part of the seat back to rub and get caught on the Velcro and either stop the process of raising the seat from the lowered position or cause the seat cover to come undone. Make sure the cover is pulled really tight and the Velcro secured as close to flat as possible like in the last pic.
$400+ off amazon was quite pricey but I guess the other option was Katzkin which quoted $2k+ or buying a higher trim level $$$. My wife likes them. I feel like they’re a nice touch but not necessary. I would be happier with the purchase if they were $150 cheaper but saying that, I know I will be thankful for them after they repel greasy taco bits or ketchup falling from a burger. I know it is inevitable.
Final thoughts: if you don’t mind the middle row armrest being “naked” or the seatbelt buckle thing or the price and don’t mind the effort it will need to be installed then I think you will like them.

More photos added:


Sponsored